
Continuing on from the first part of my POIQ disassembly where we opened a POIQ up for the first time, these are my notes from taking each half of POIQ apart completely. Please note that this isn't intended to be a 'how-to' guide, so I won't be going step-by-step/in detail necessarily. There isn't really any point to disassembling a POIQ, I just did so in order to figure out how to do so for my own curiosity. Regardless, I hope you find this interesting.
POIQ分解のパート1(初めてPOIQを分解した)に続き、POIQの各半分を完全に分解した際のメモです。これは「ハウツー」ガイドではないため、必ずしも手順を追って詳しく説明するわけではありません。POIQを分解することに特に意味はなく、単に自分の好奇心から分解方法を調べてみただけです。とはいえ、興味を持っていただければ幸いです。
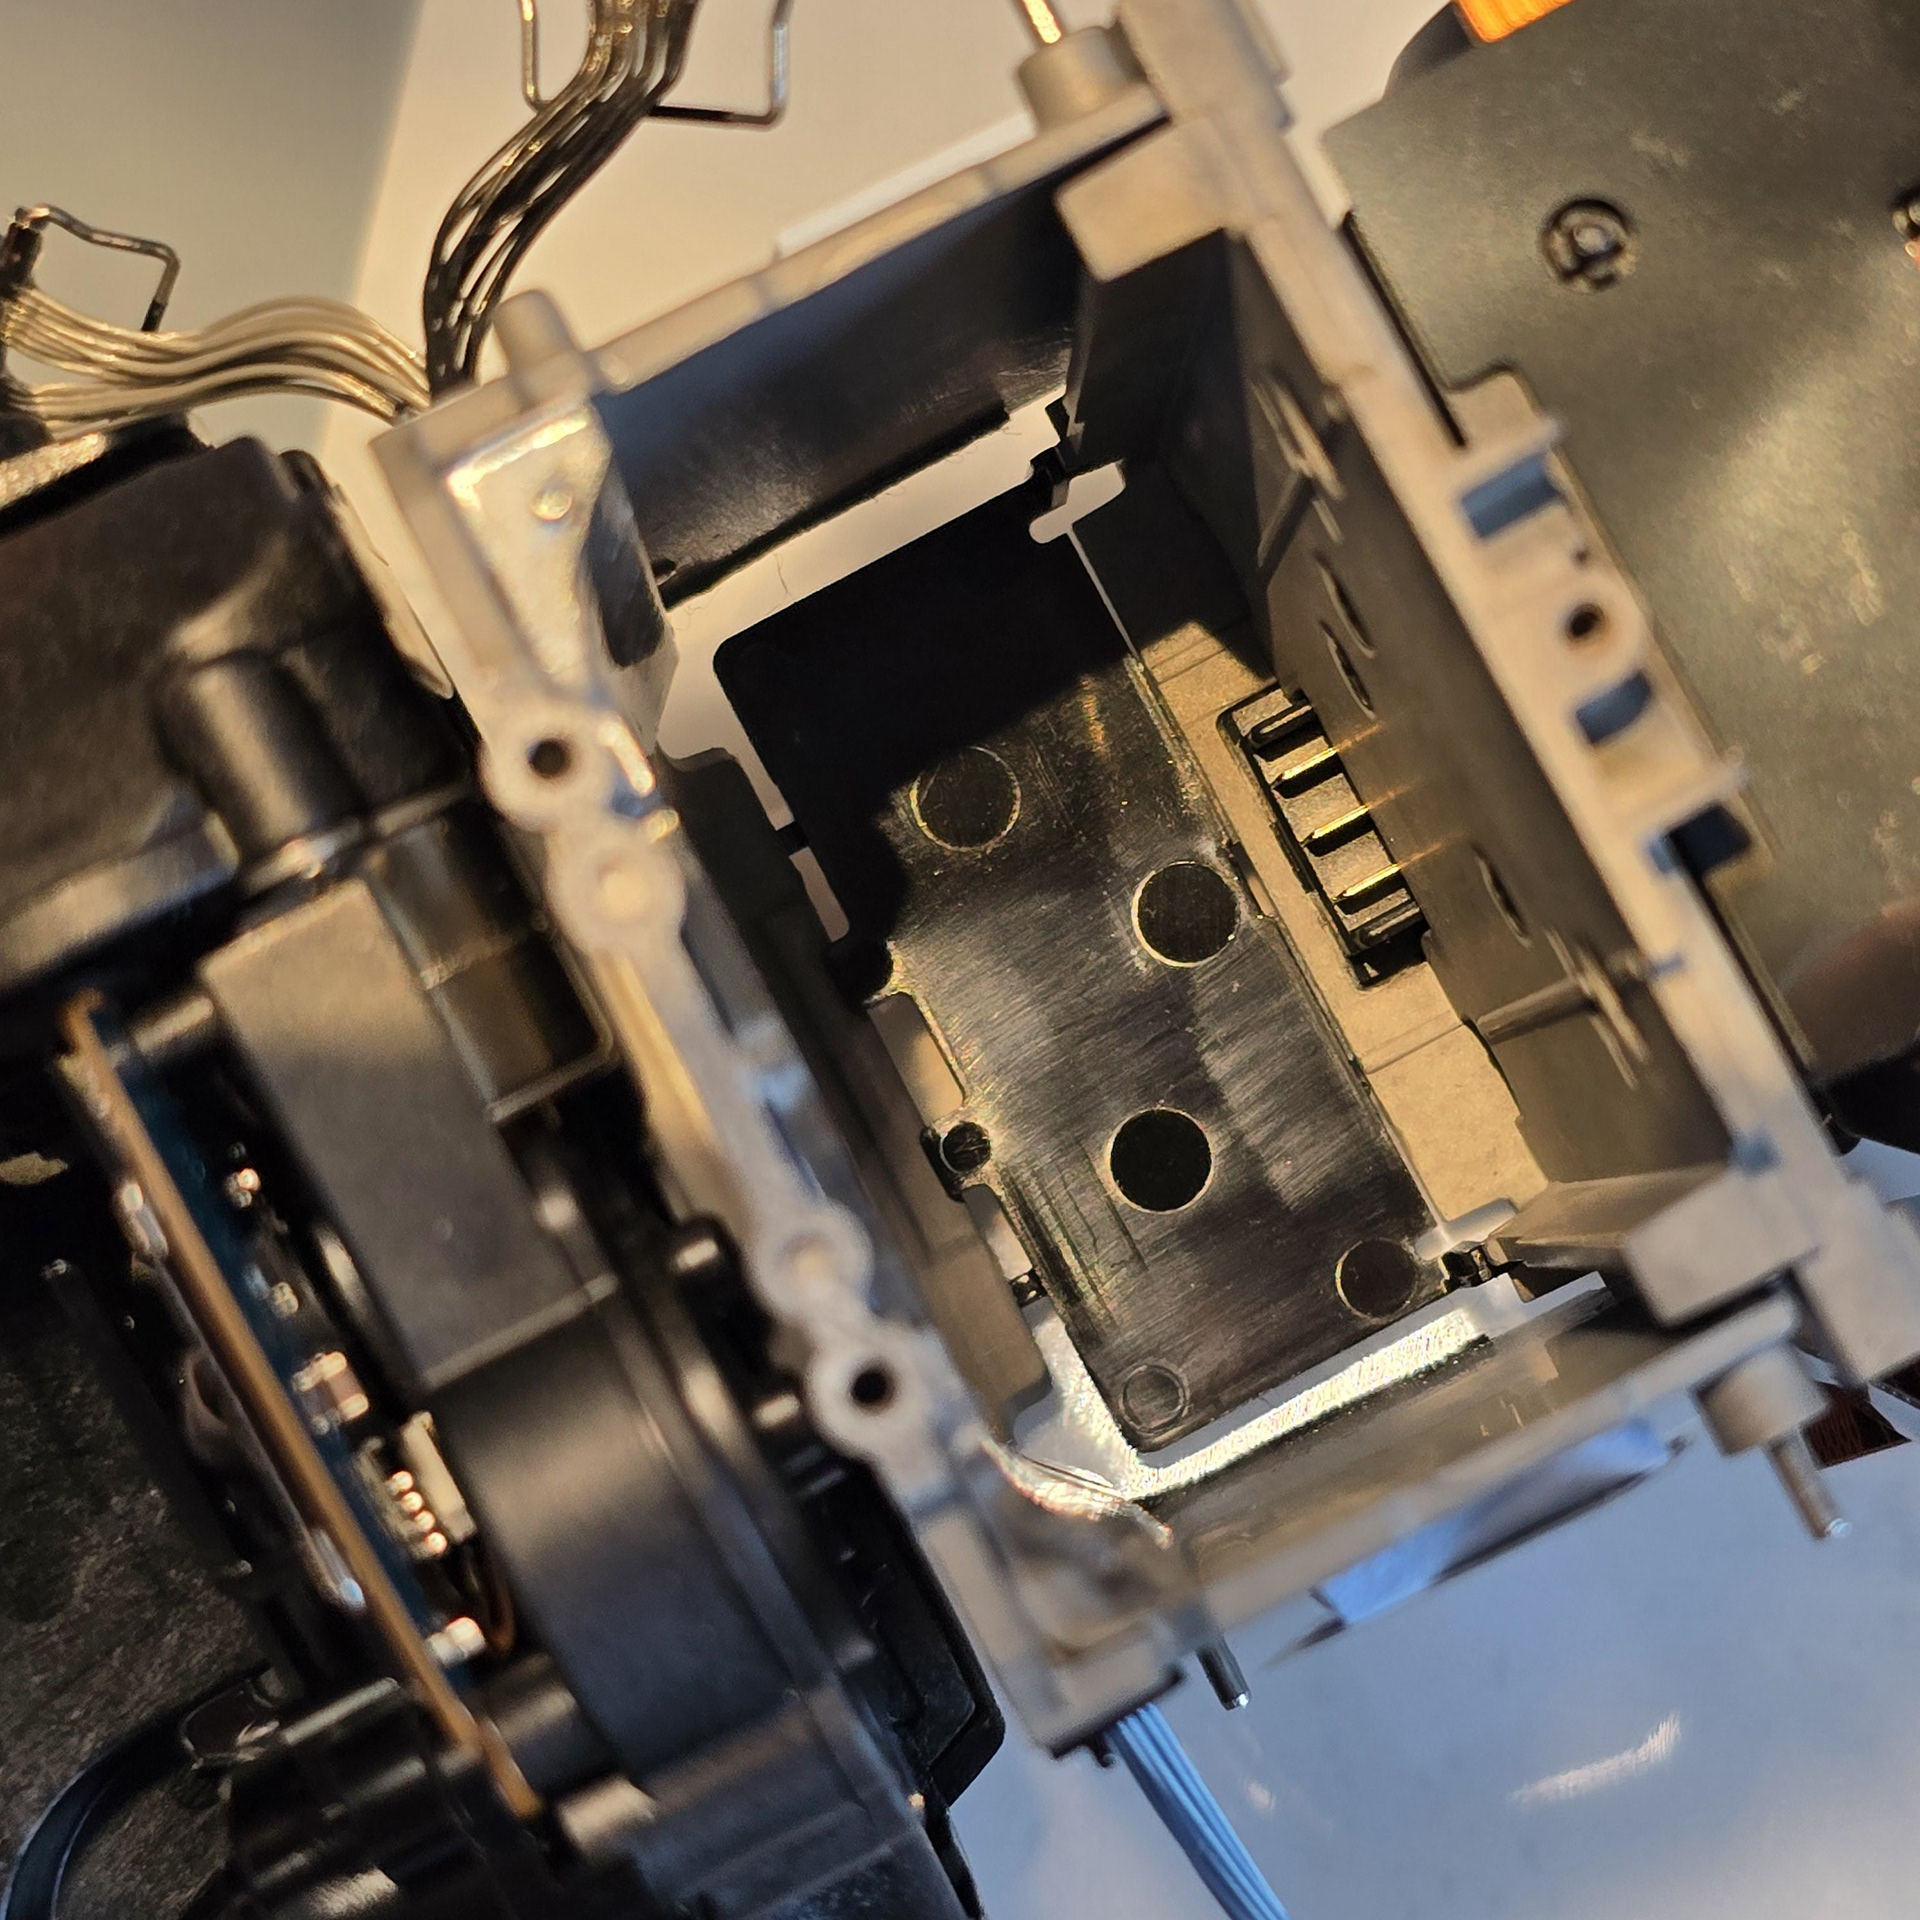
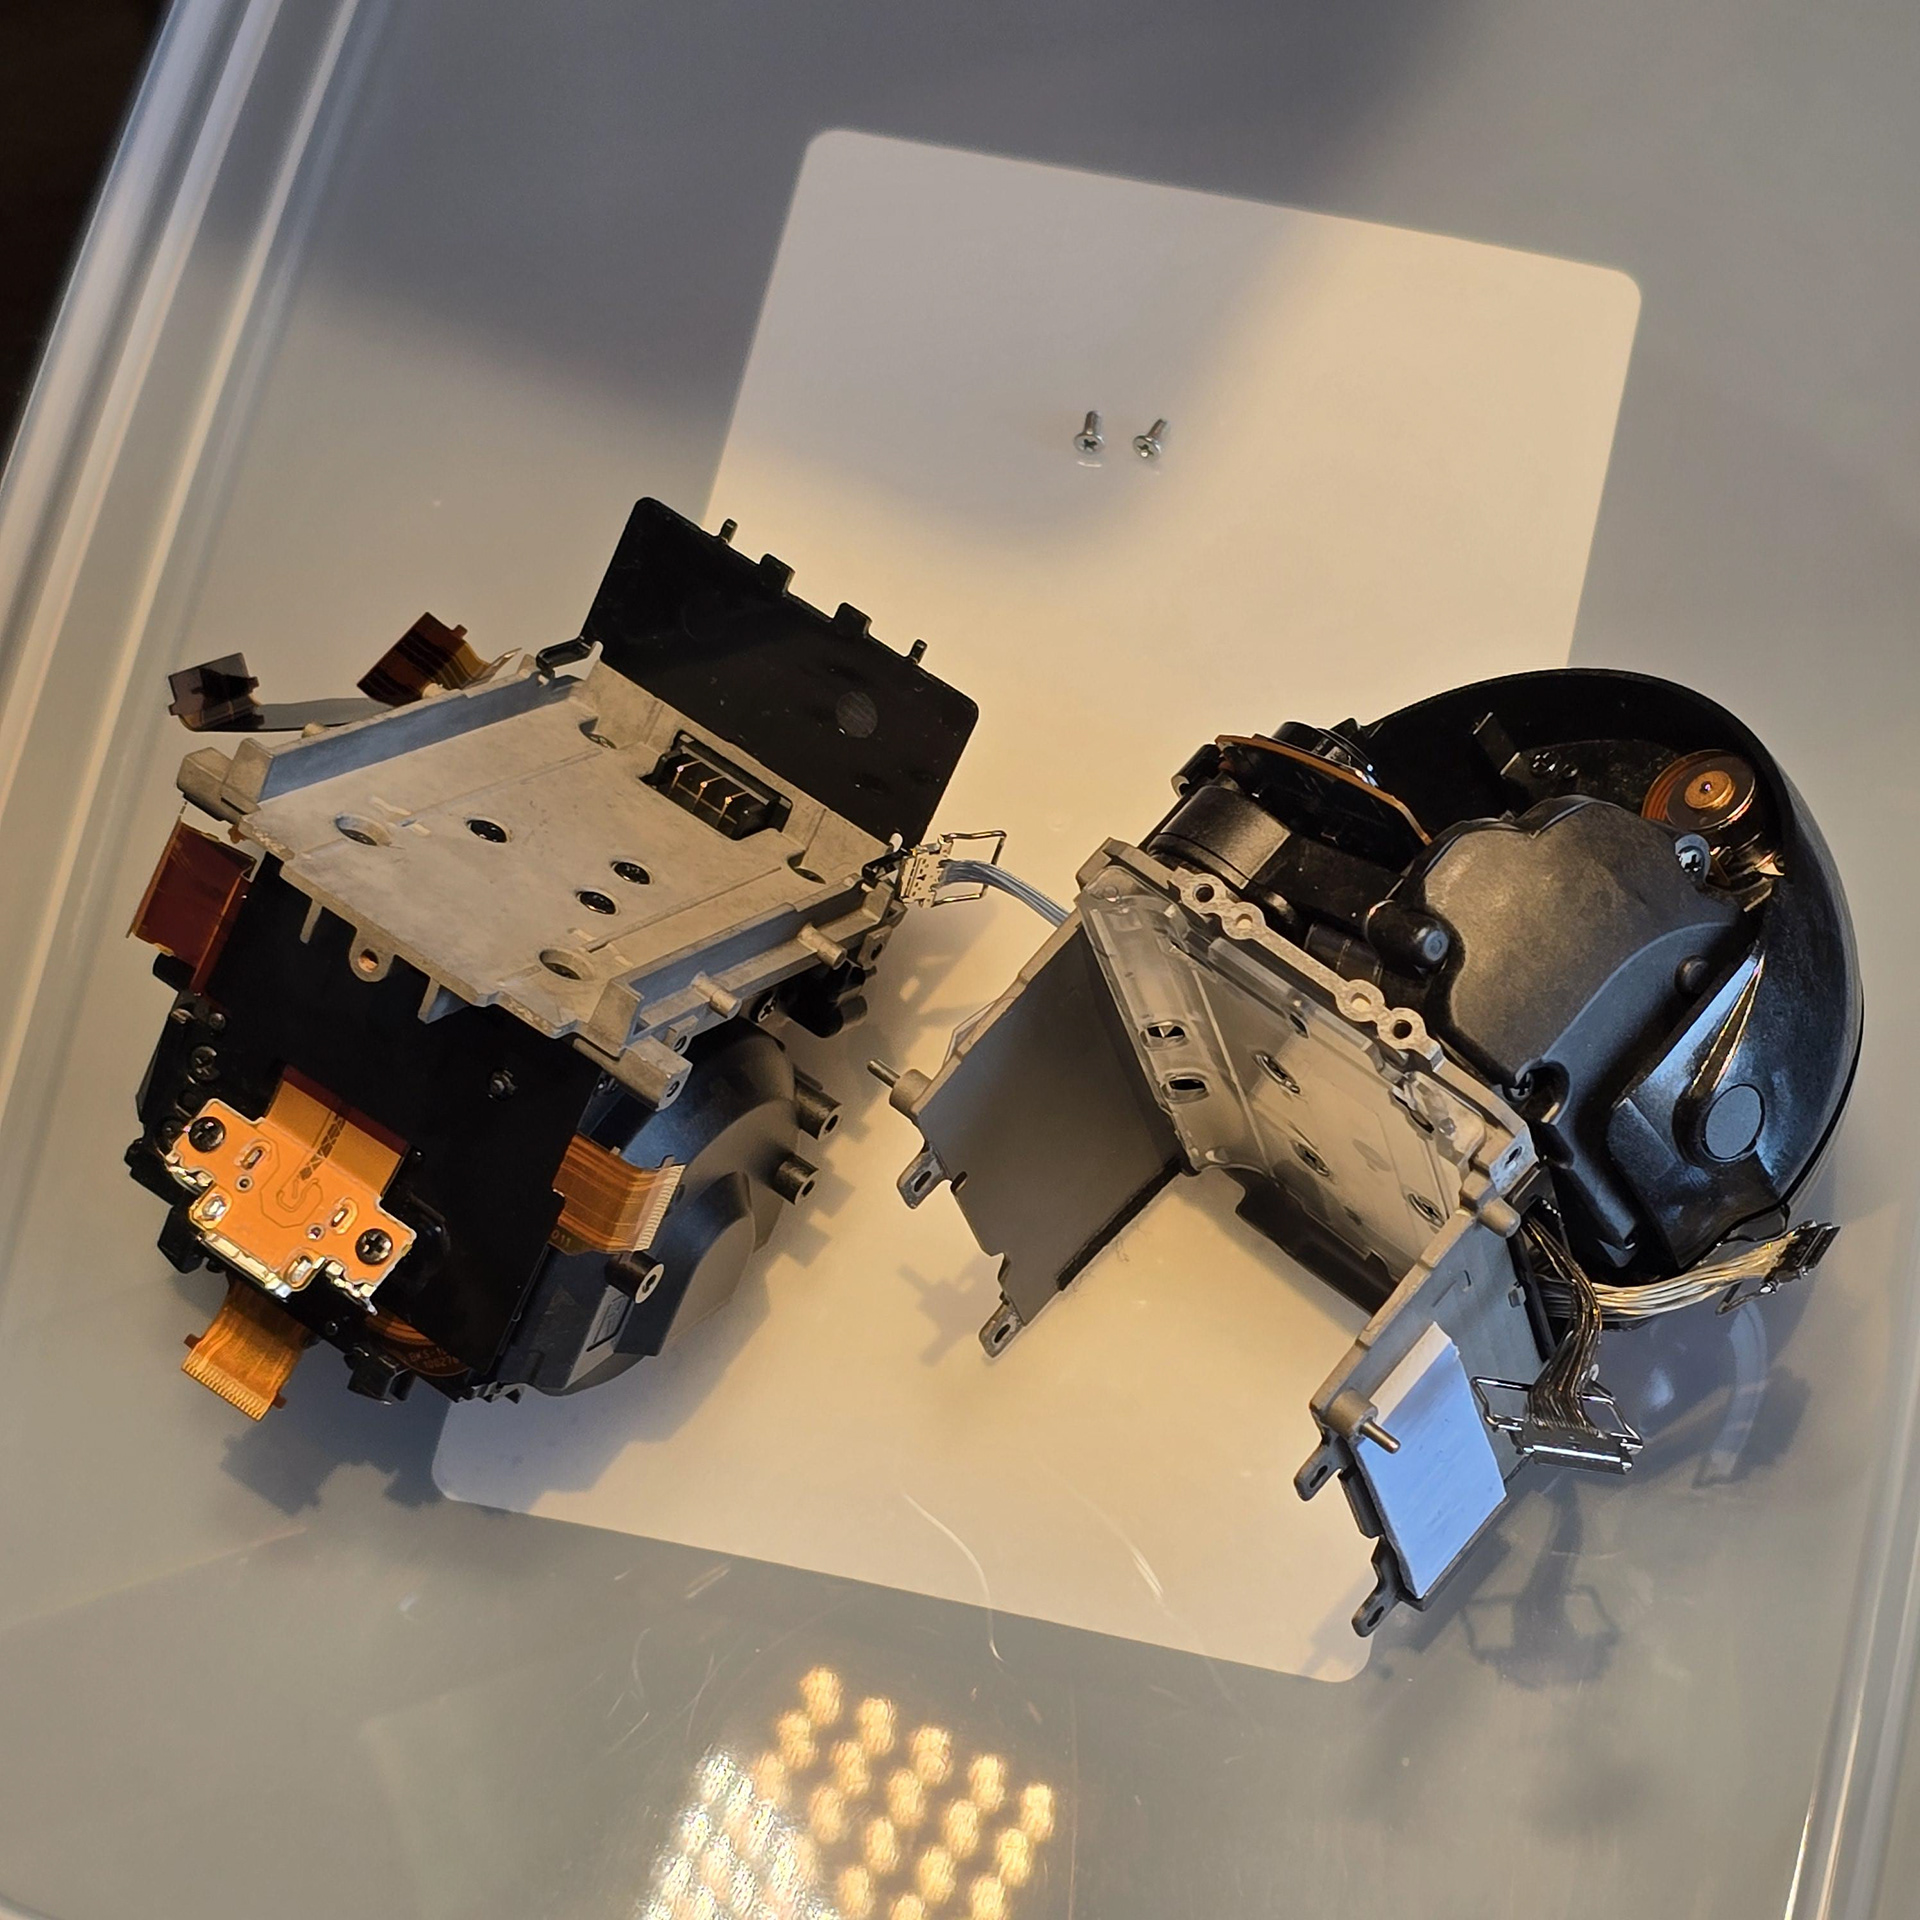
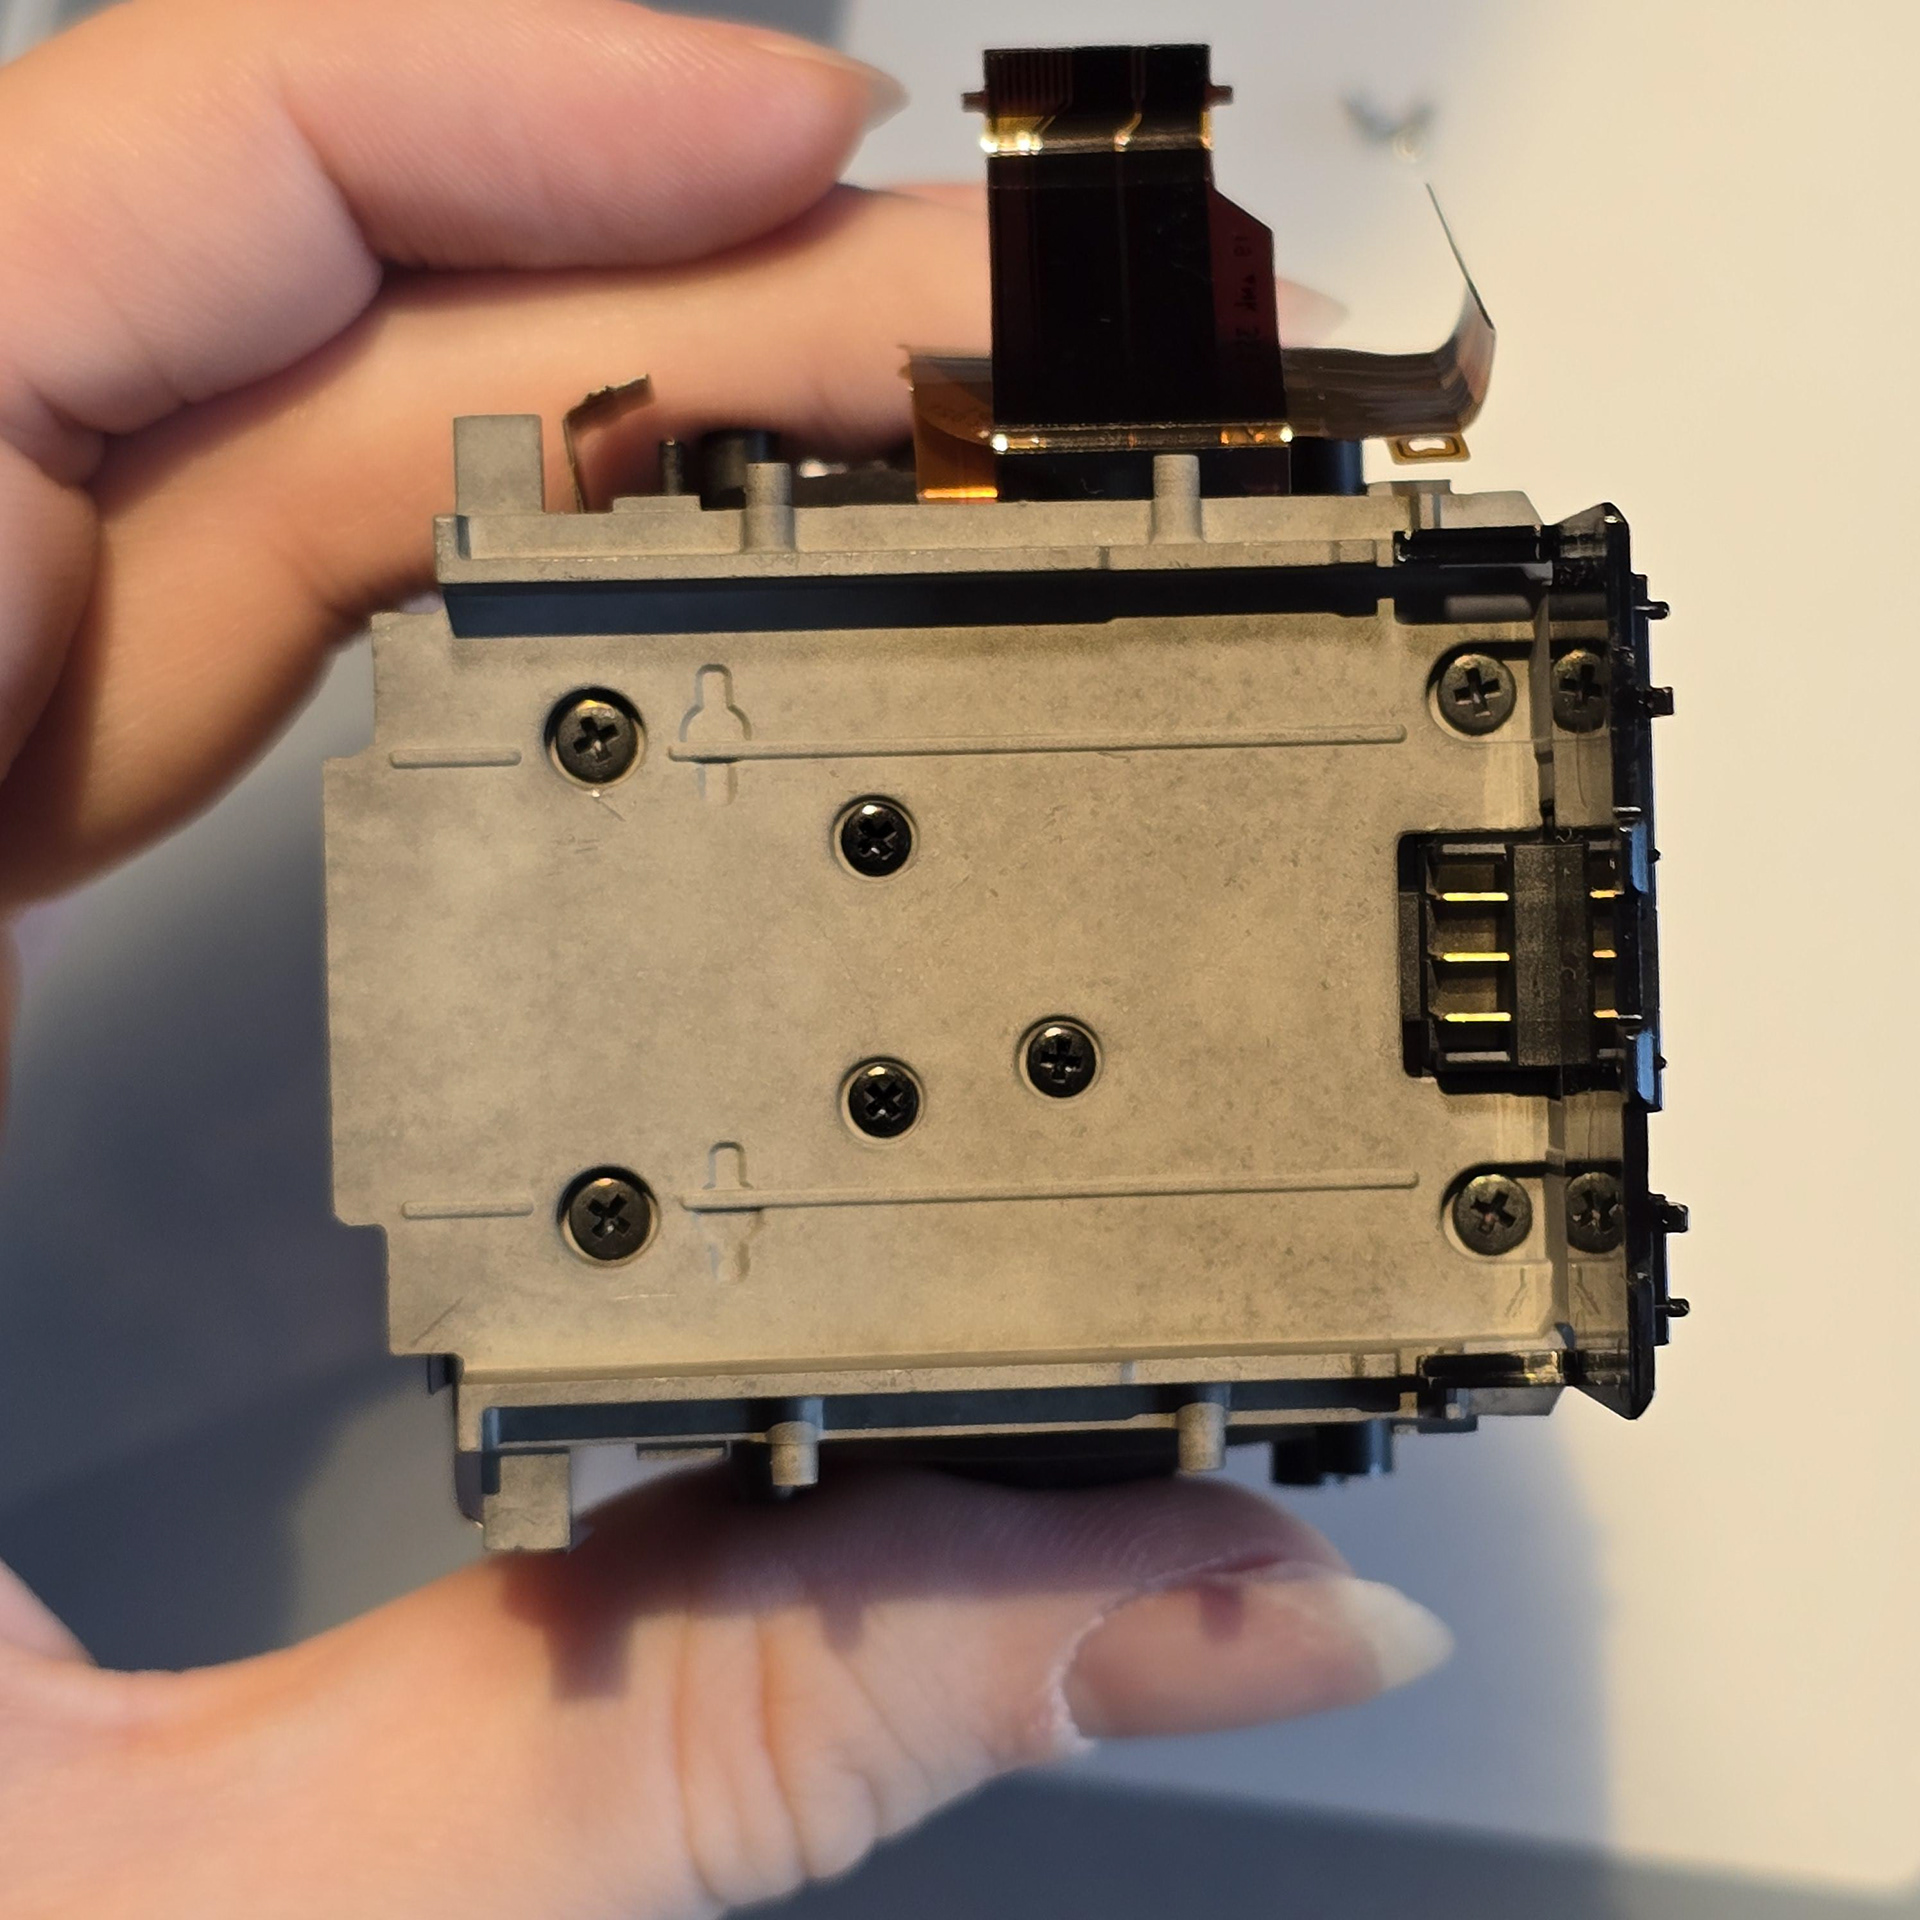
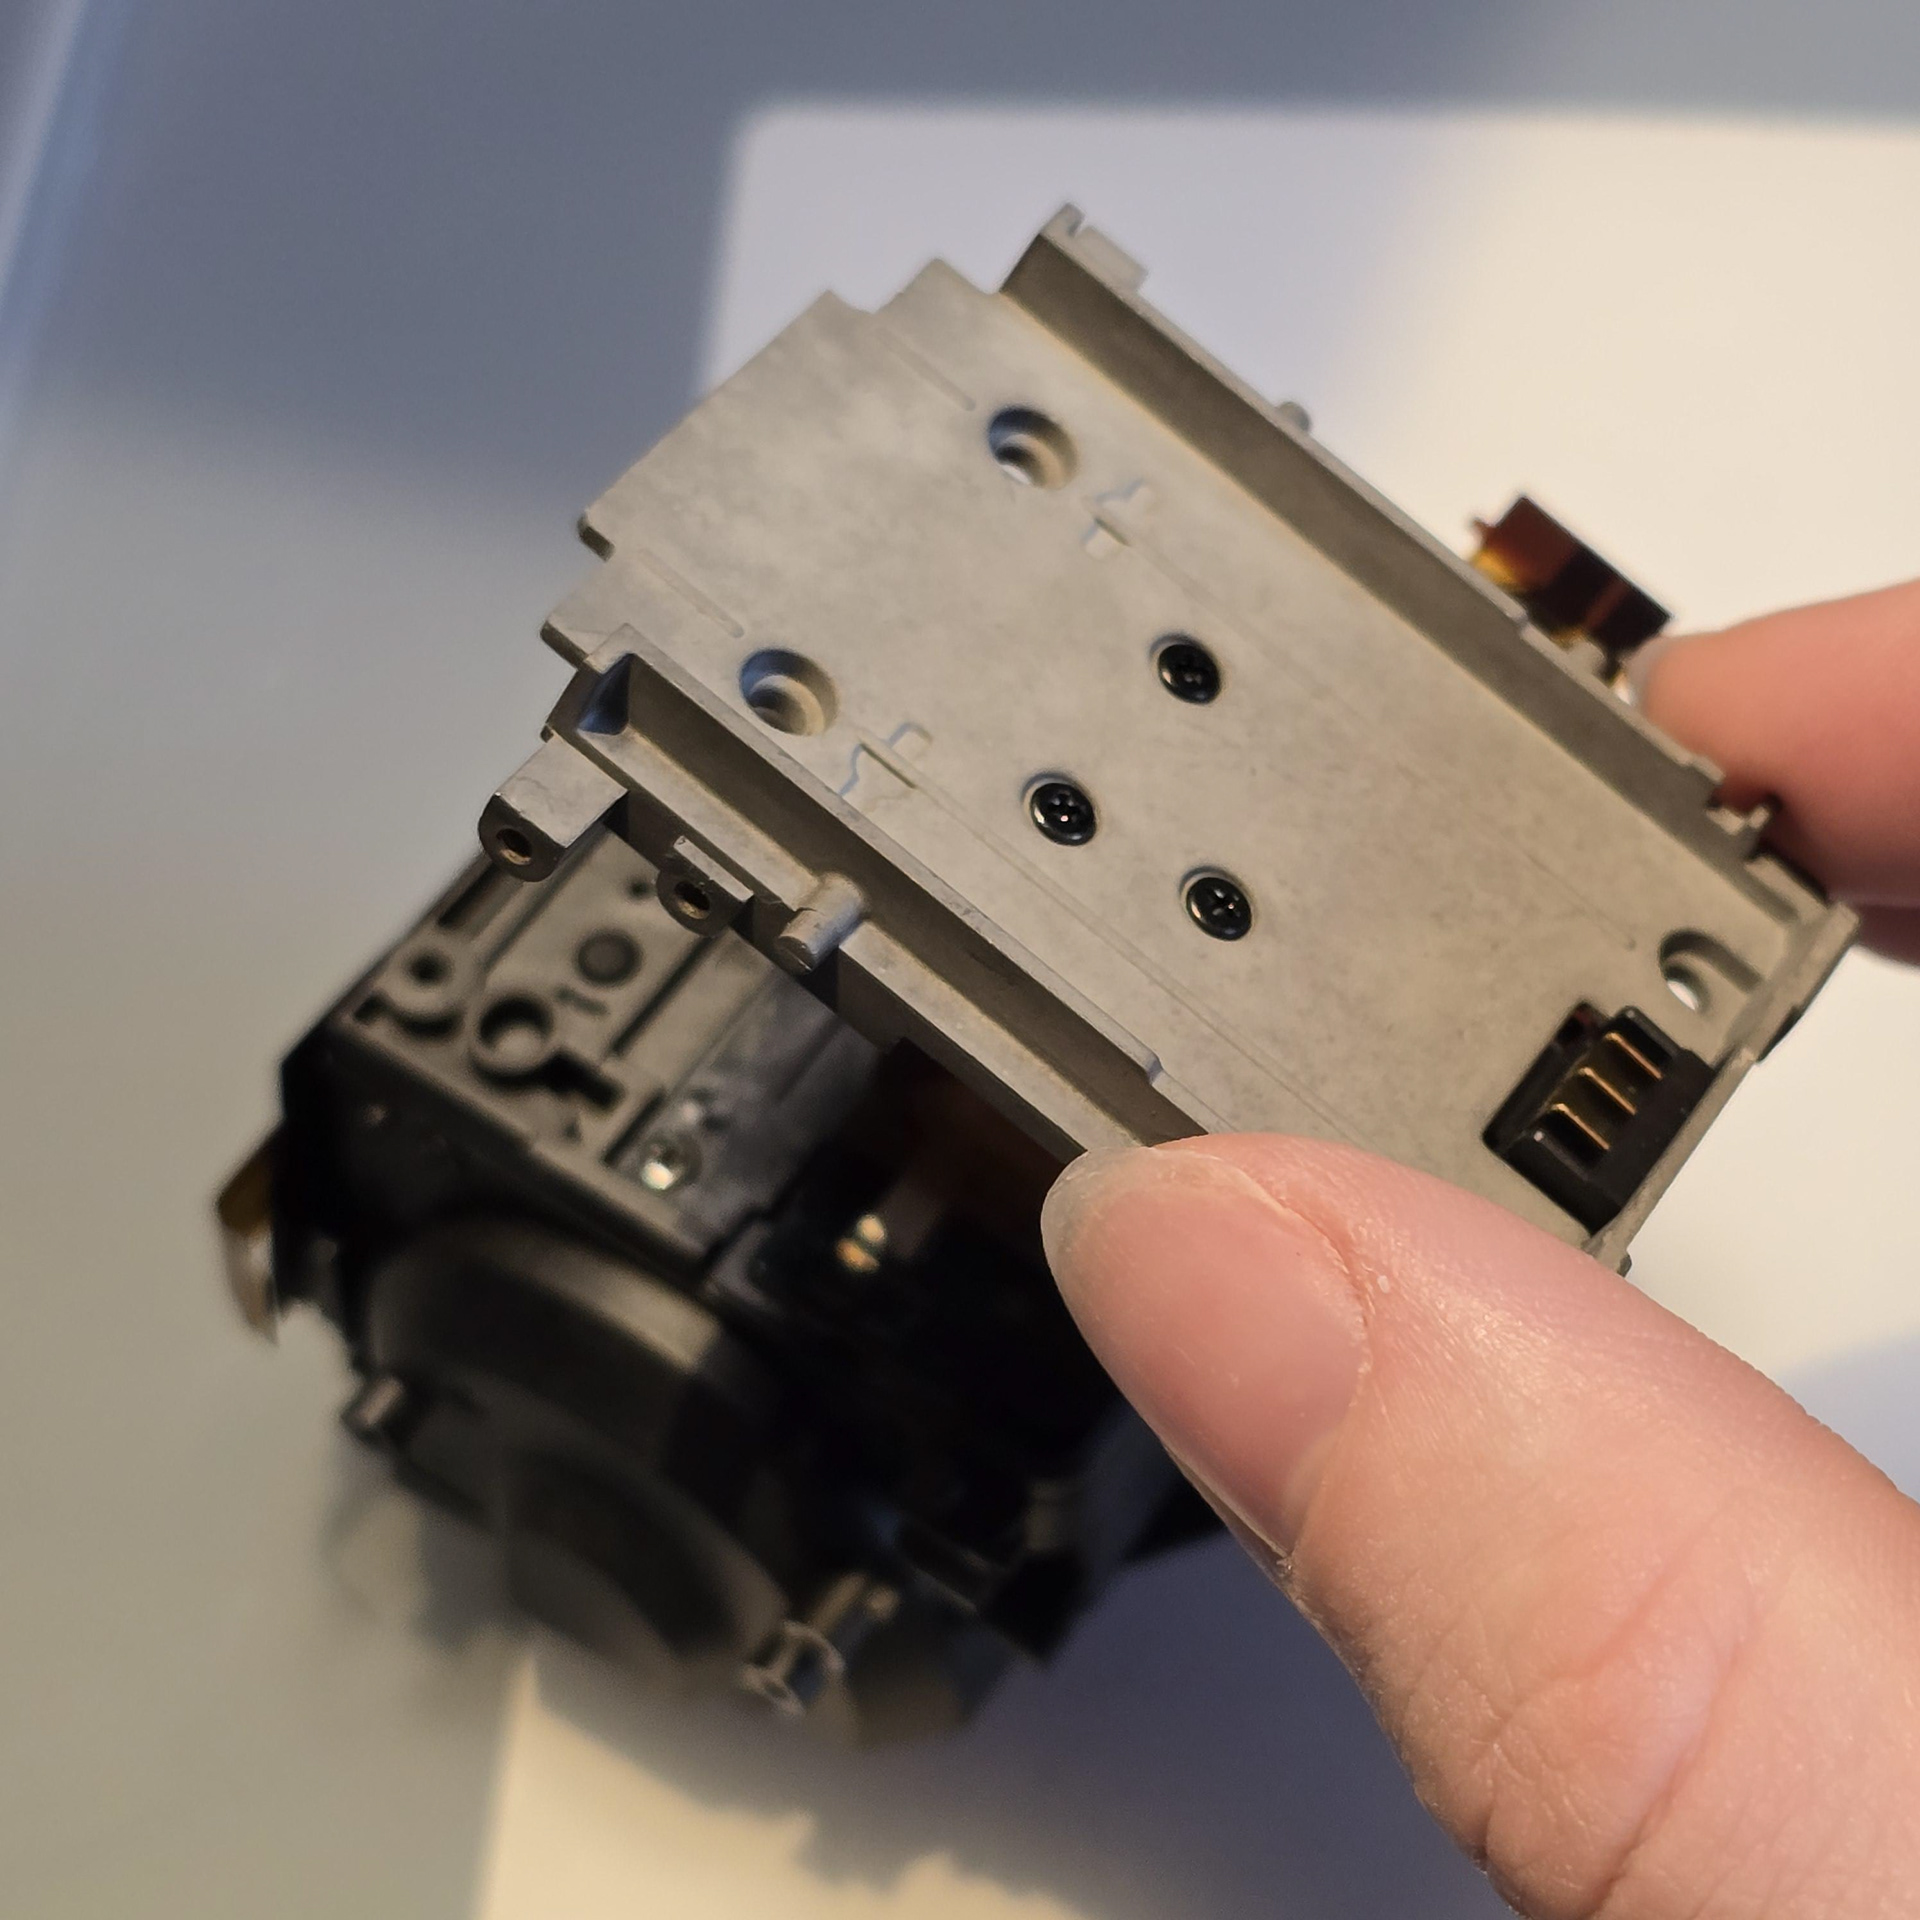
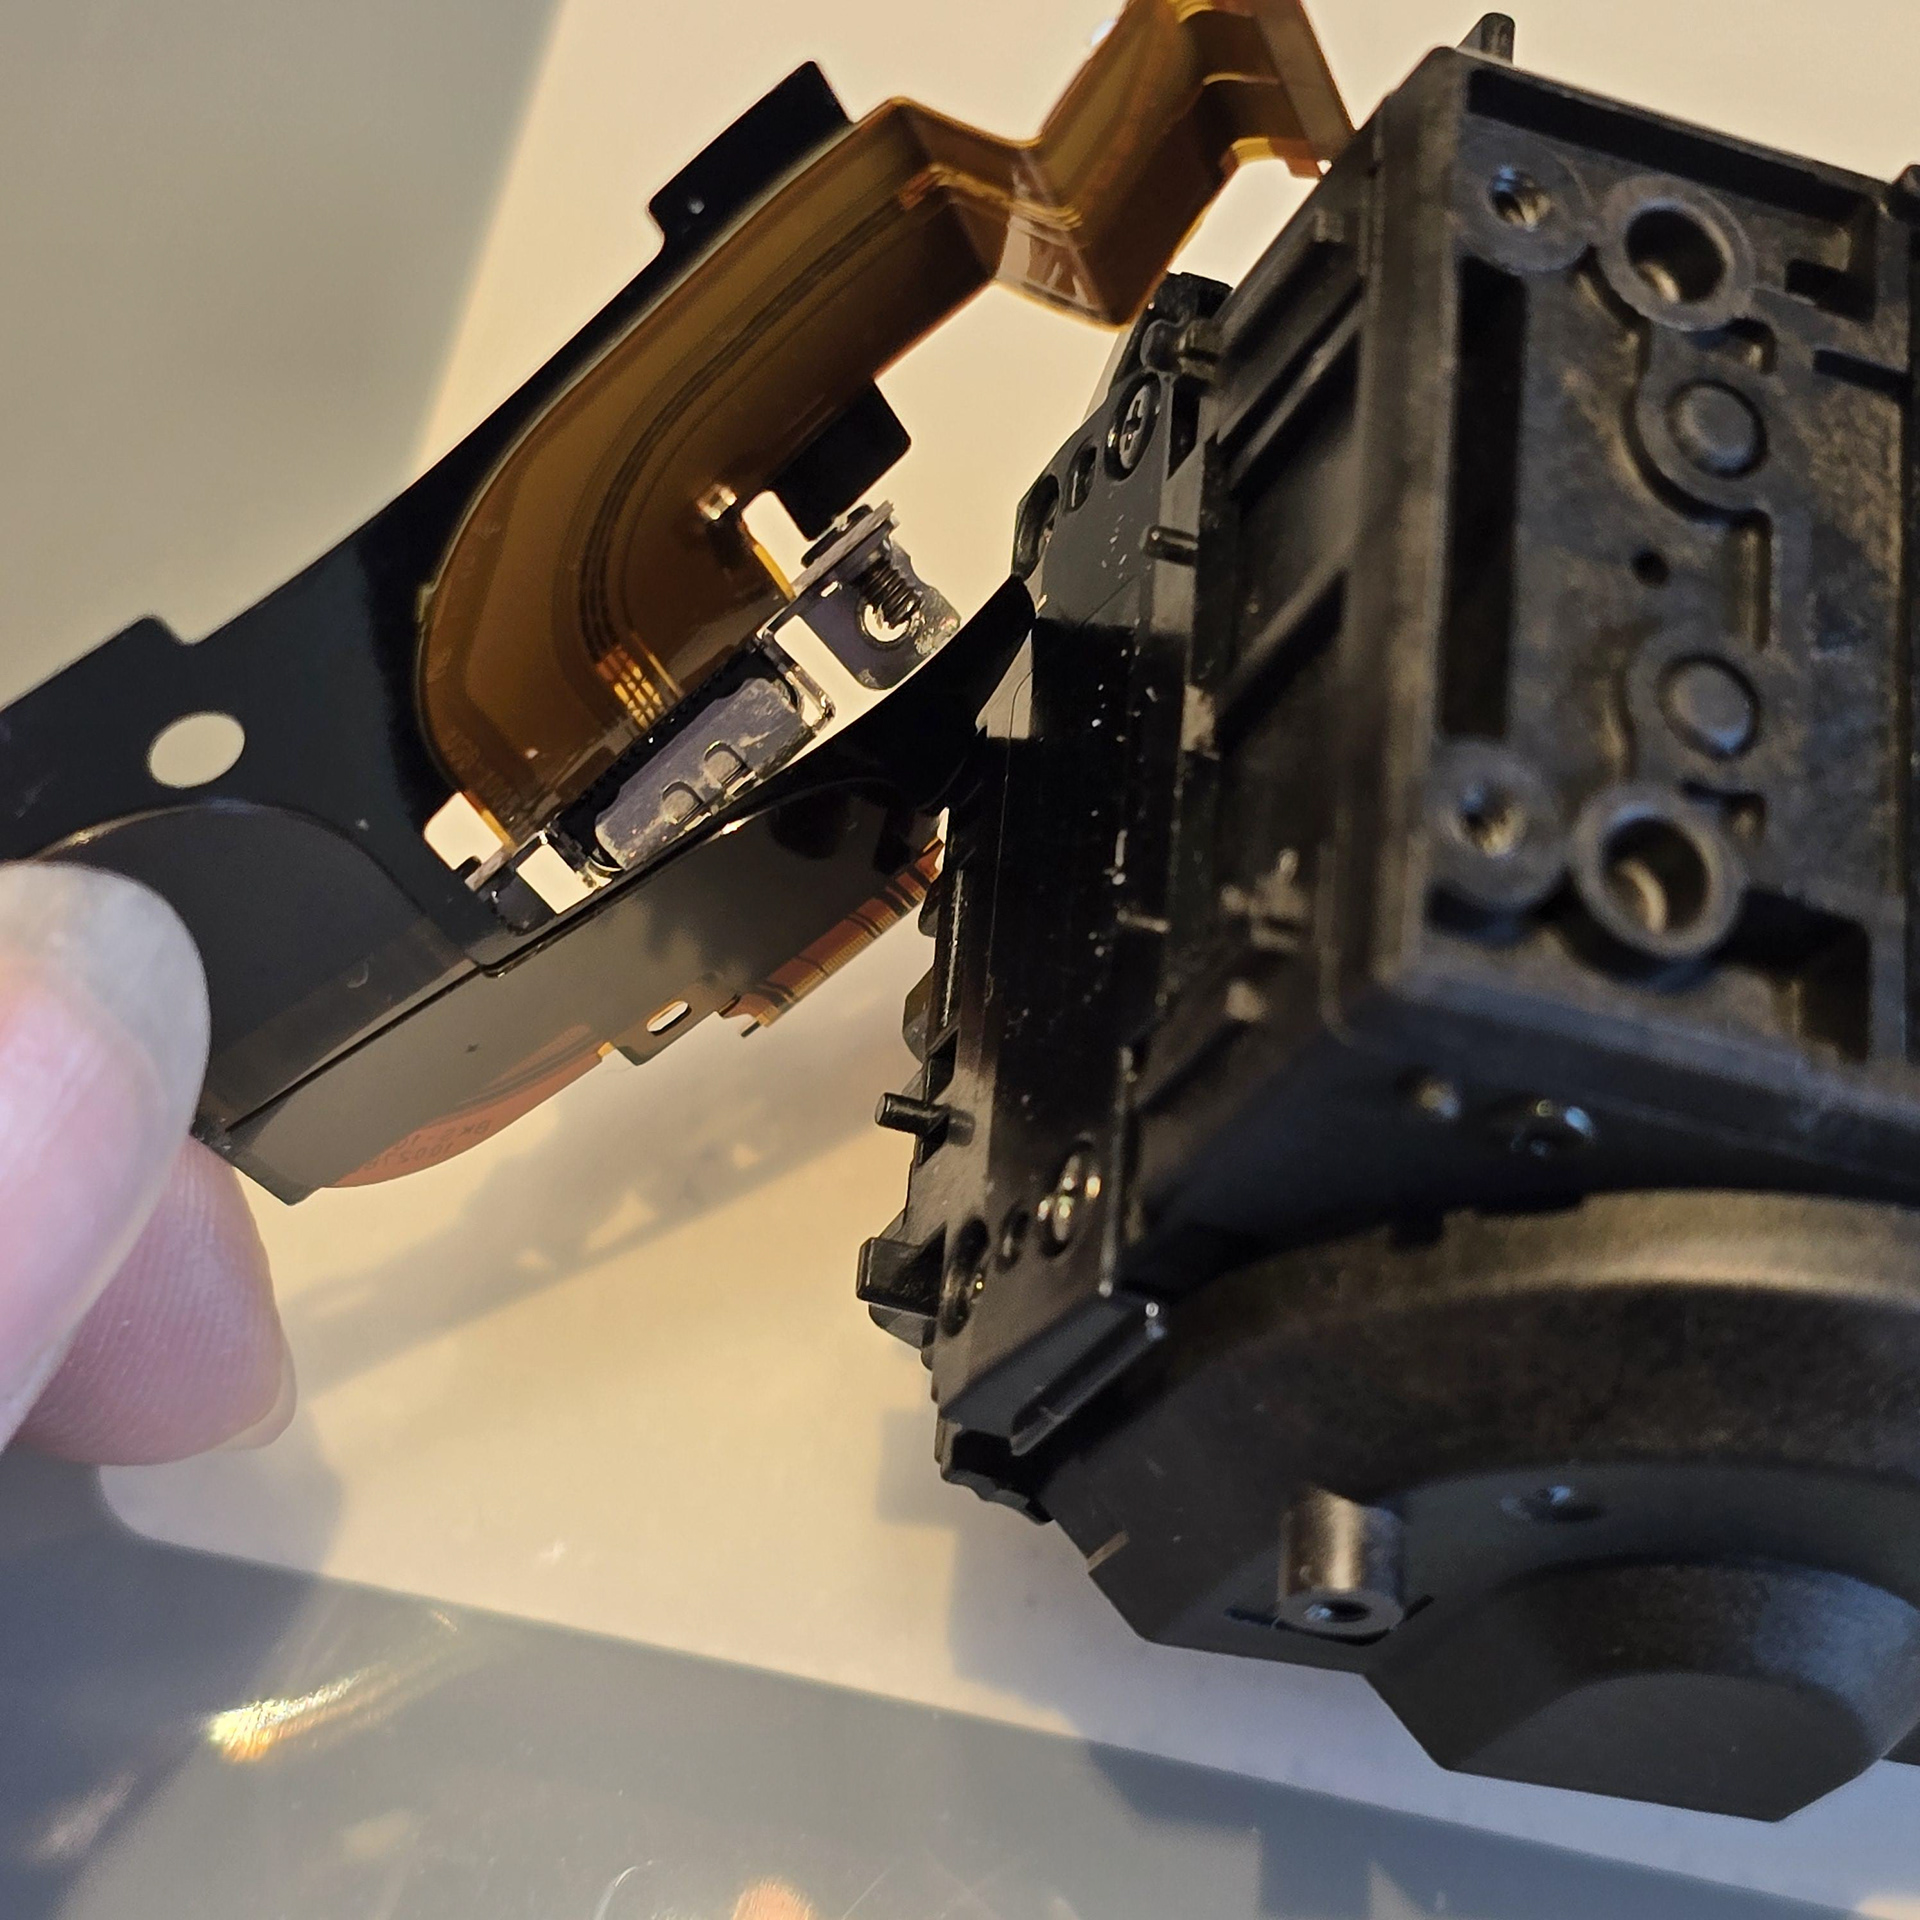
With the battery and side boards removed, we can take out the side screws and separate the two halves of POIQ - This reveals the access screws to start disassembly. This time I will be taking apart the module that houses the wheels set up and servos. Looking down at the metal plate there are a bunch of screws which I start removing.
バッテリーとサイドボードを取り外したら、サイドのネジを外してPOIQを2つの部分に分離します。これでアクセスネジが現れ、分解作業が始まります。今回は、ホイールとサーボを内蔵するモジュールを分解します。金属プレートを見下ろすと、ネジがいくつかあるので、取り外し始めます。
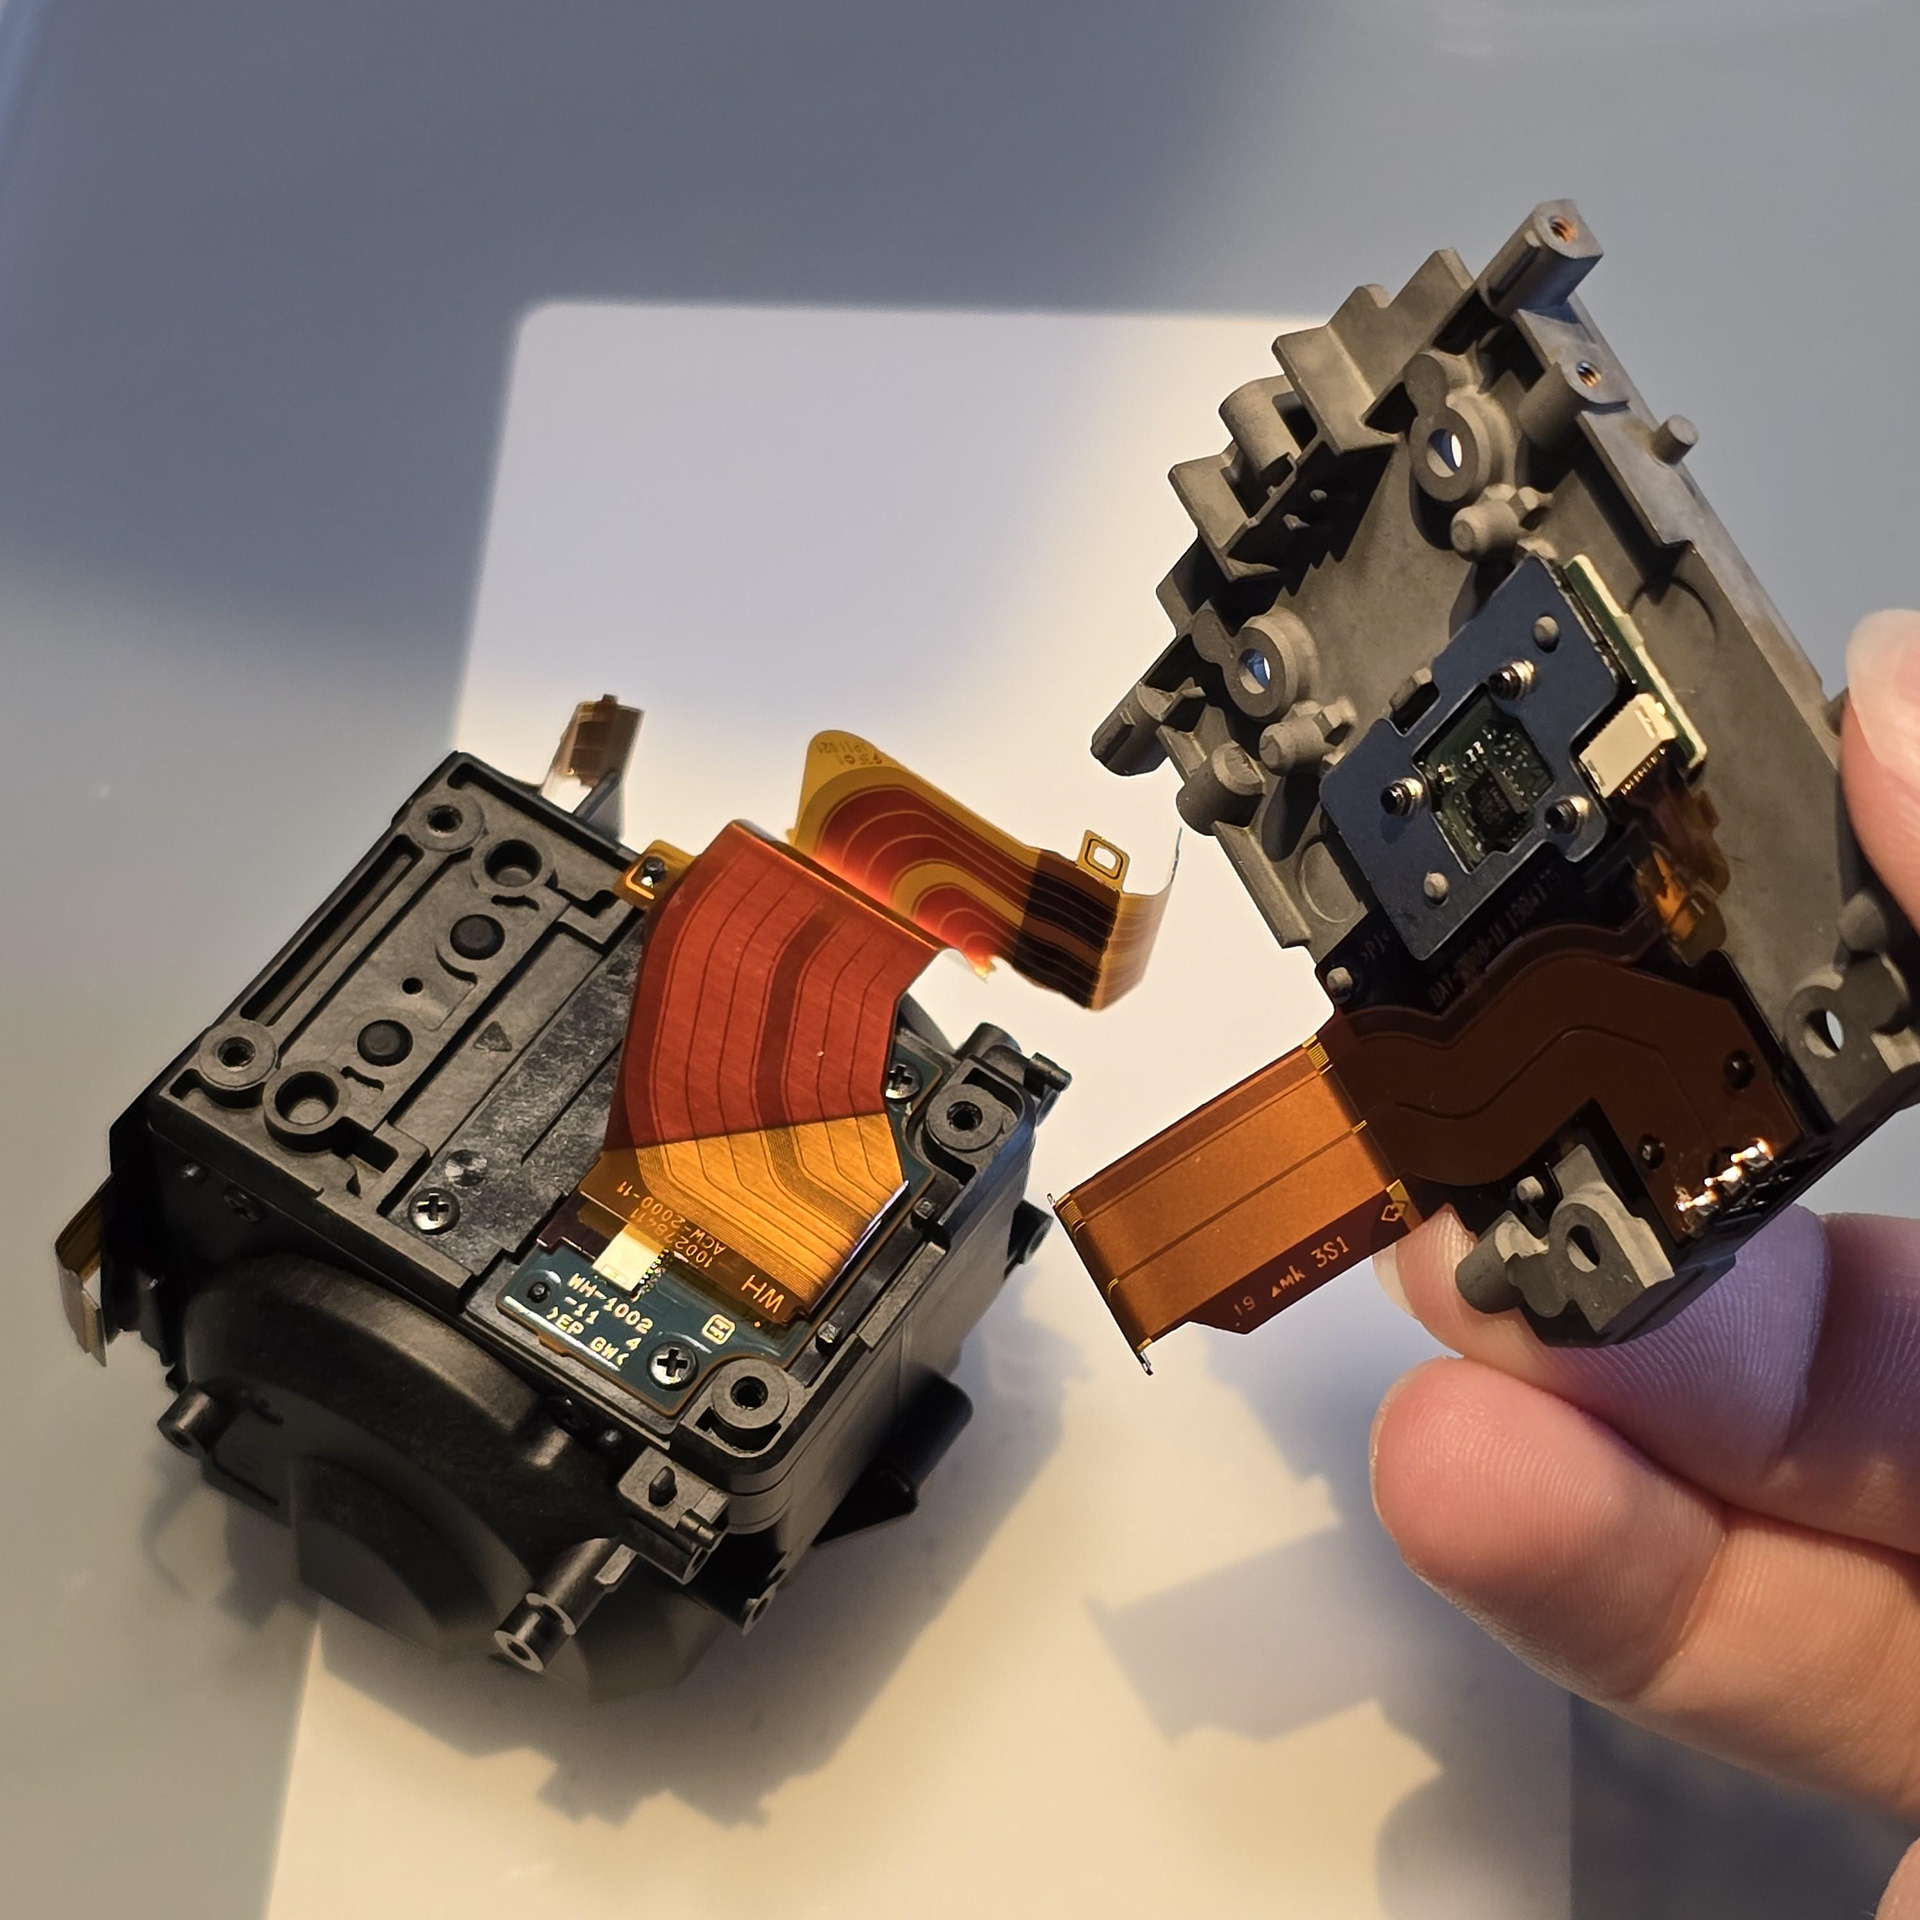
I take out the 4 screws nearest to the edges to release the black end plastic and release the metal plate.
端に最も近い 4 本のネジを外して、黒い端のプラスチックを外し、金属プレートを外します。
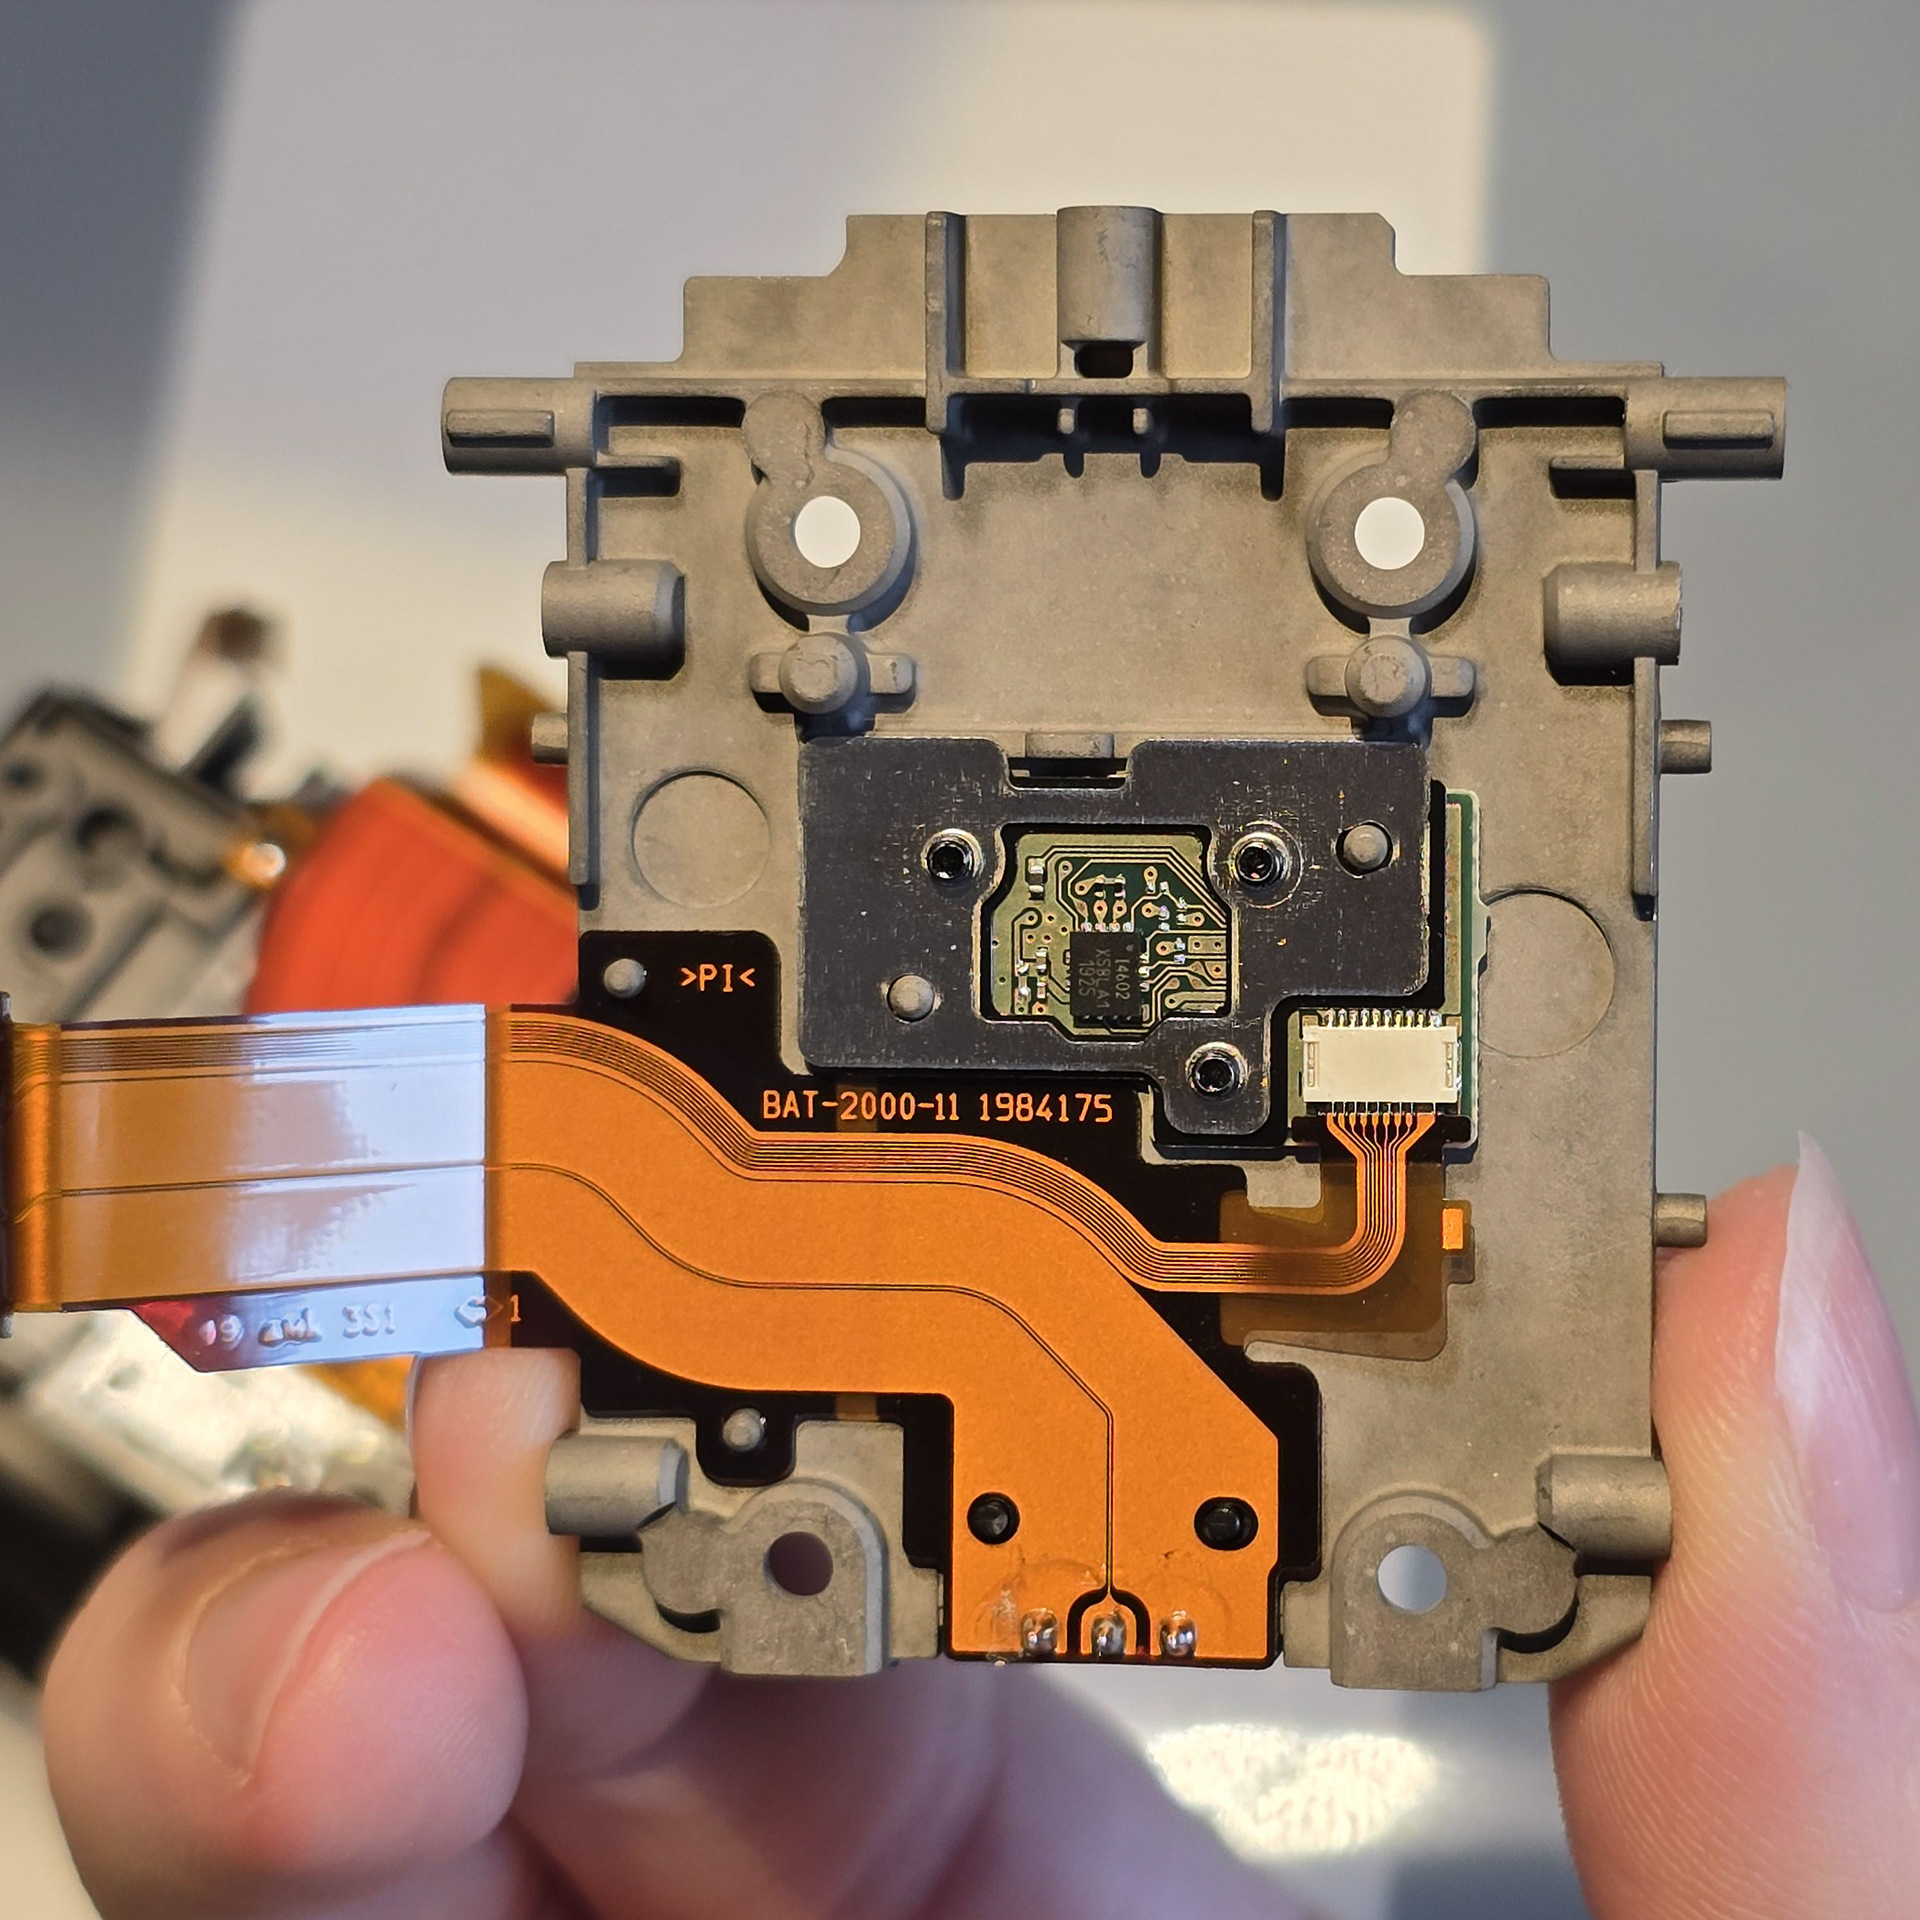
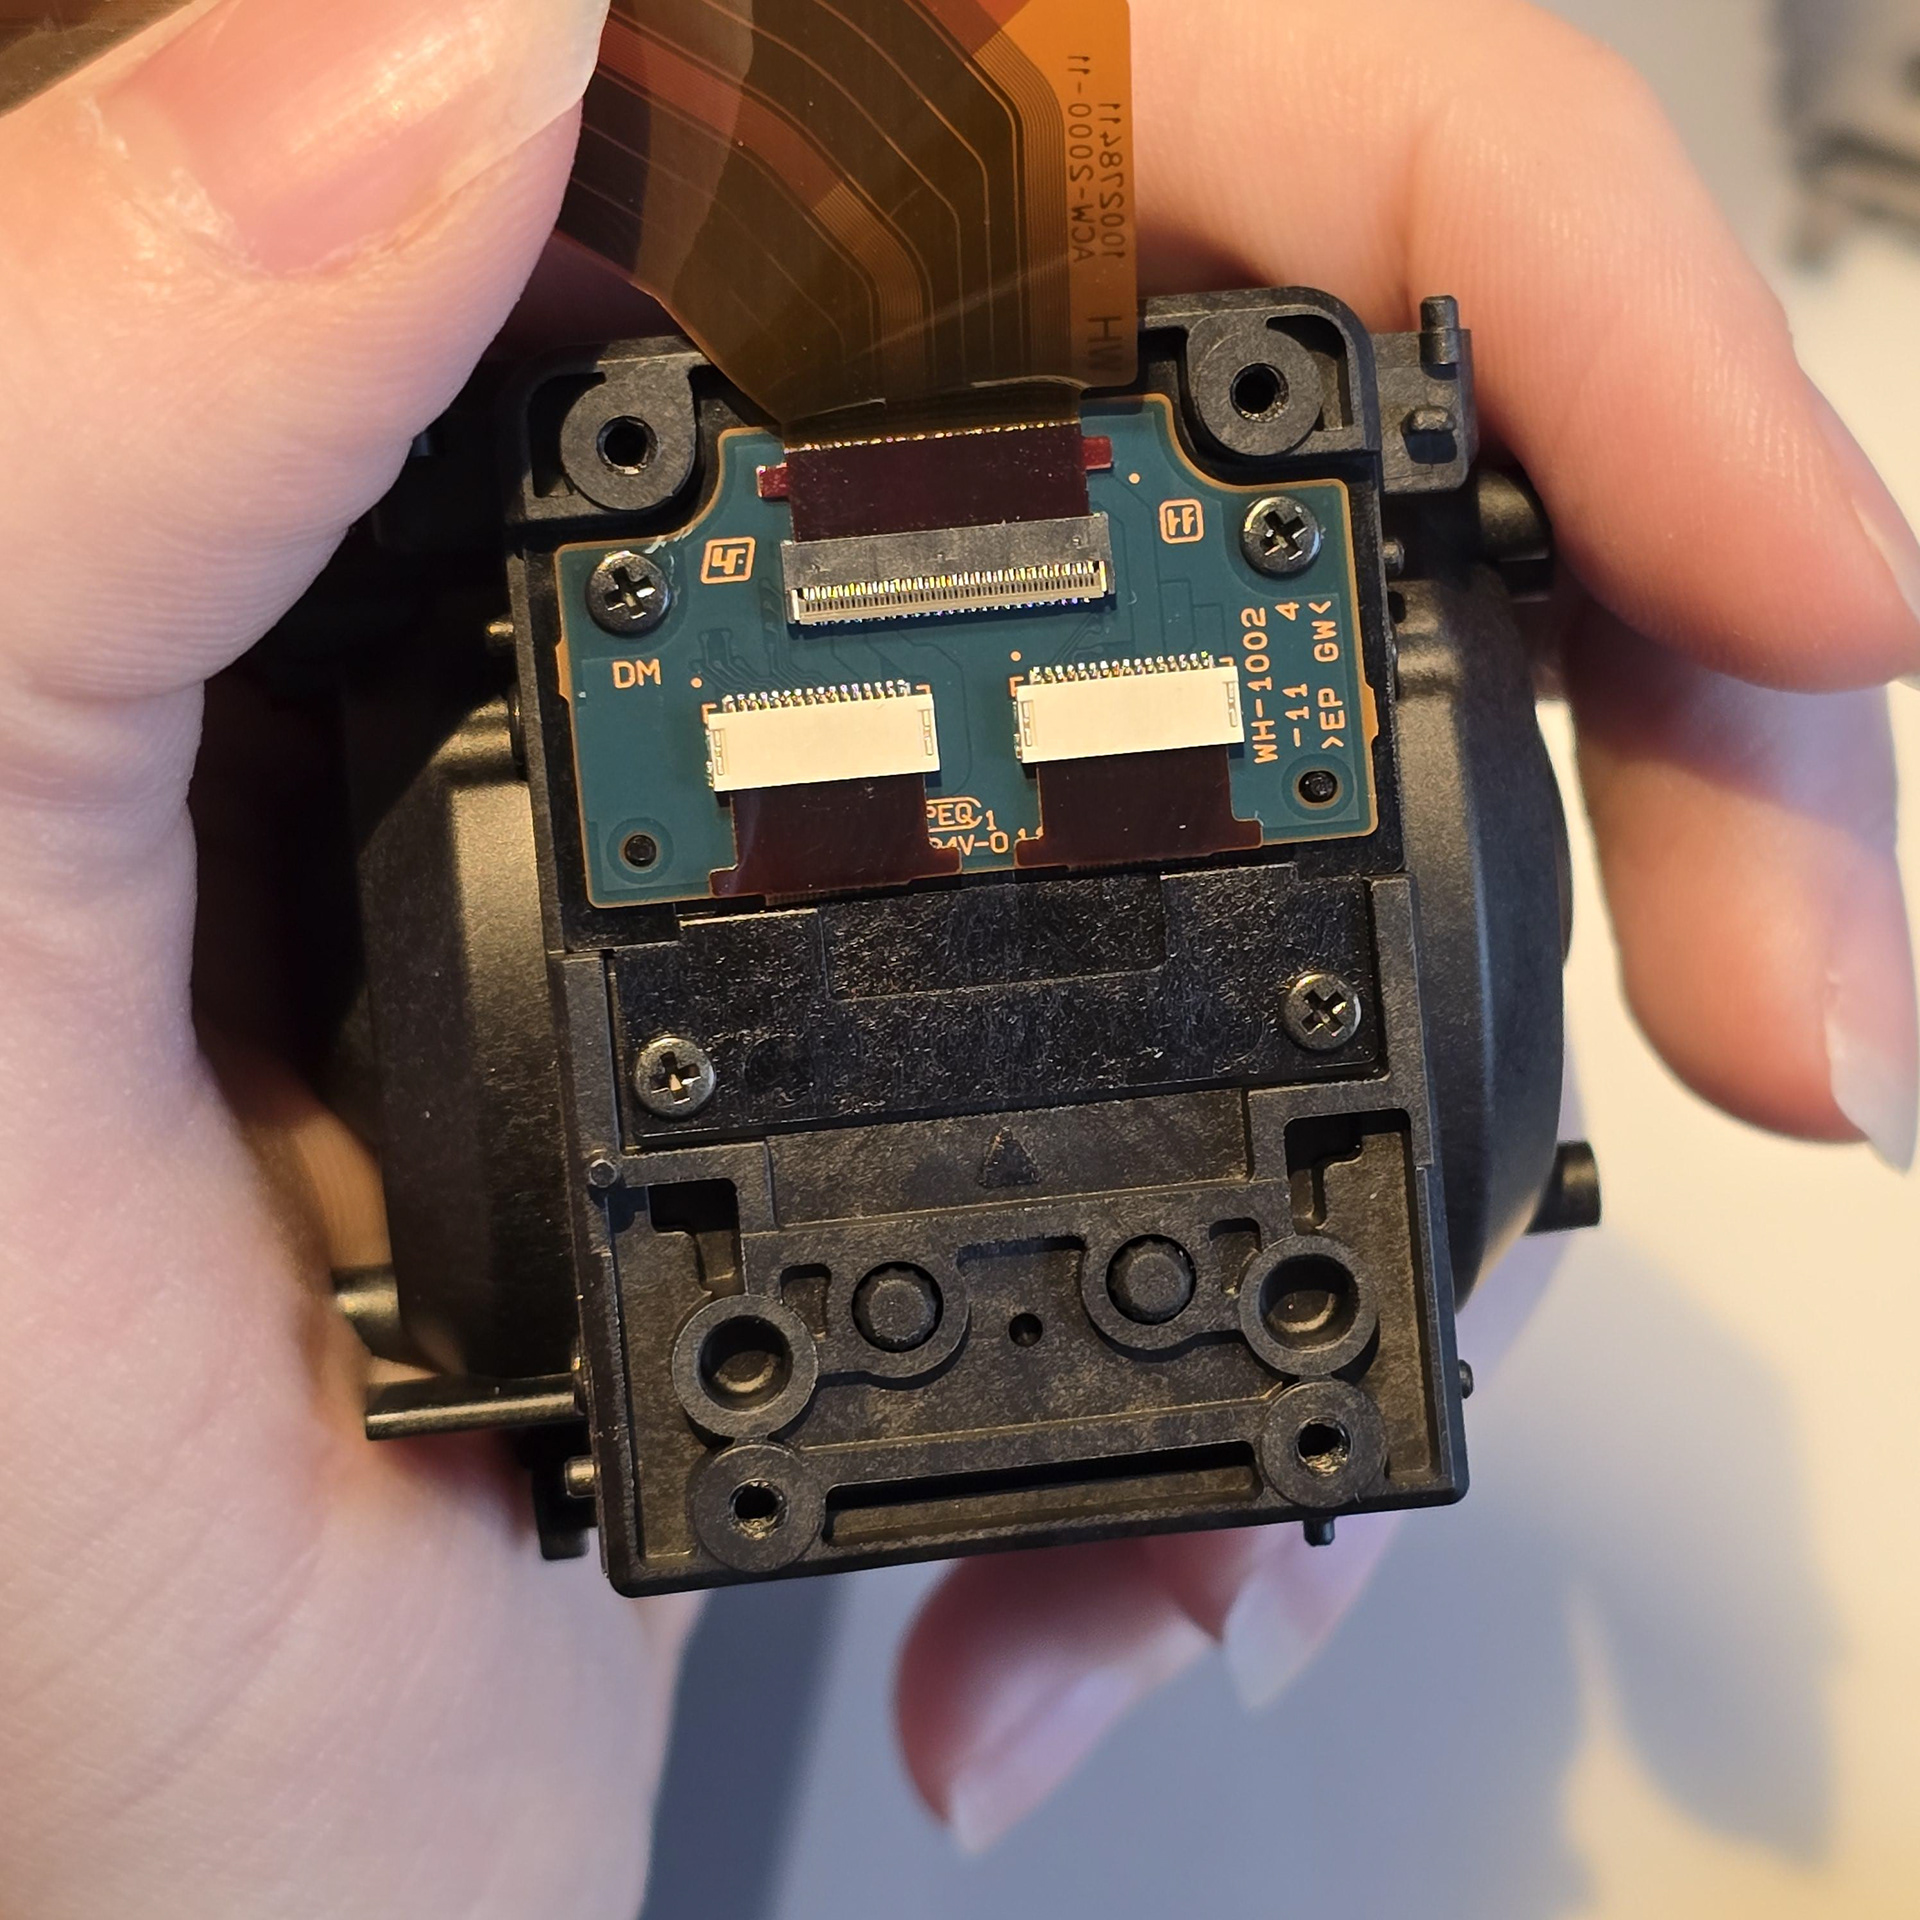
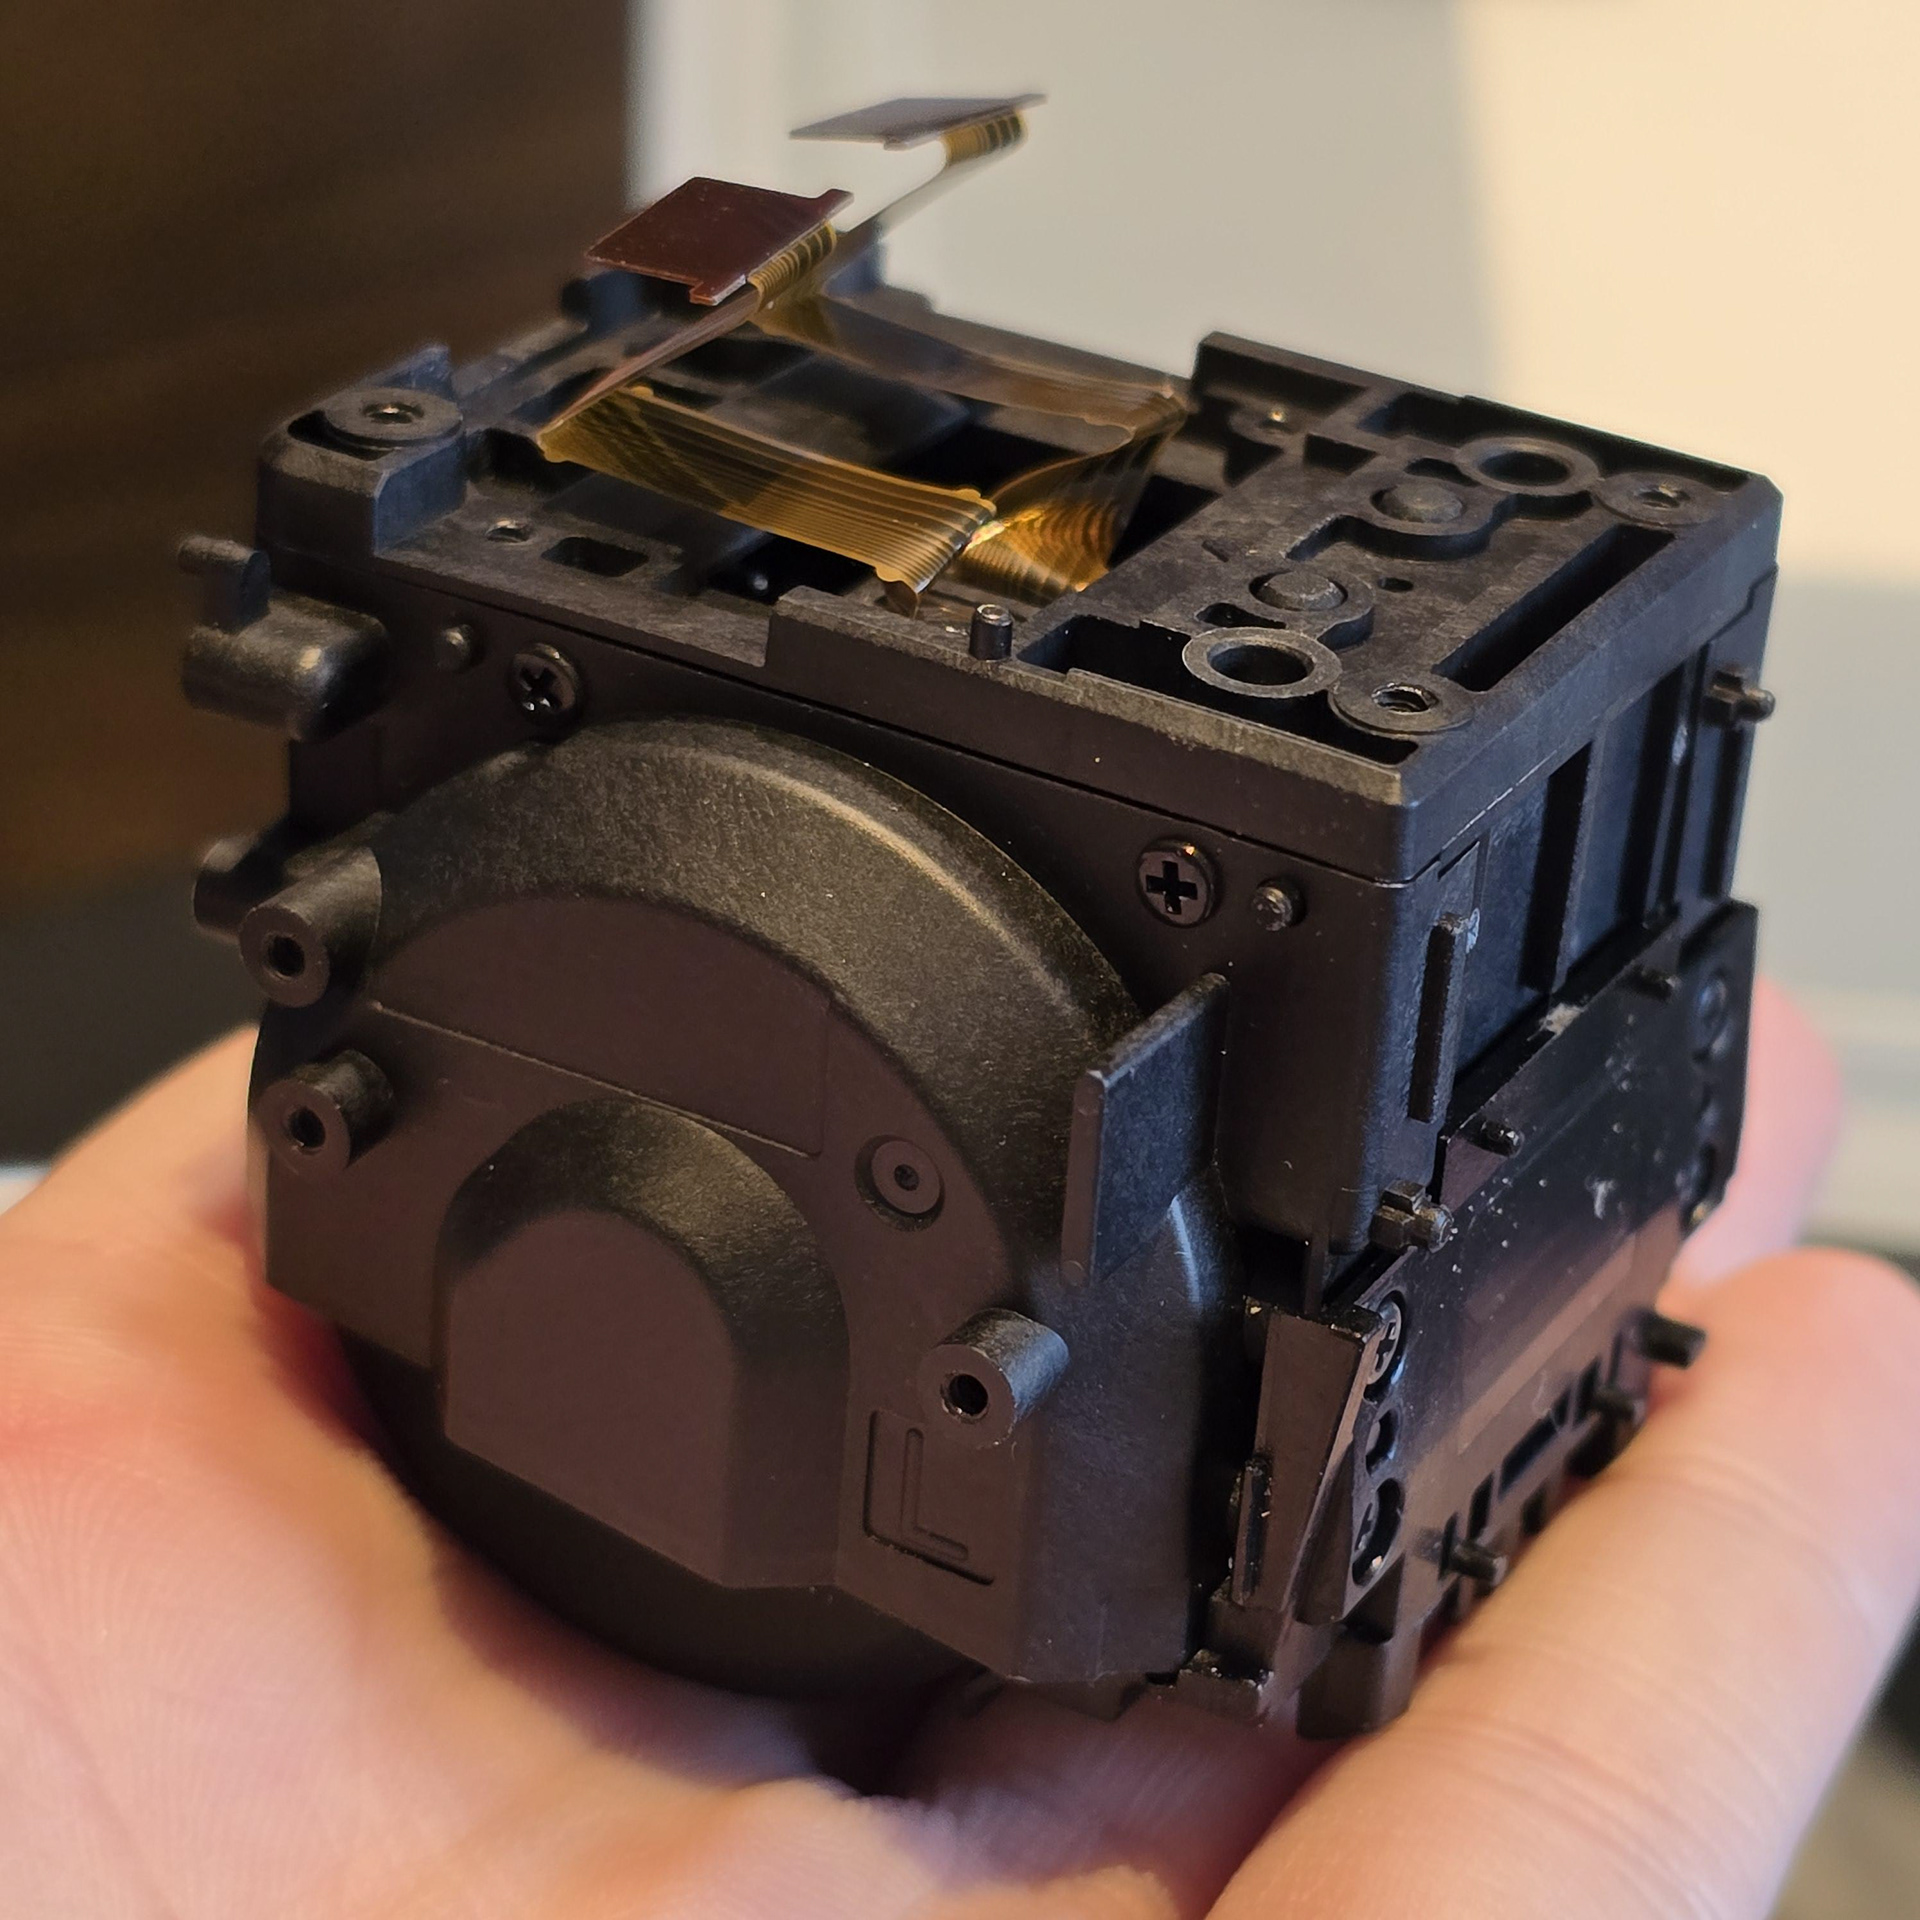
Views of the boards under the metal plate and on top leading to the motors.
金属板の下と上部にあるモーターにつながるボードのビュー。
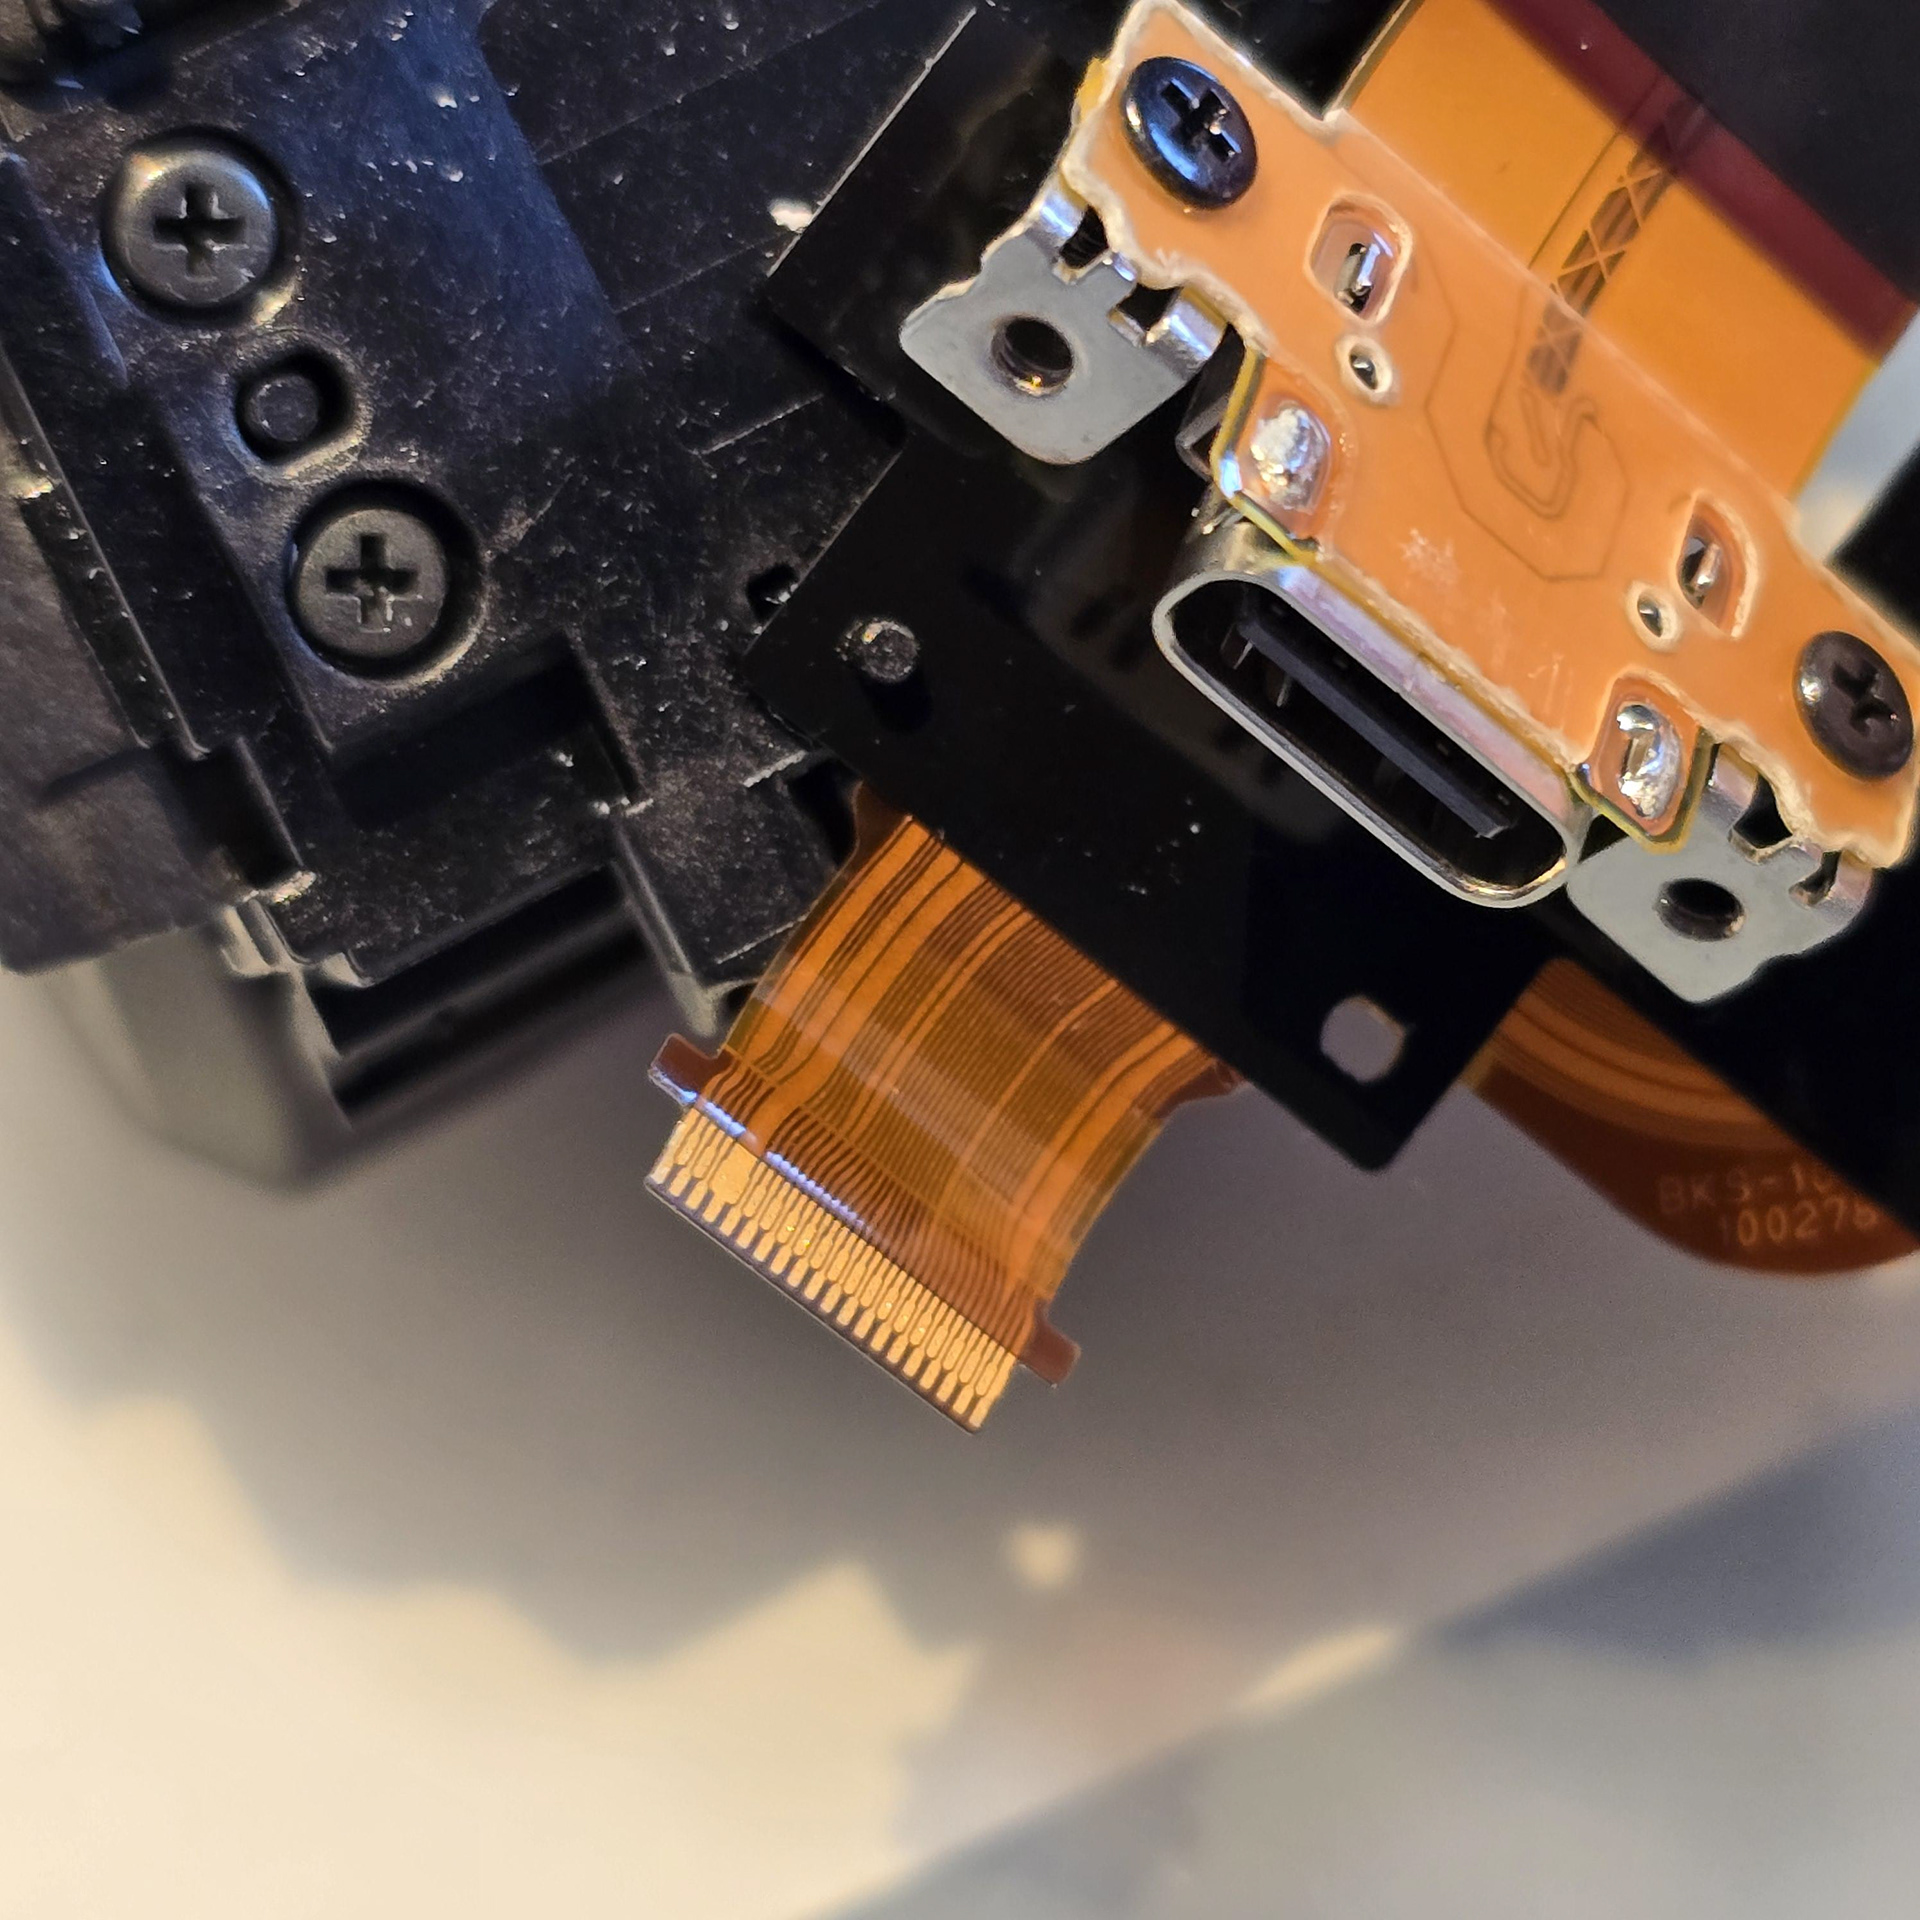
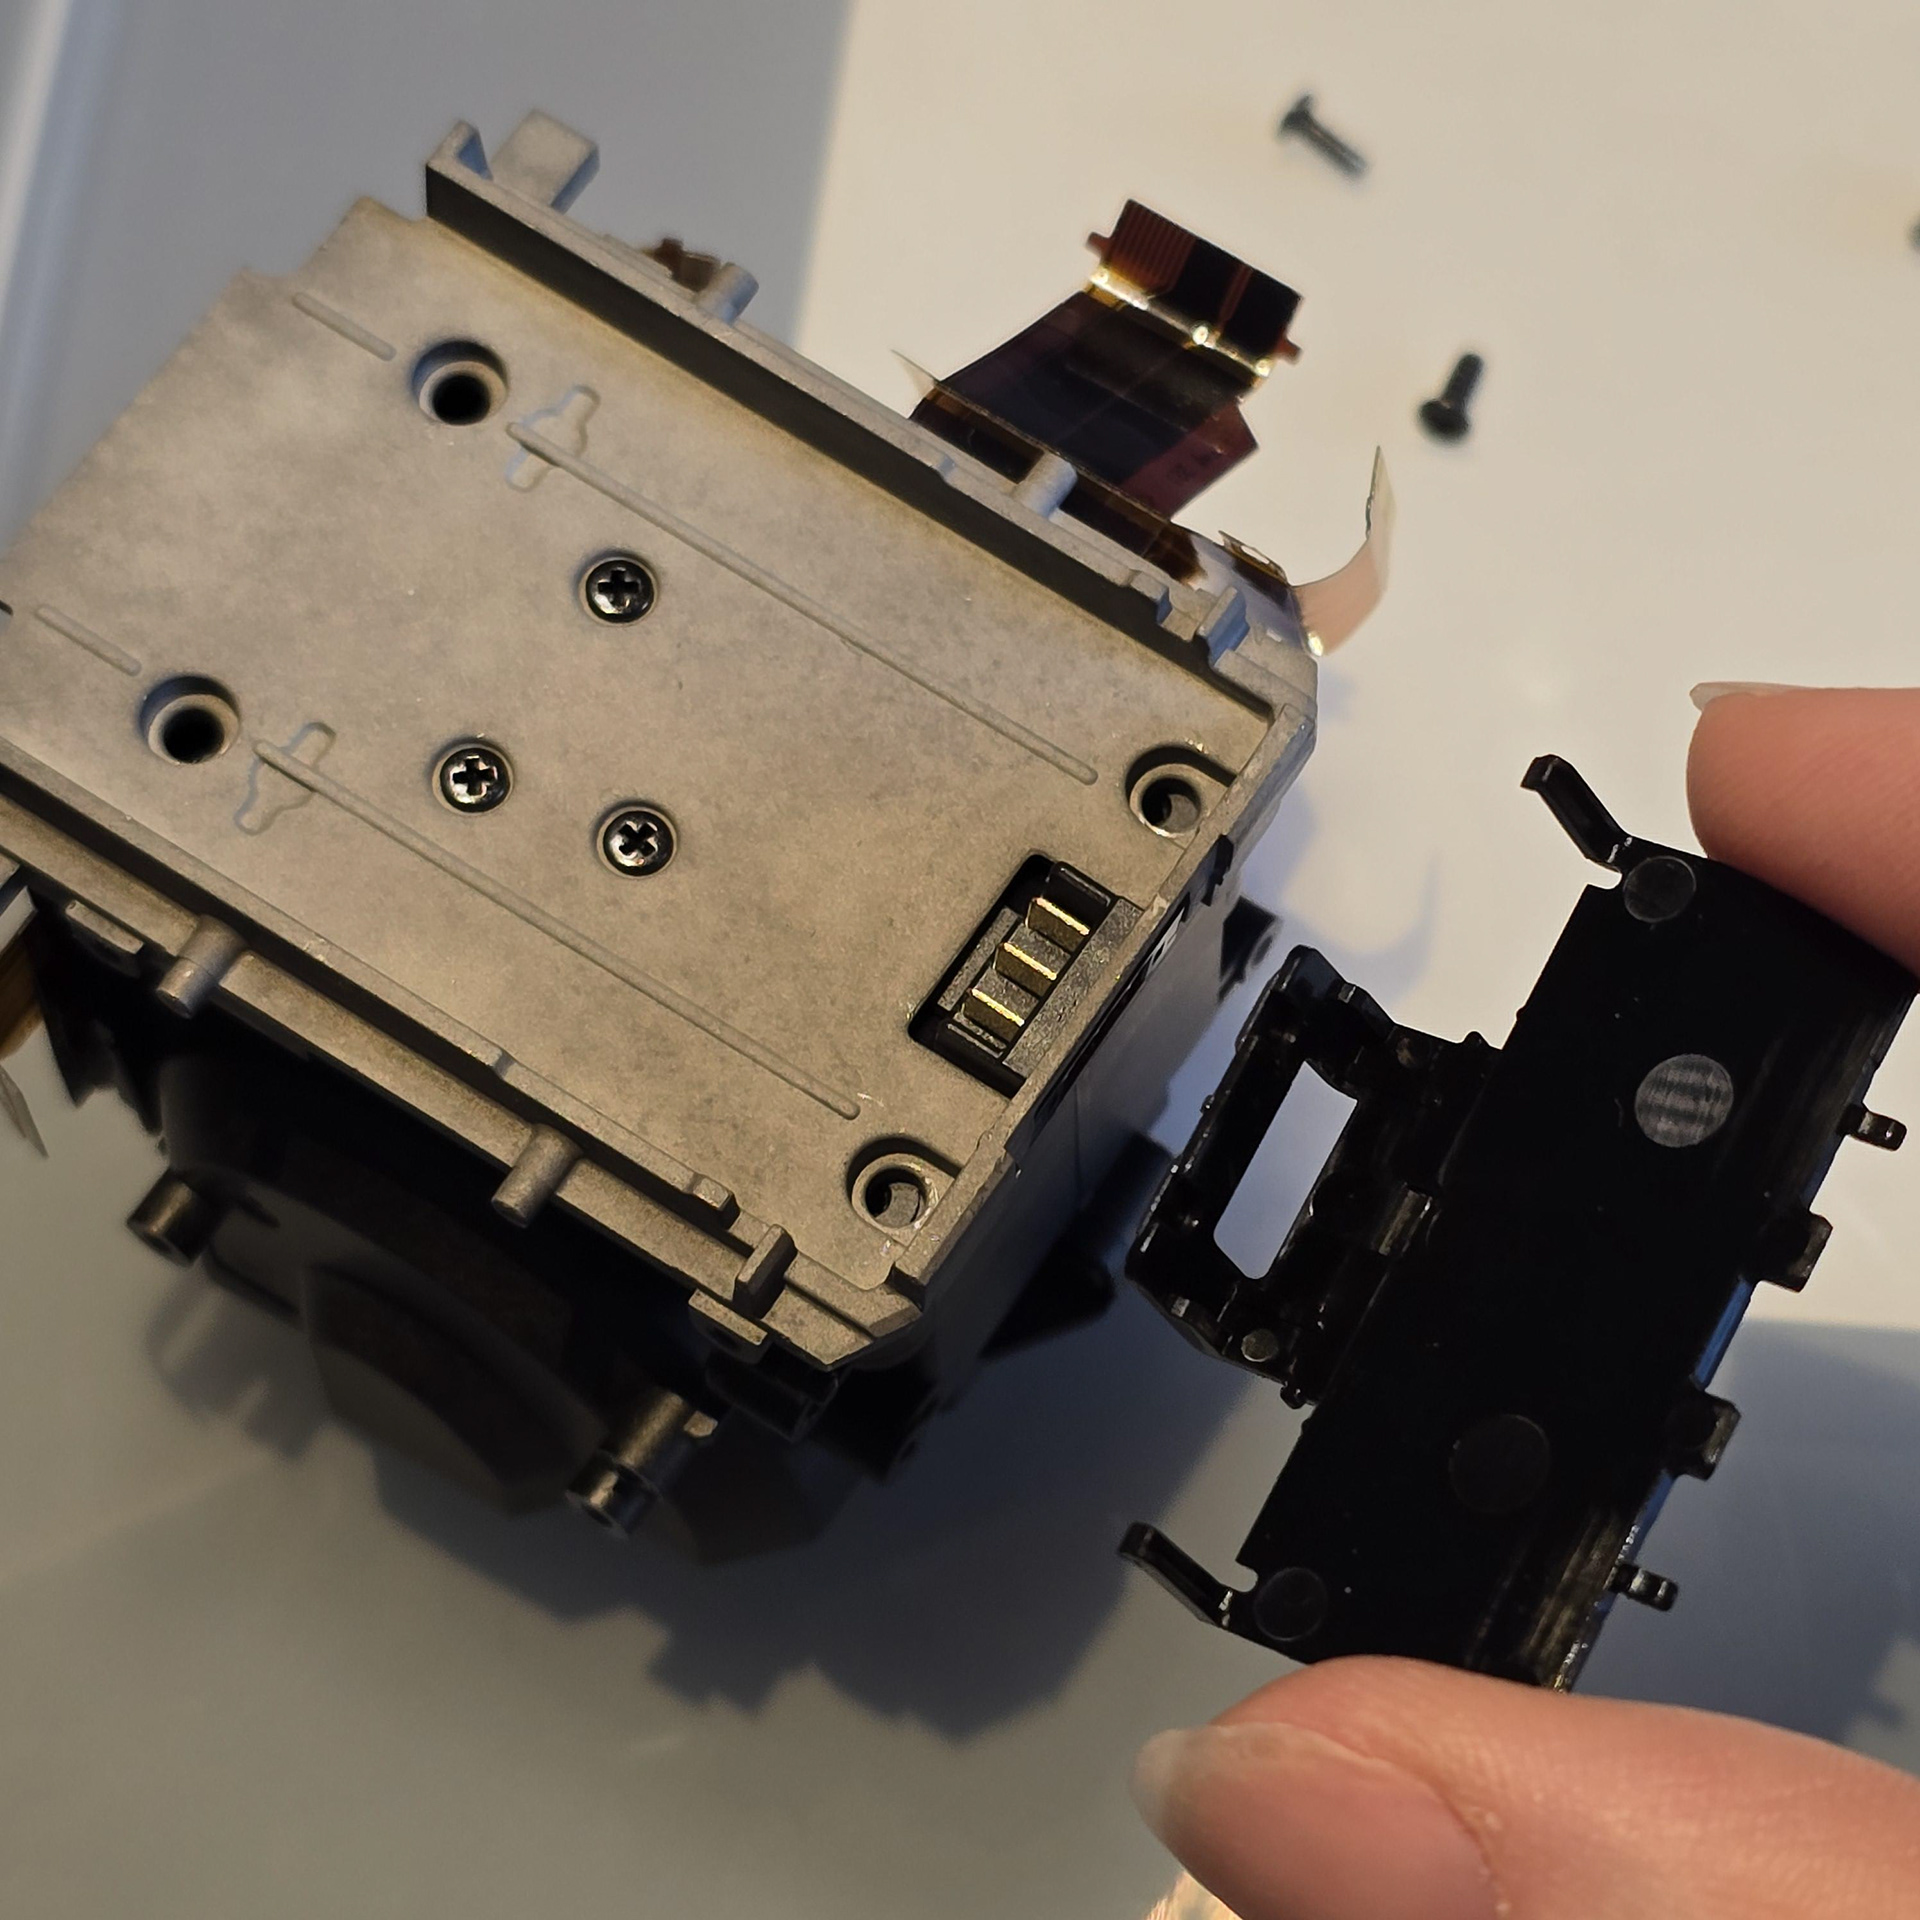
Before taking the block apart further, we need to remove the USB-C port on the side.
ブロックをさらに分解する前に、側面の USB-C ポートを取り外す必要があります。

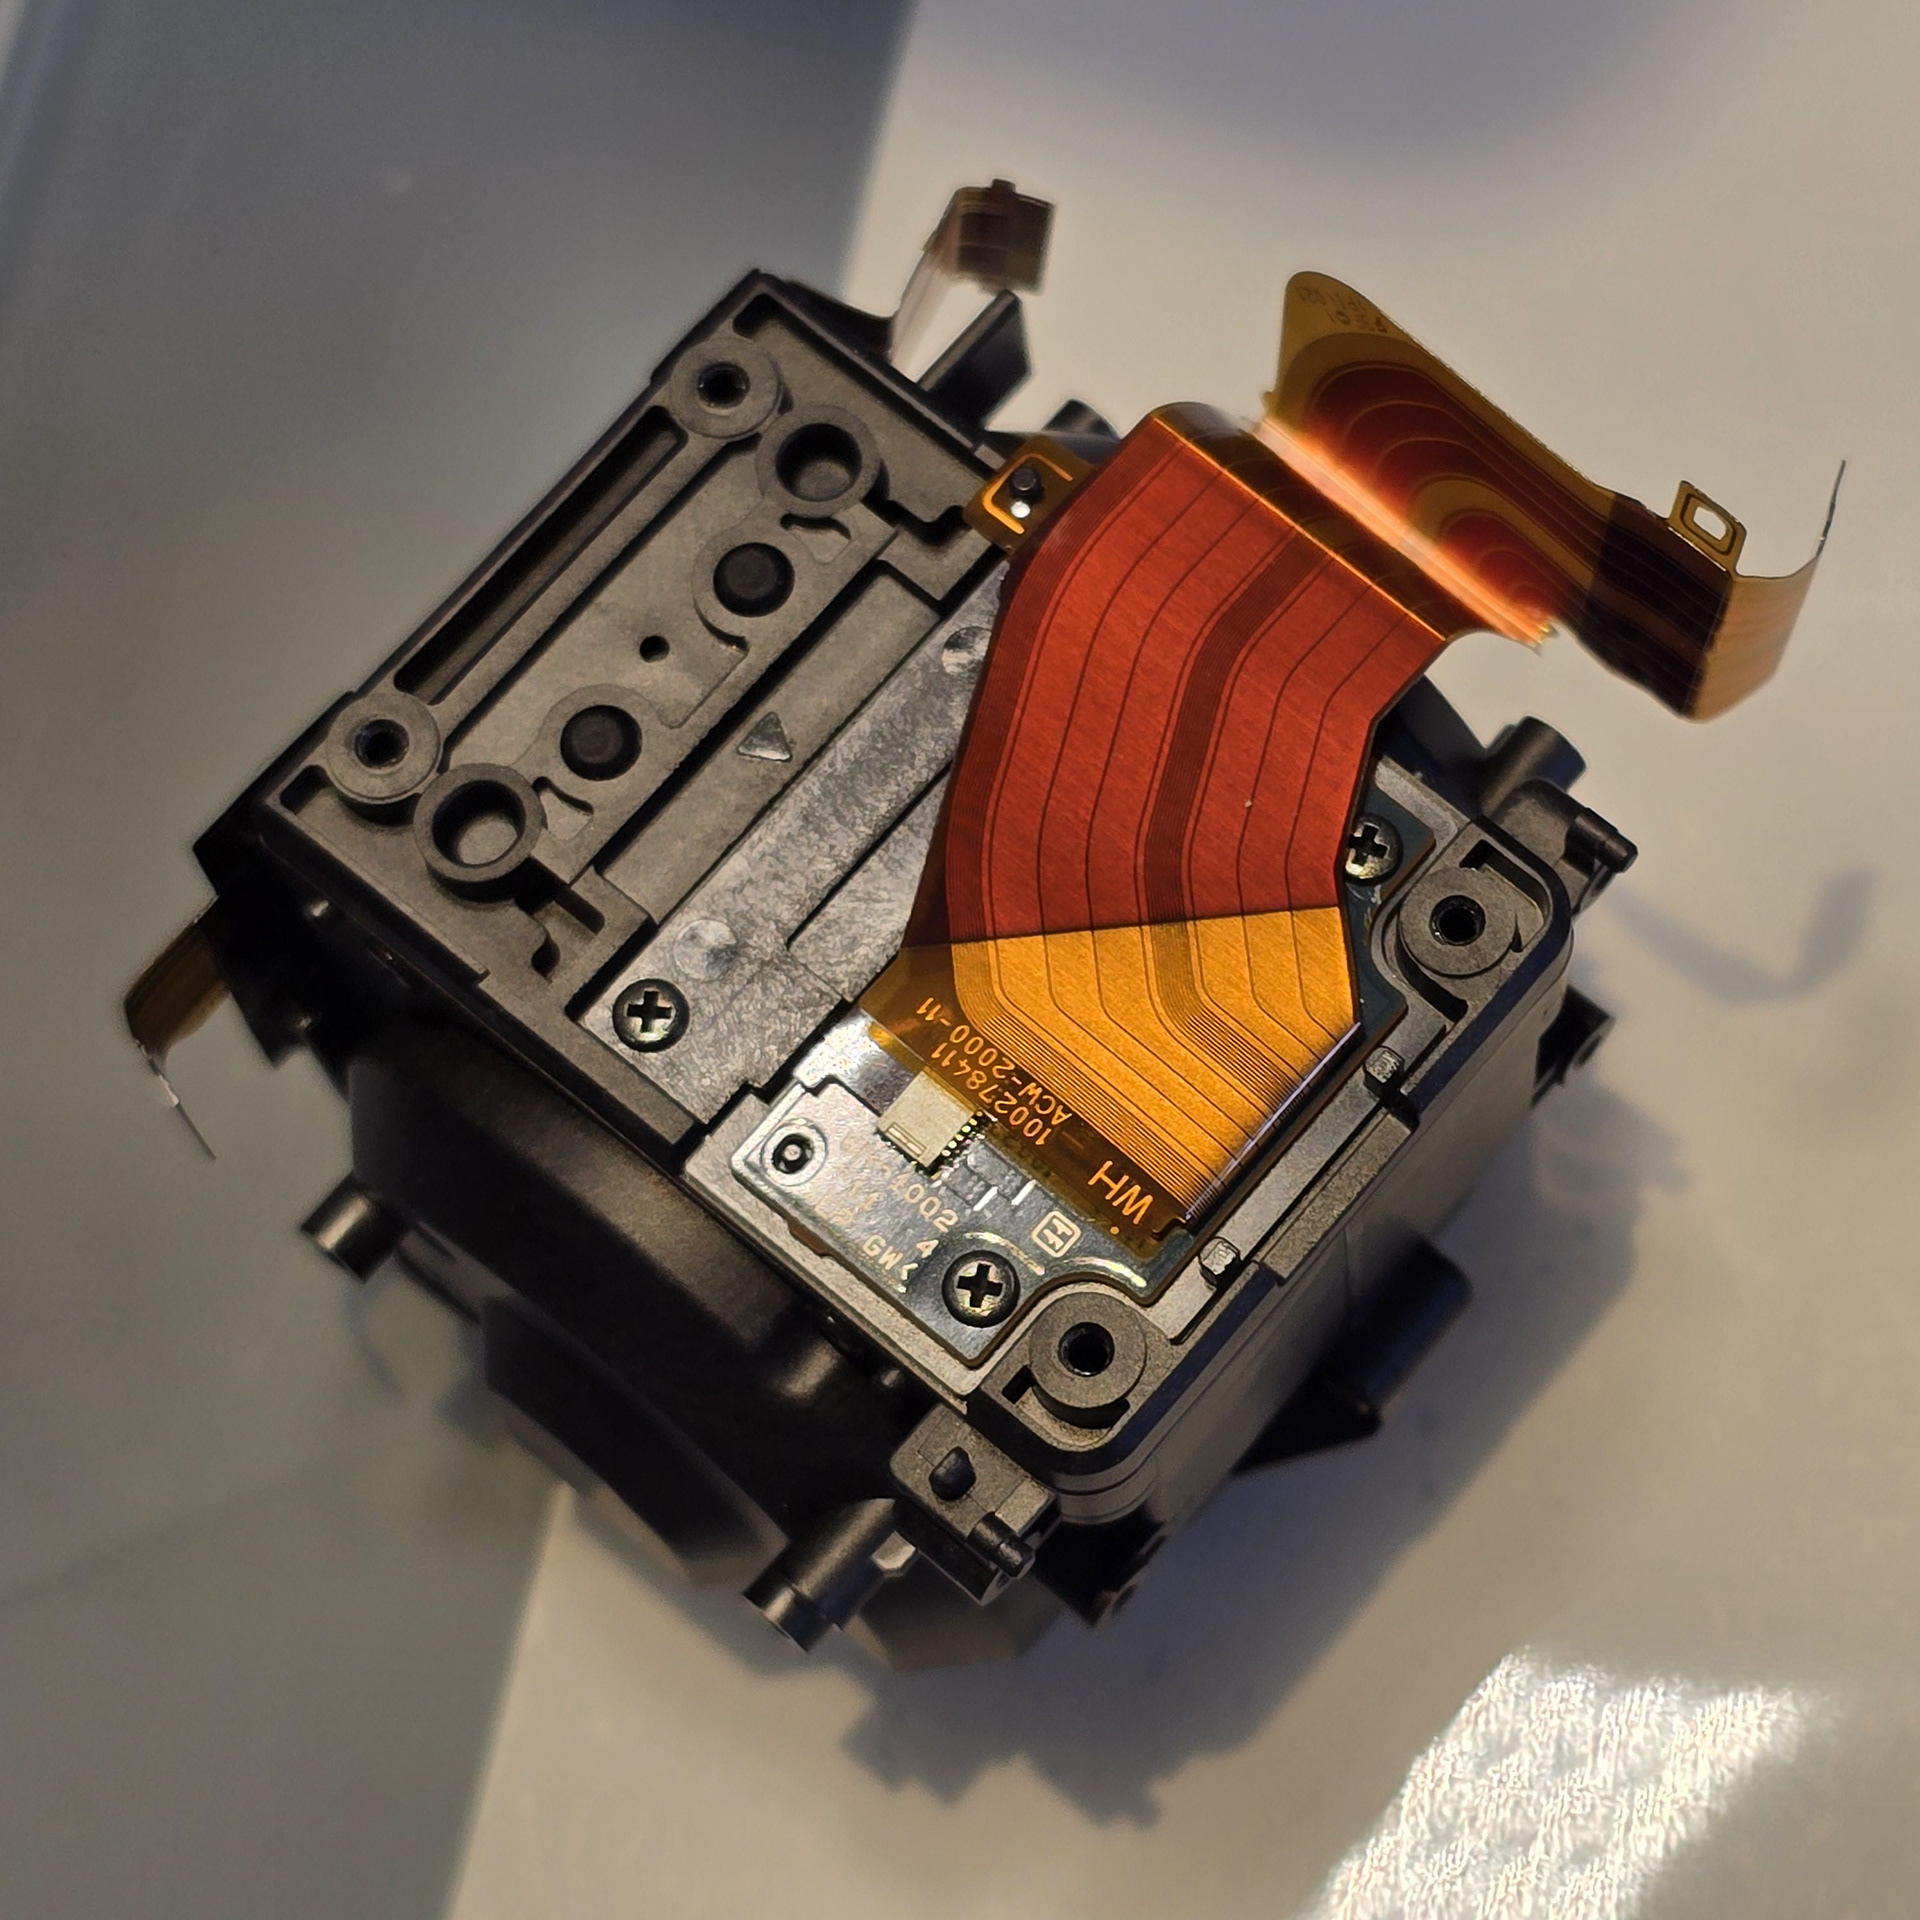
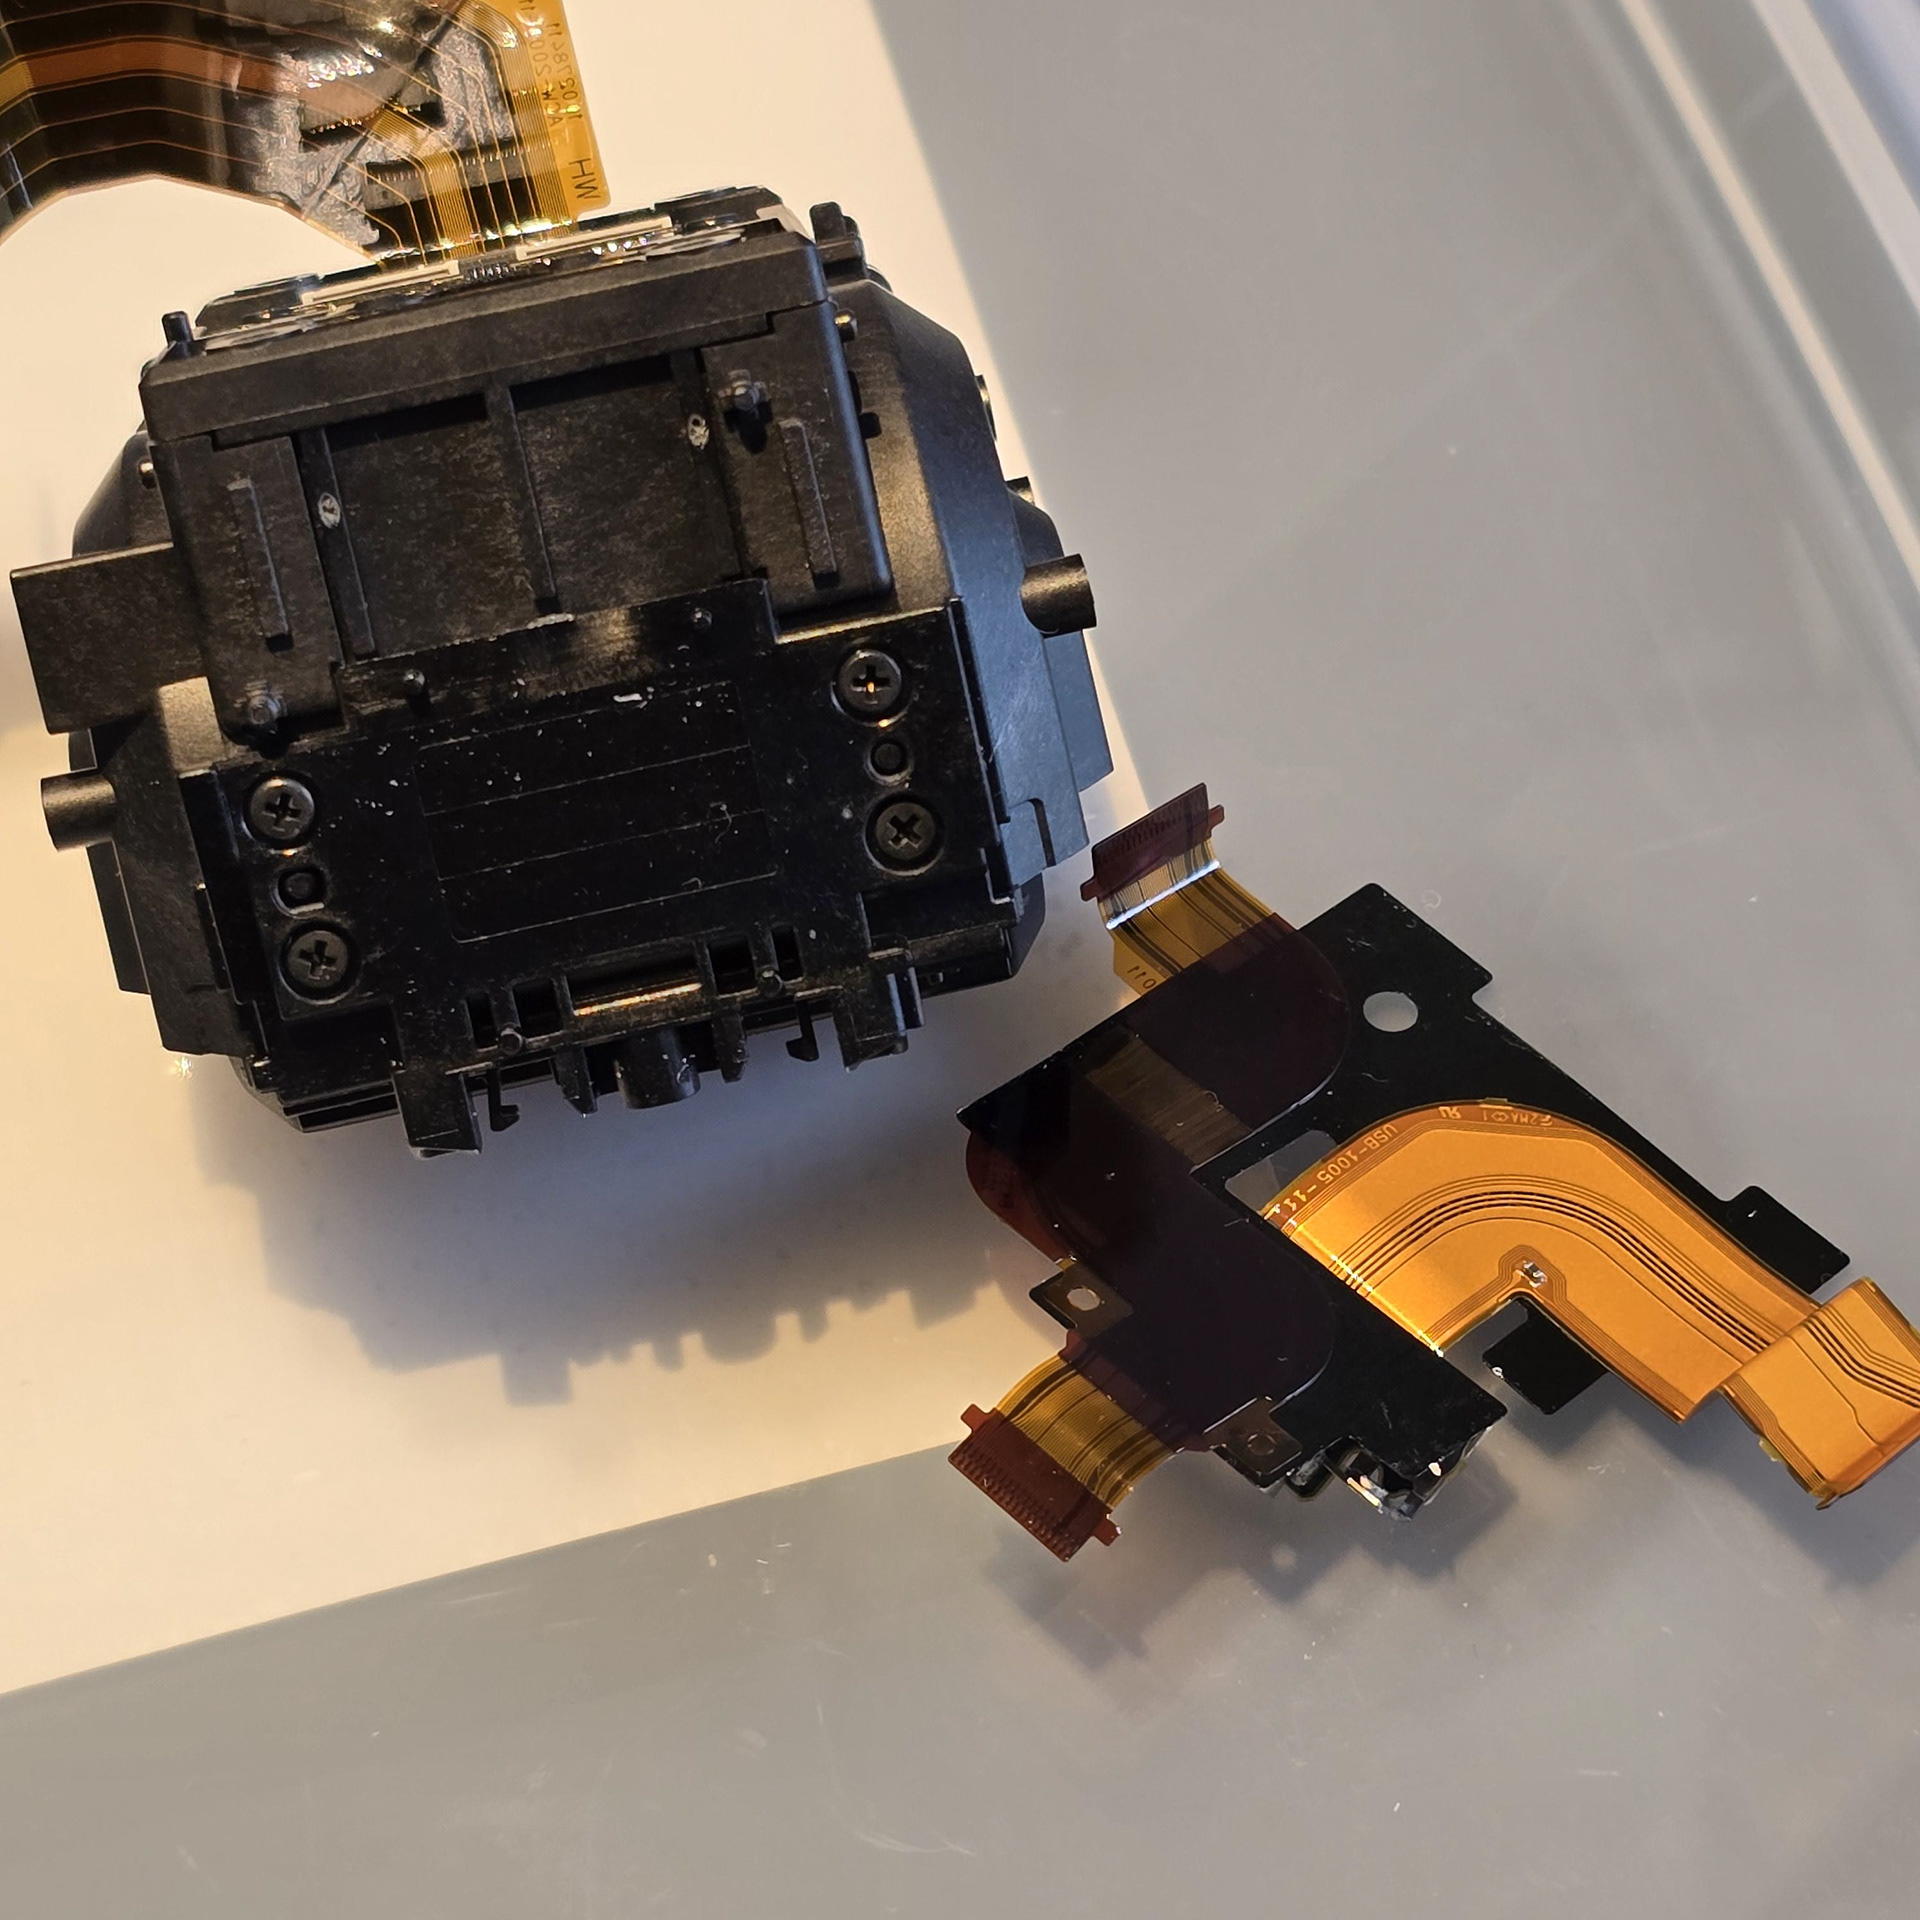
Returning to the top section, I took out the 4 screws holding the board and plastic retainer in place.and remove both.
上部のセクションに戻り、ボードとプラスチック製の固定具を固定している 4 本のネジを外し、両方を取り外します。
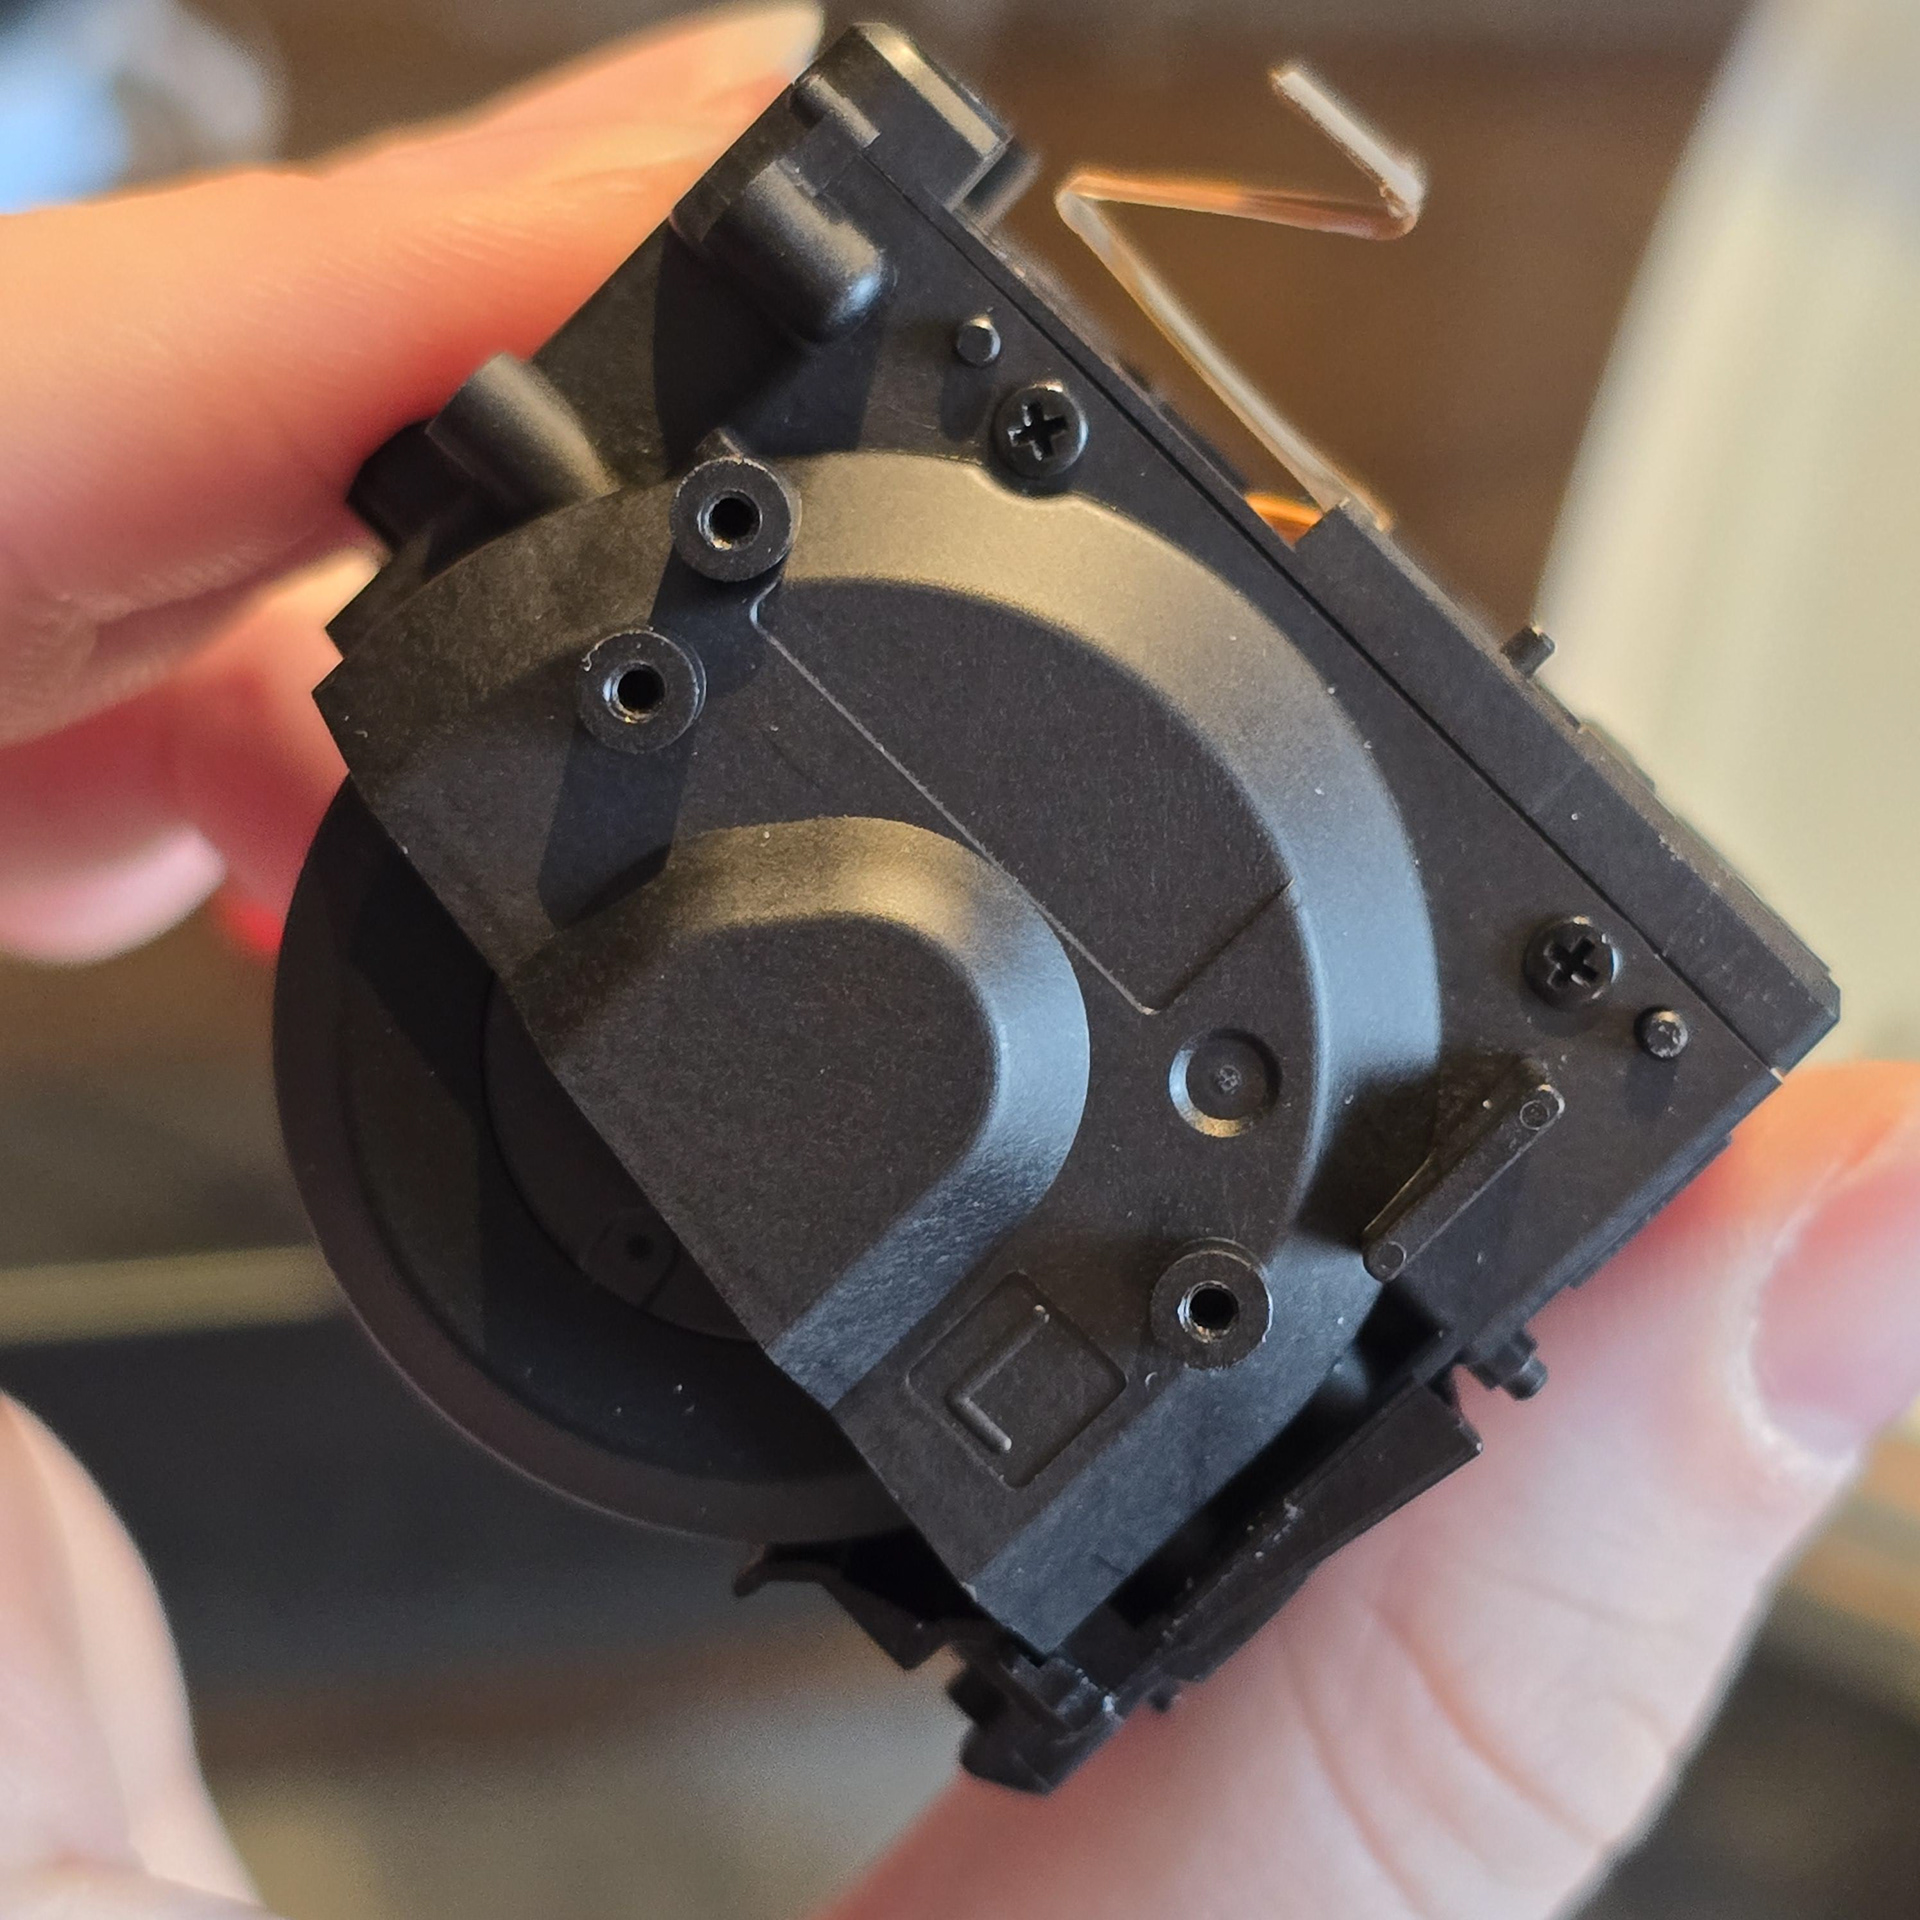

Next I needed to get to the actual wheels, so I started to remove the screws seen on the side and back panels.
次に実際の車輪に取り掛かる必要があったので、側面パネルと背面パネルにあるネジを外し始めました。
After removing a bunch of screws, the covers could be pulled off to reveal the rest the wheel and access the wheel screws.
たくさんのネジを外すと、カバーが外れてホイールの残りの部分が現れ、ホイールのネジにアクセスできるようになります。

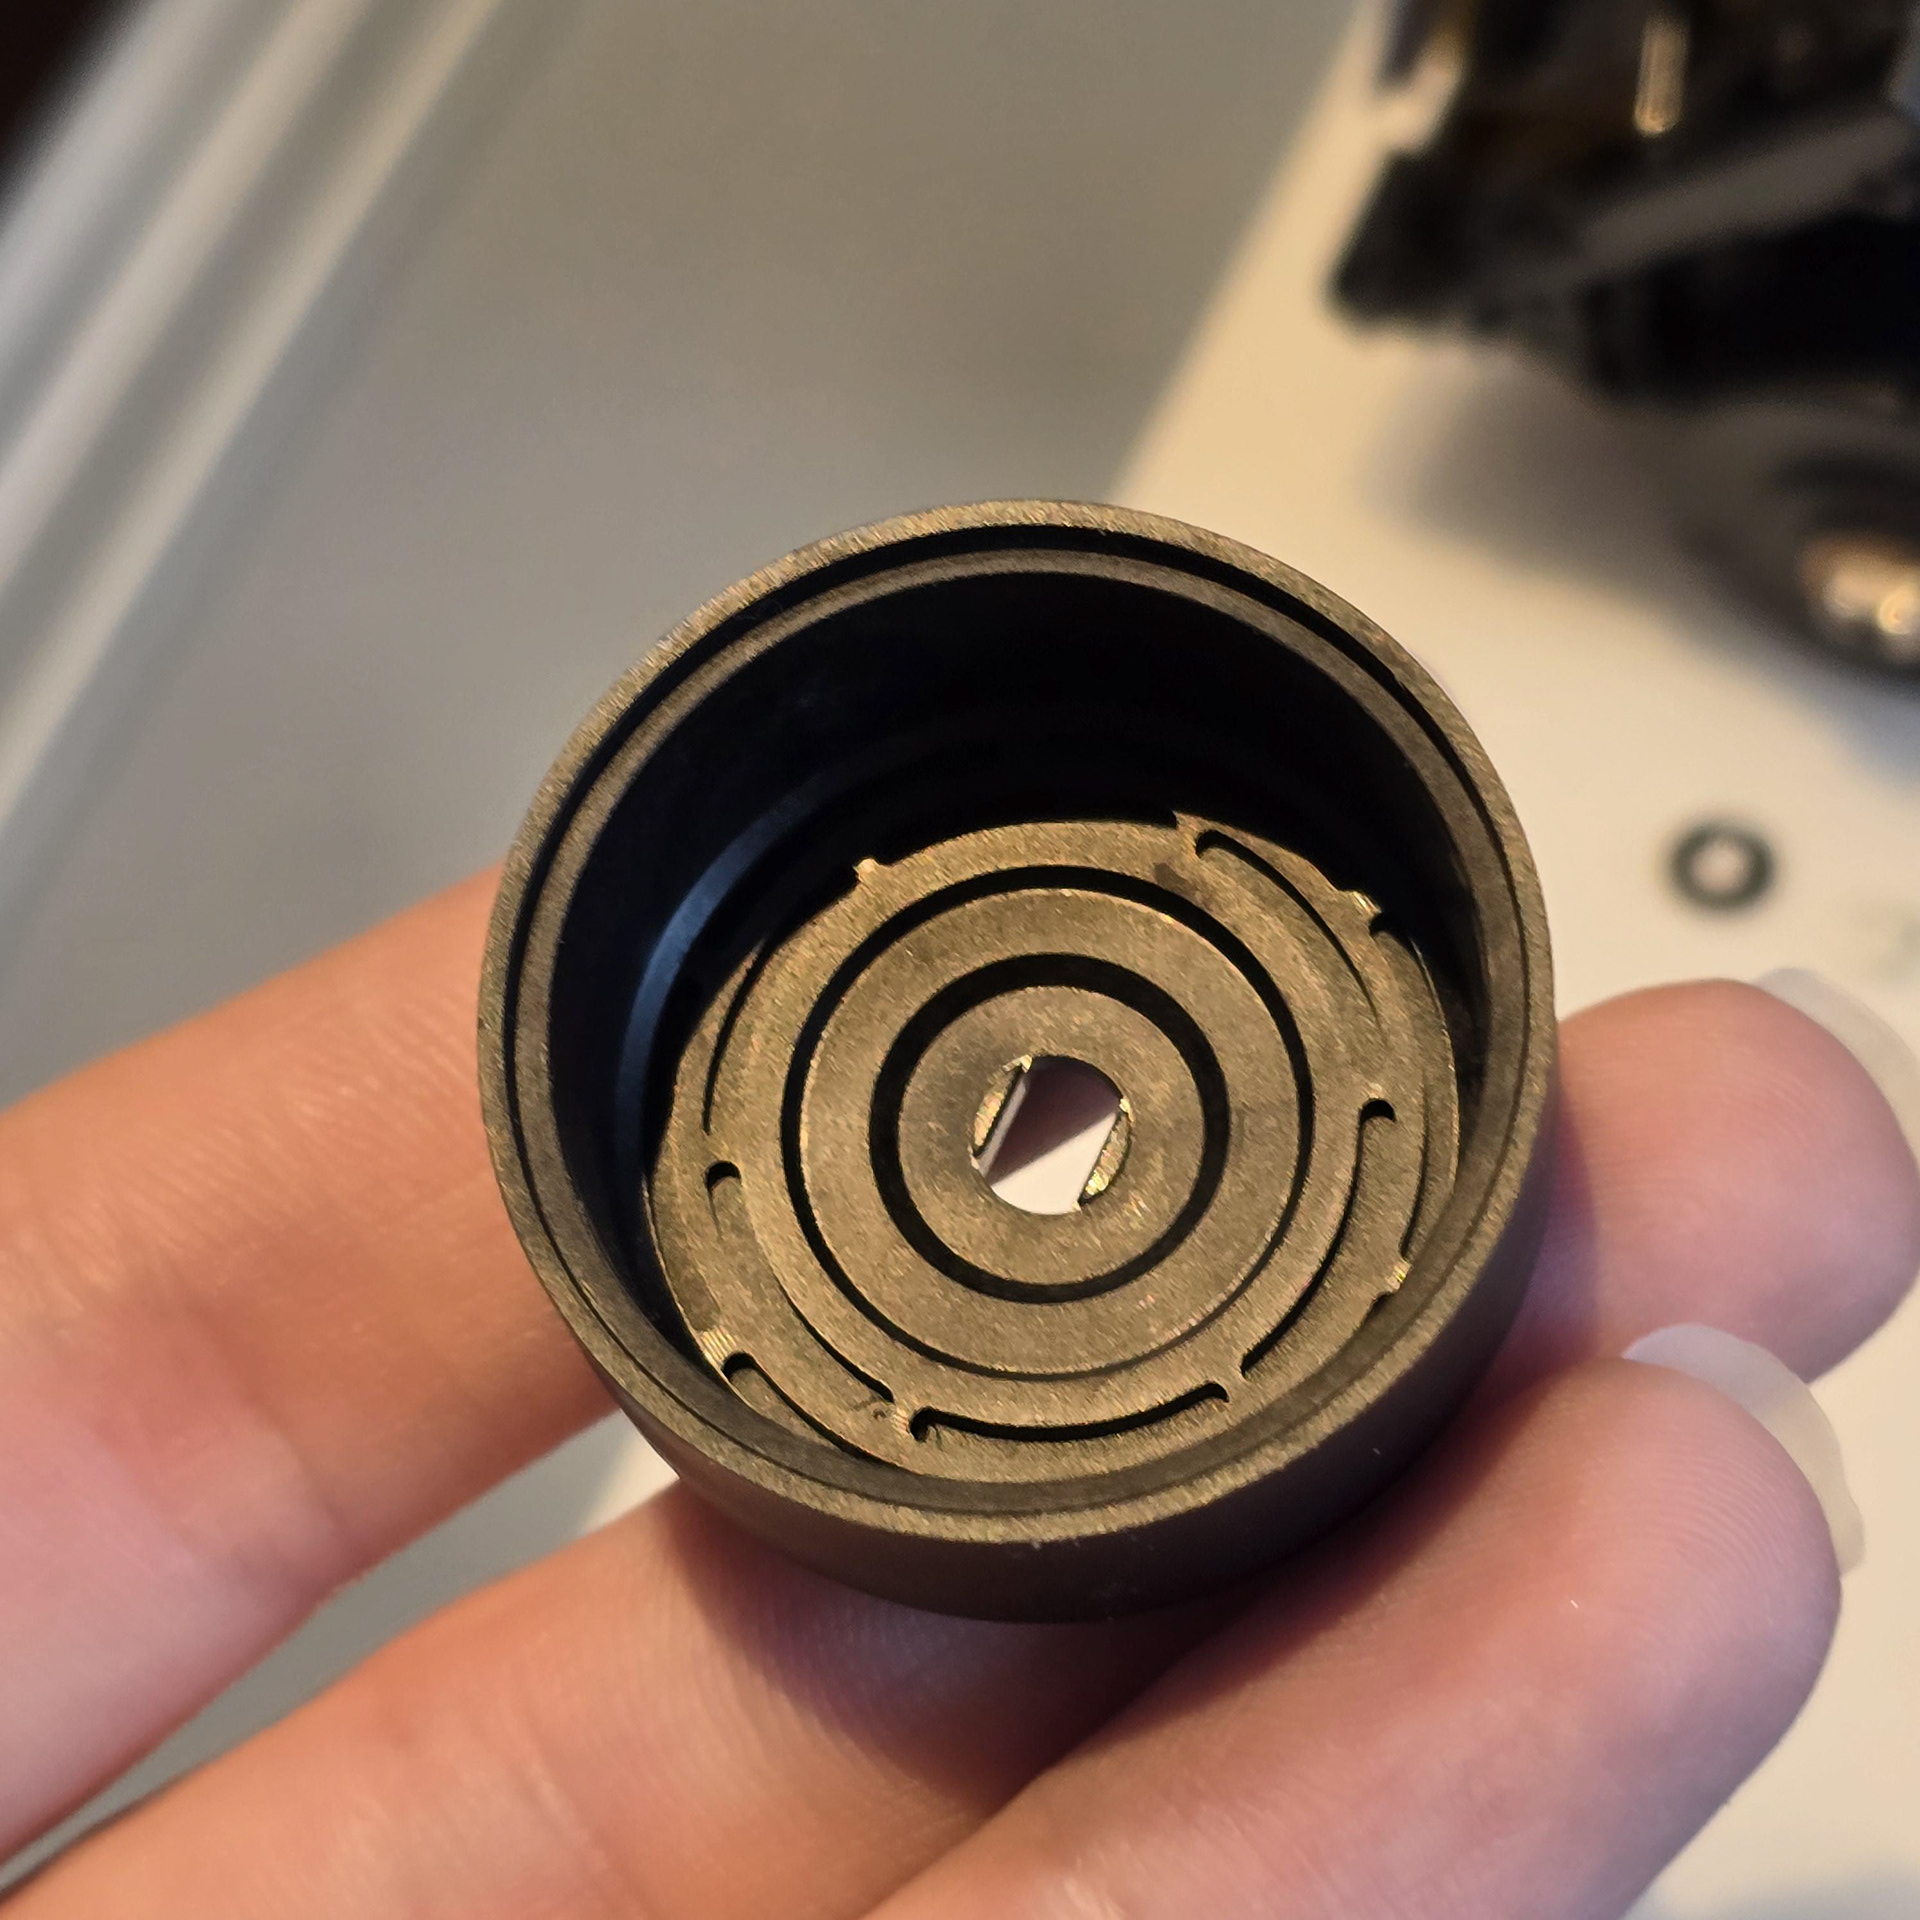
I took the main screw out and started taking the wheel itself apart in order to get to the motor. Doing this only let me remove the tyre/wheel section.
メインのネジを外し、モーターにアクセスするためにホイール自体を分解し始めました。こうすることで、タイヤとホイールの部分だけを取り外すことができました。
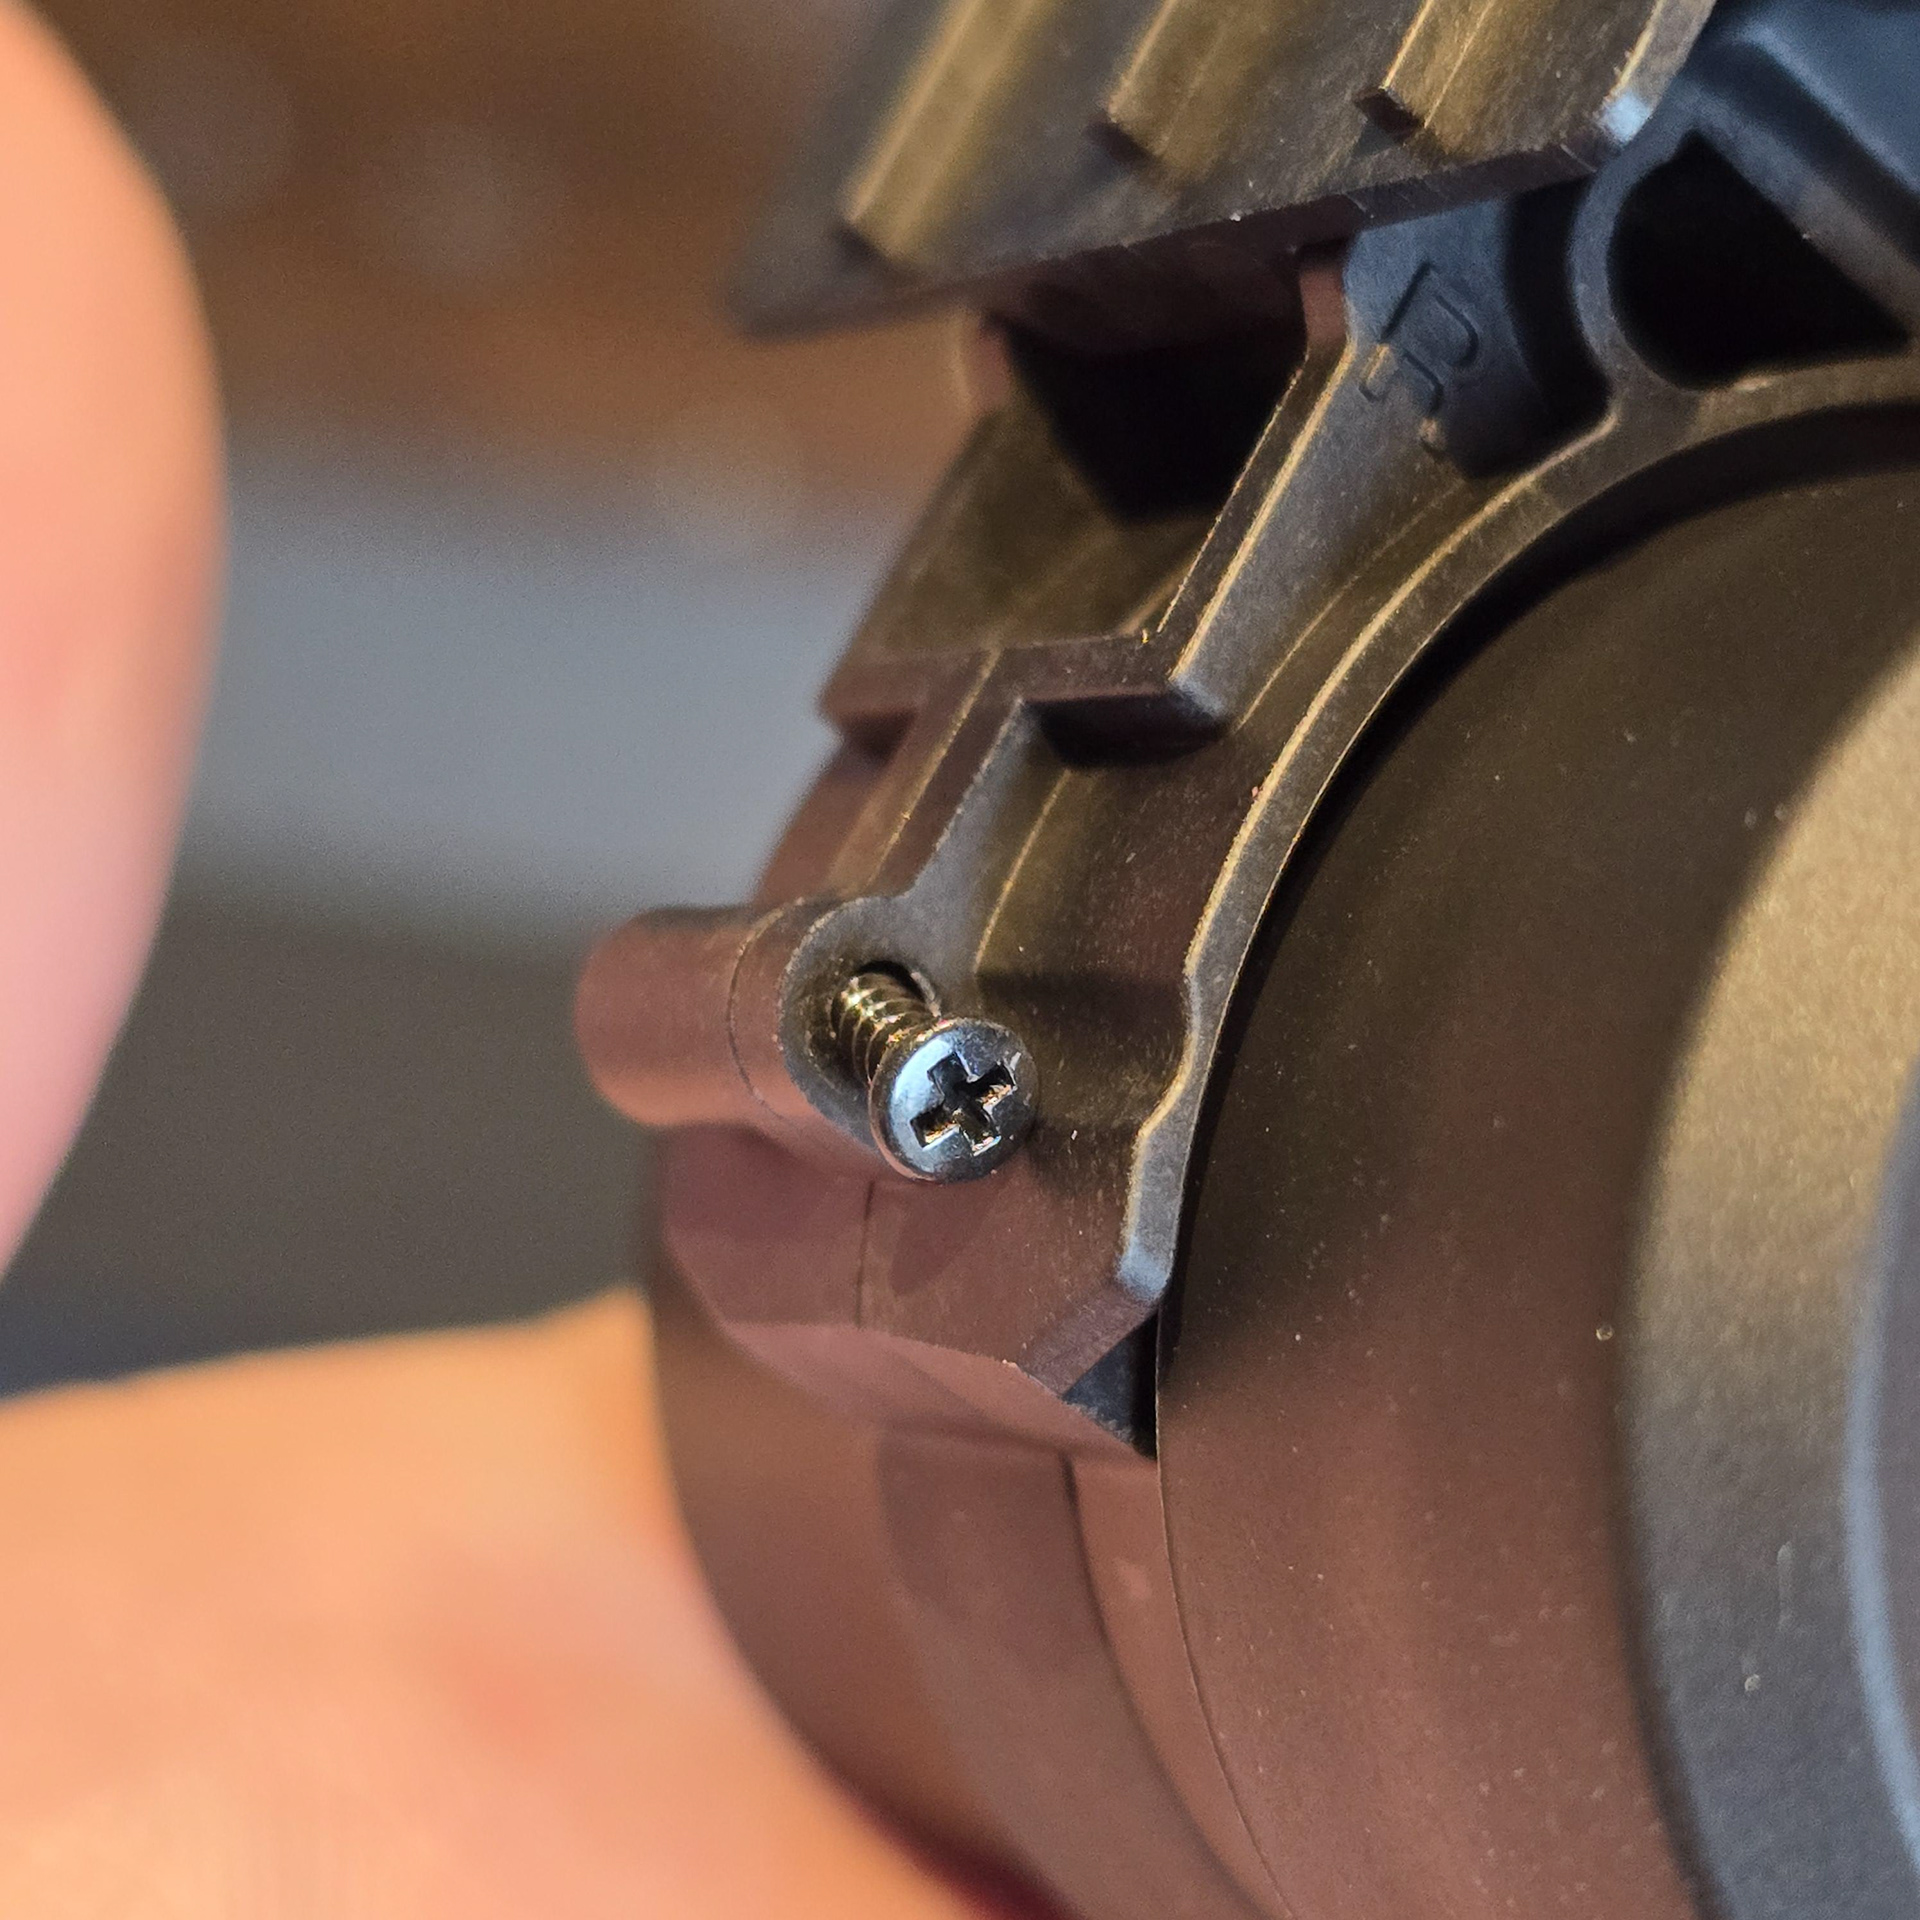
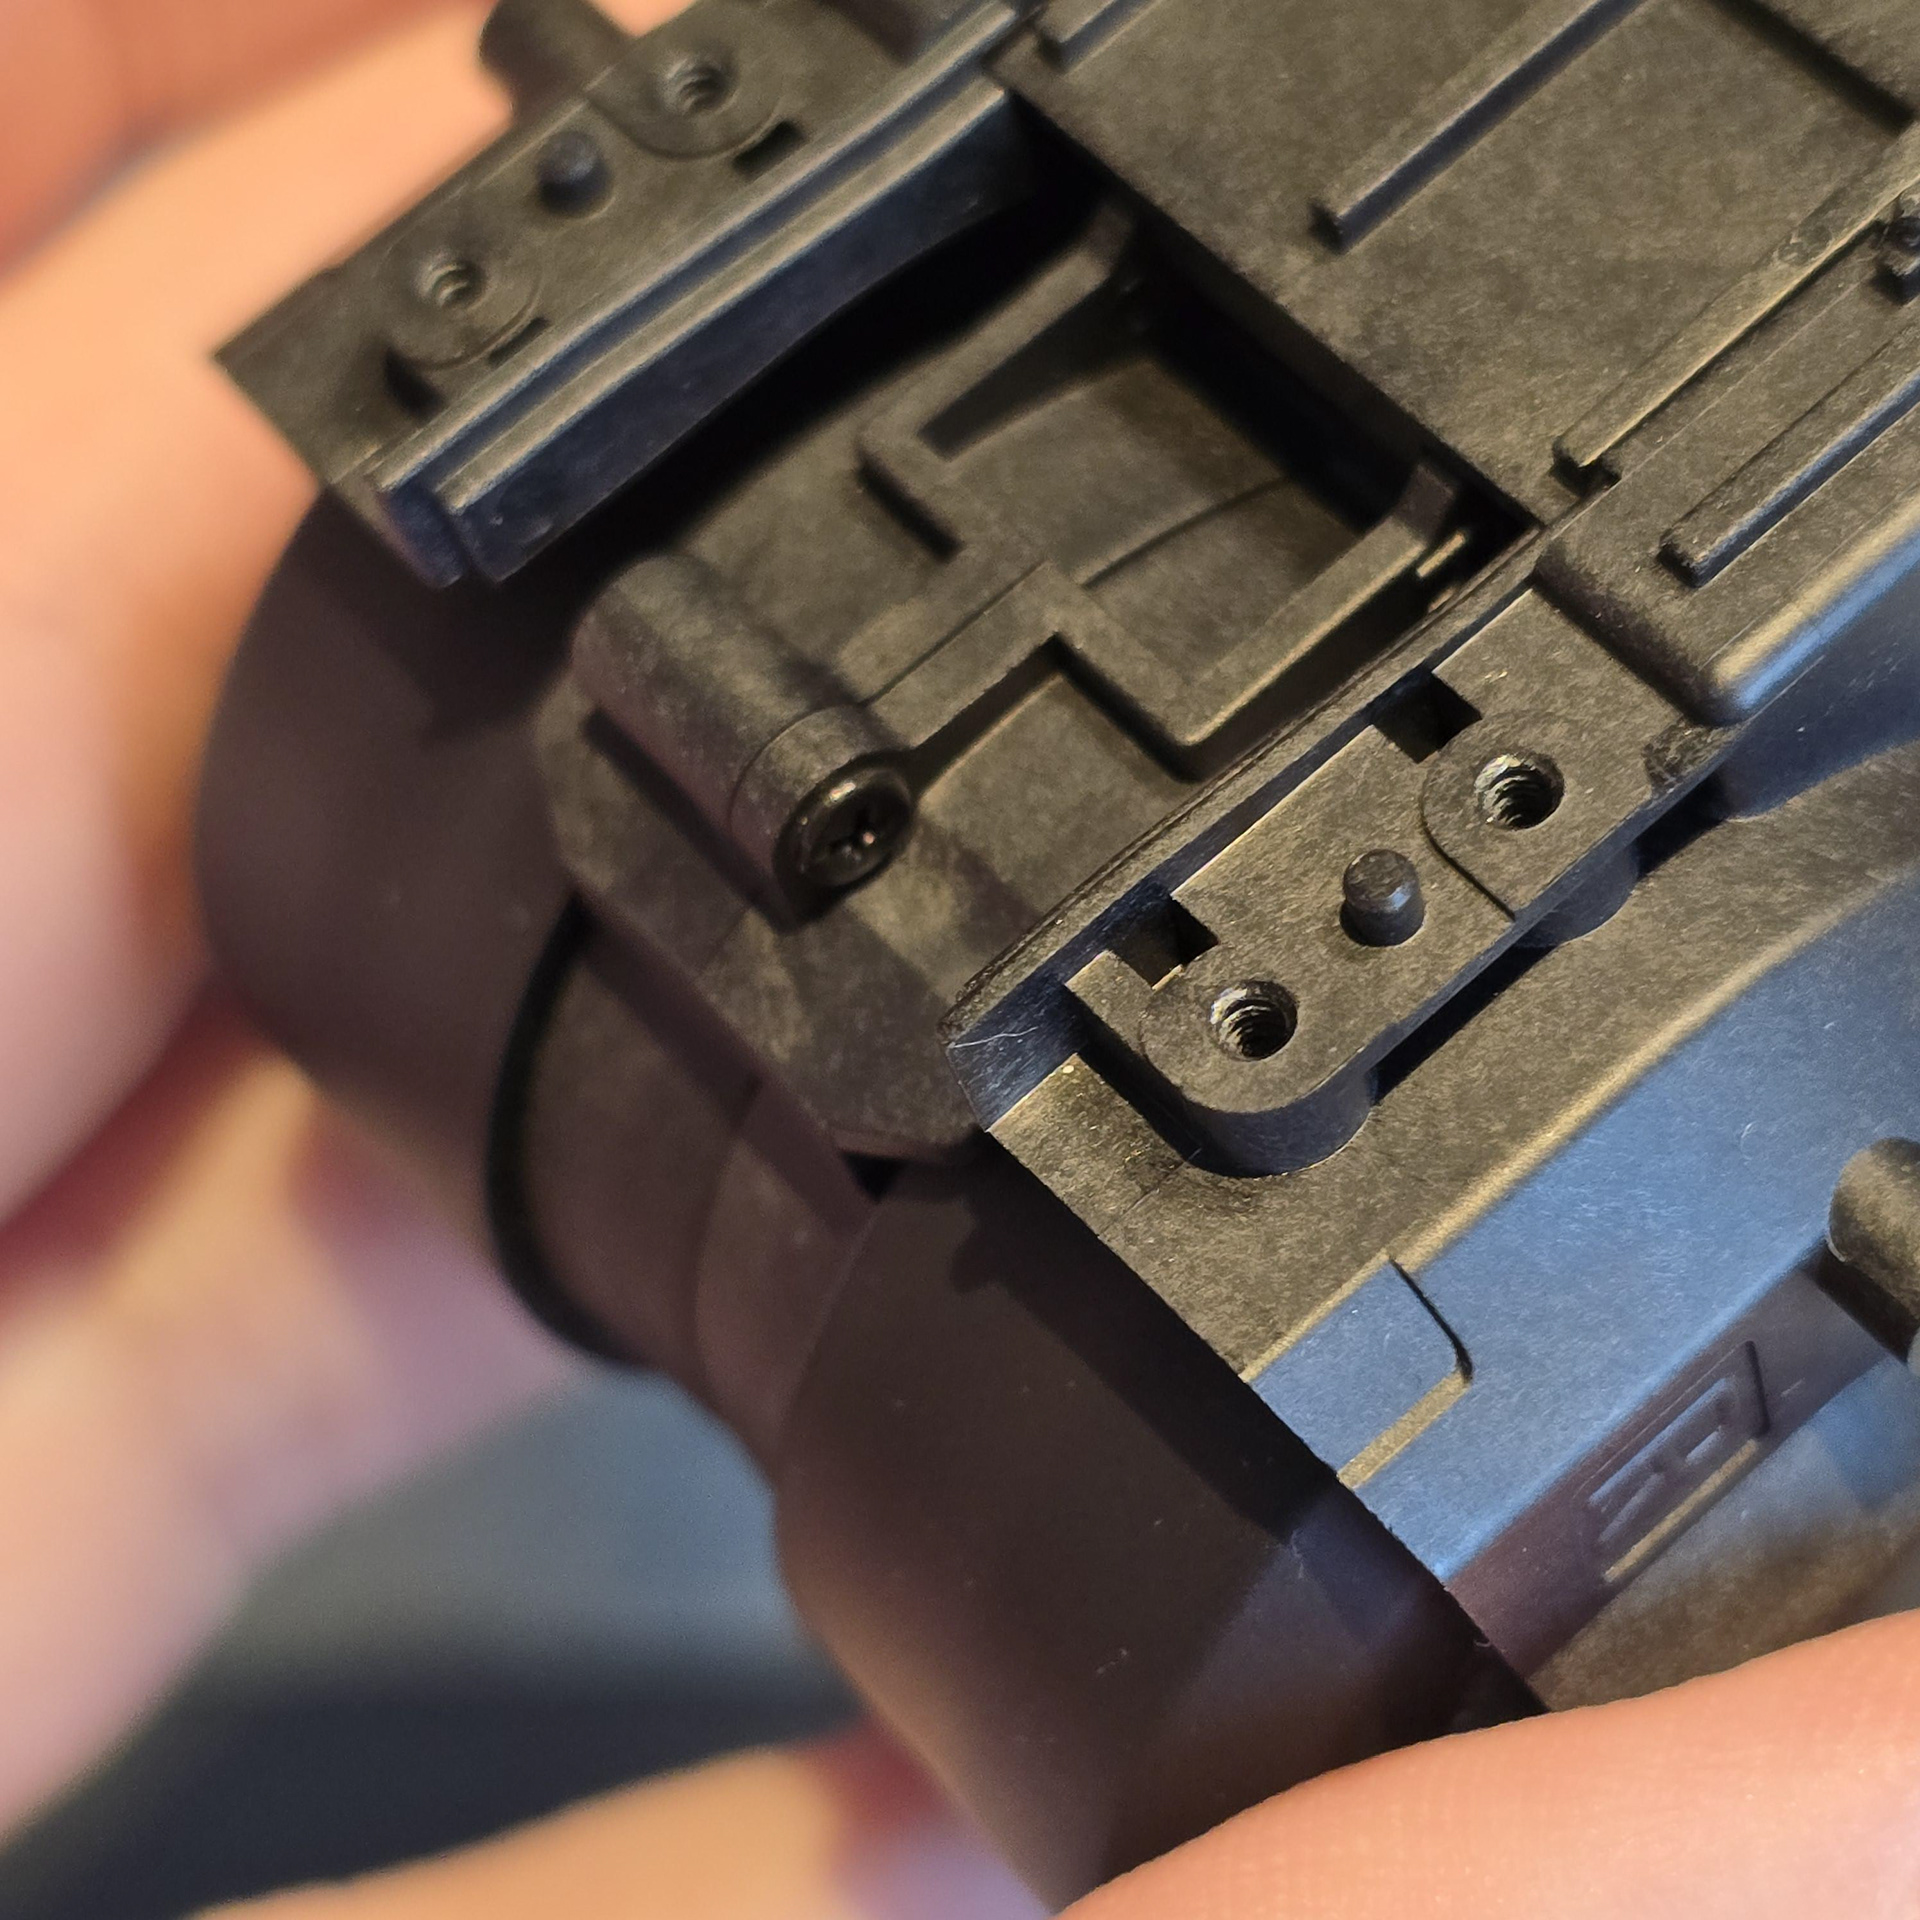
After removing this other screw pinning the two wheel mounts together, I was able to swivel each wheel forward independently.
2 つのホイール マウントを固定しているもう 1 つのネジを外すと、各ホイールを独立して前方に回転させることができるようになりました。
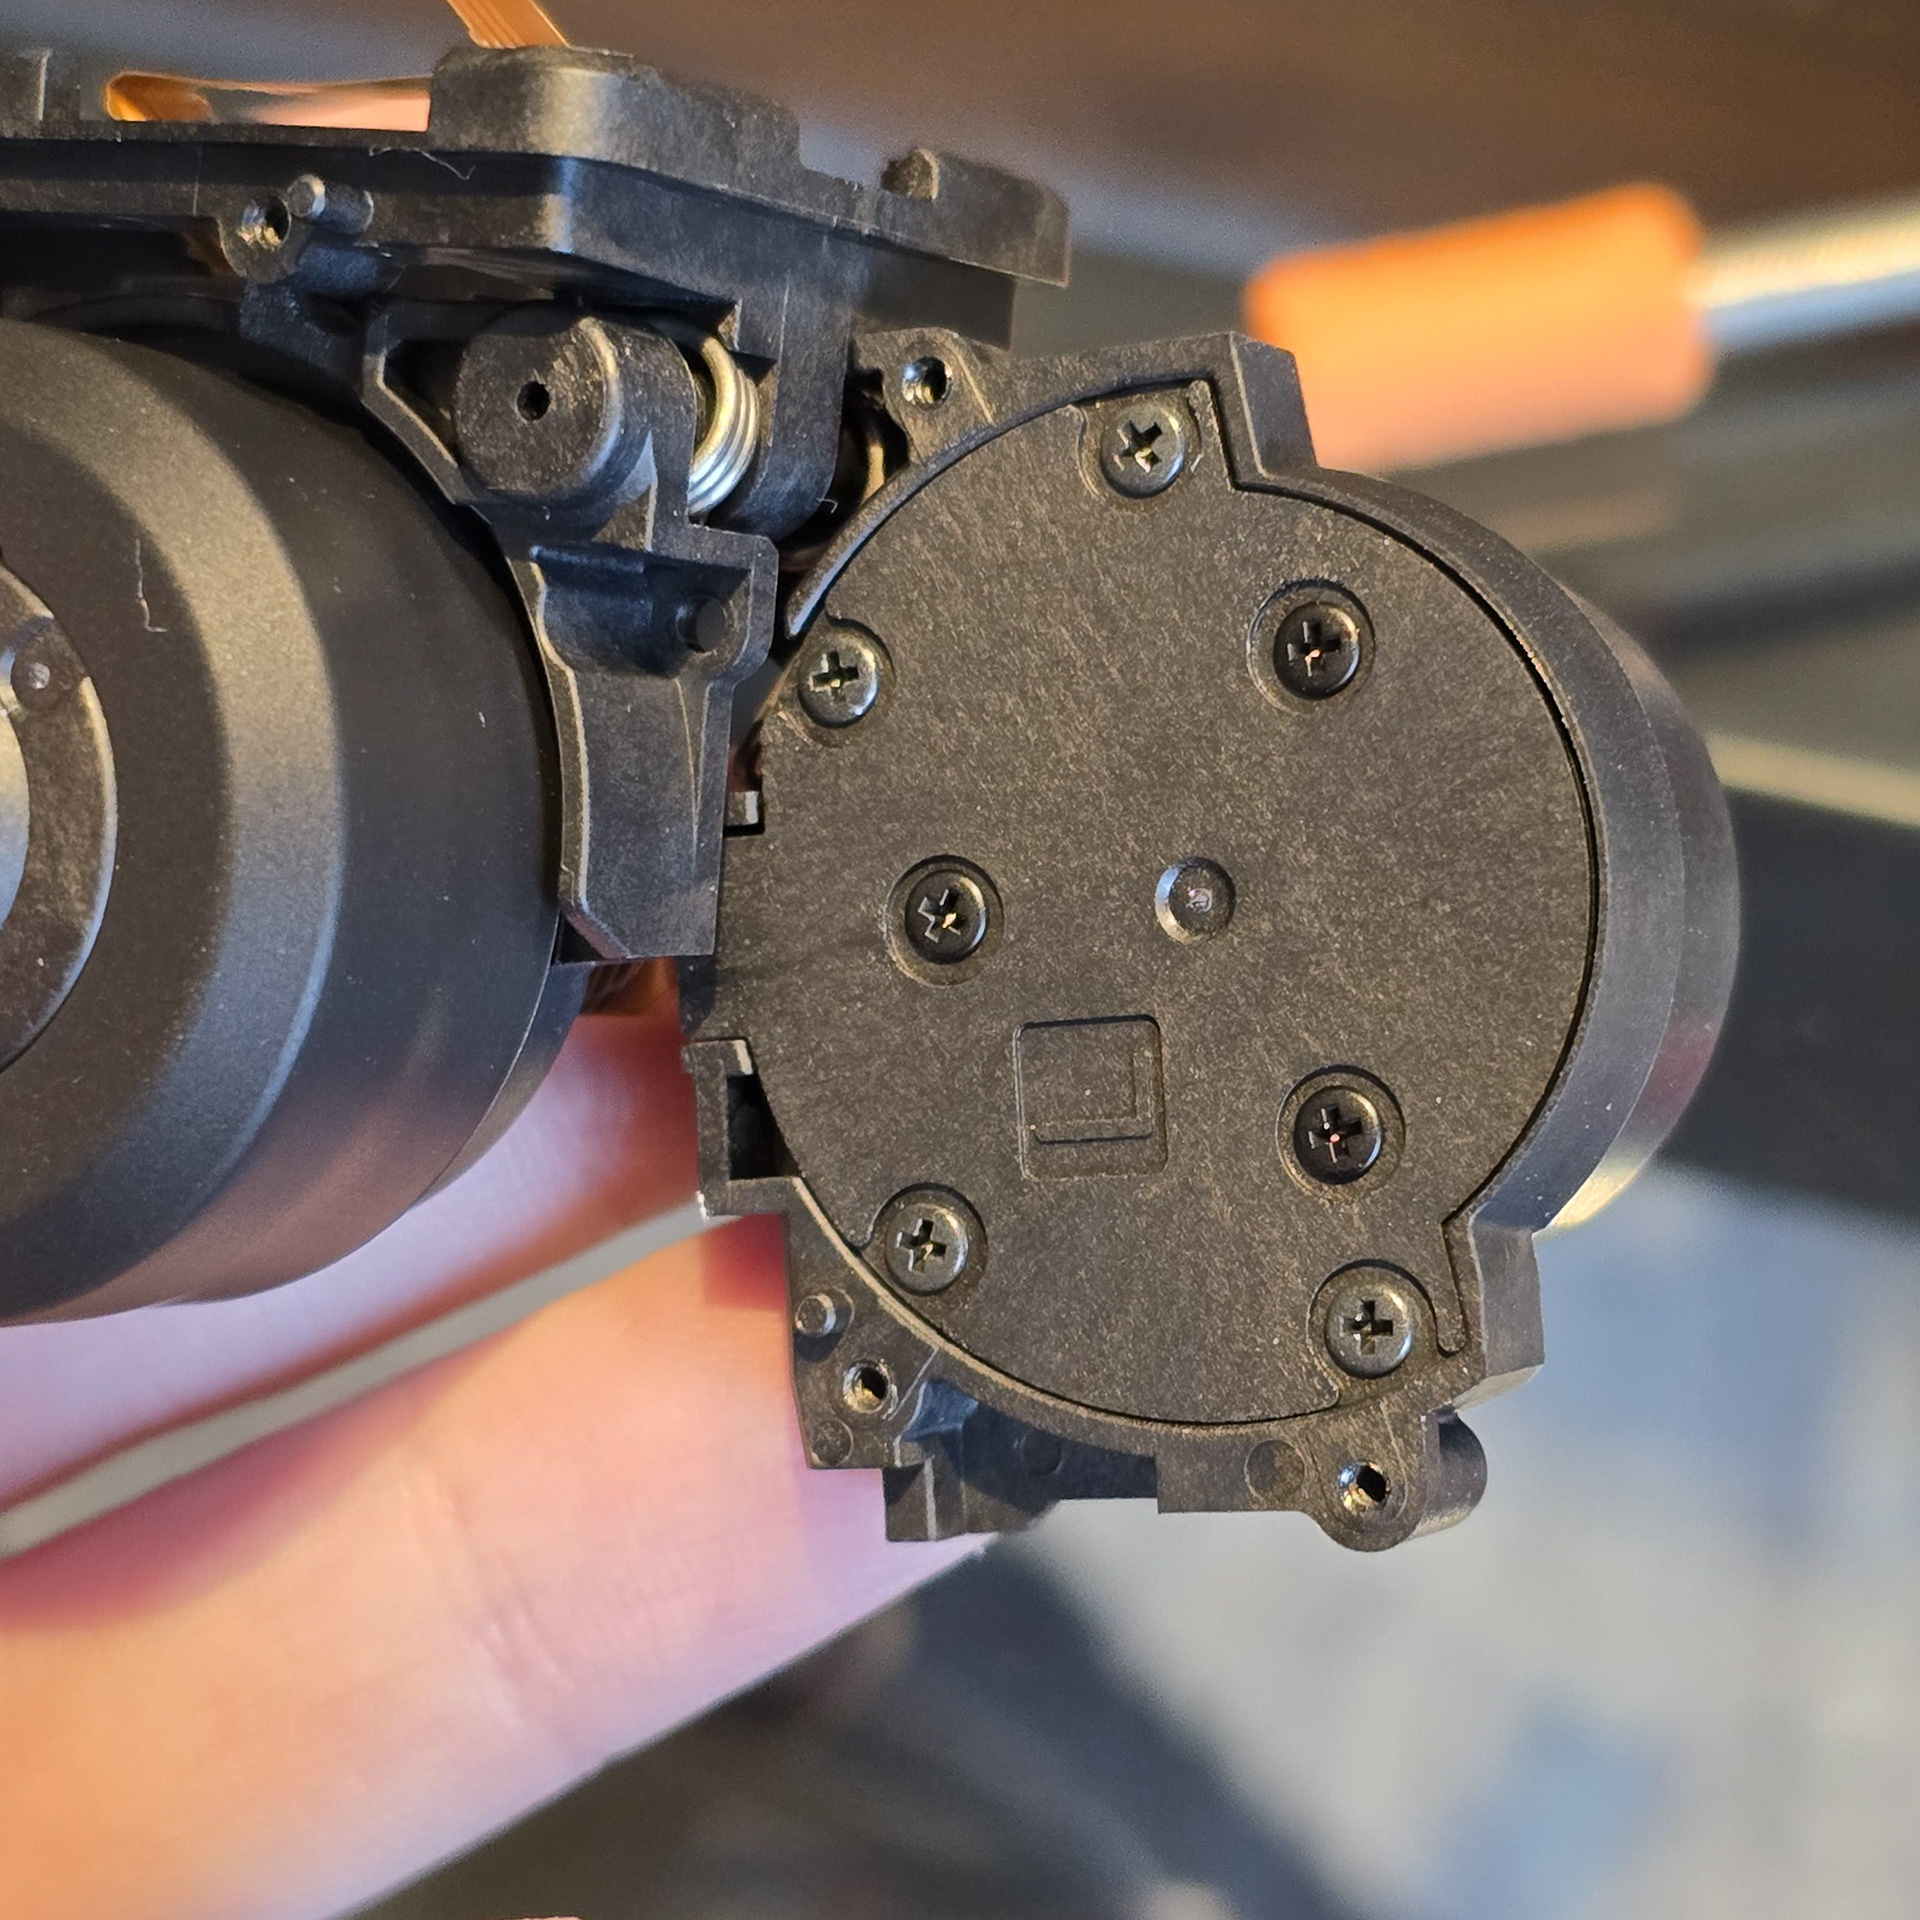
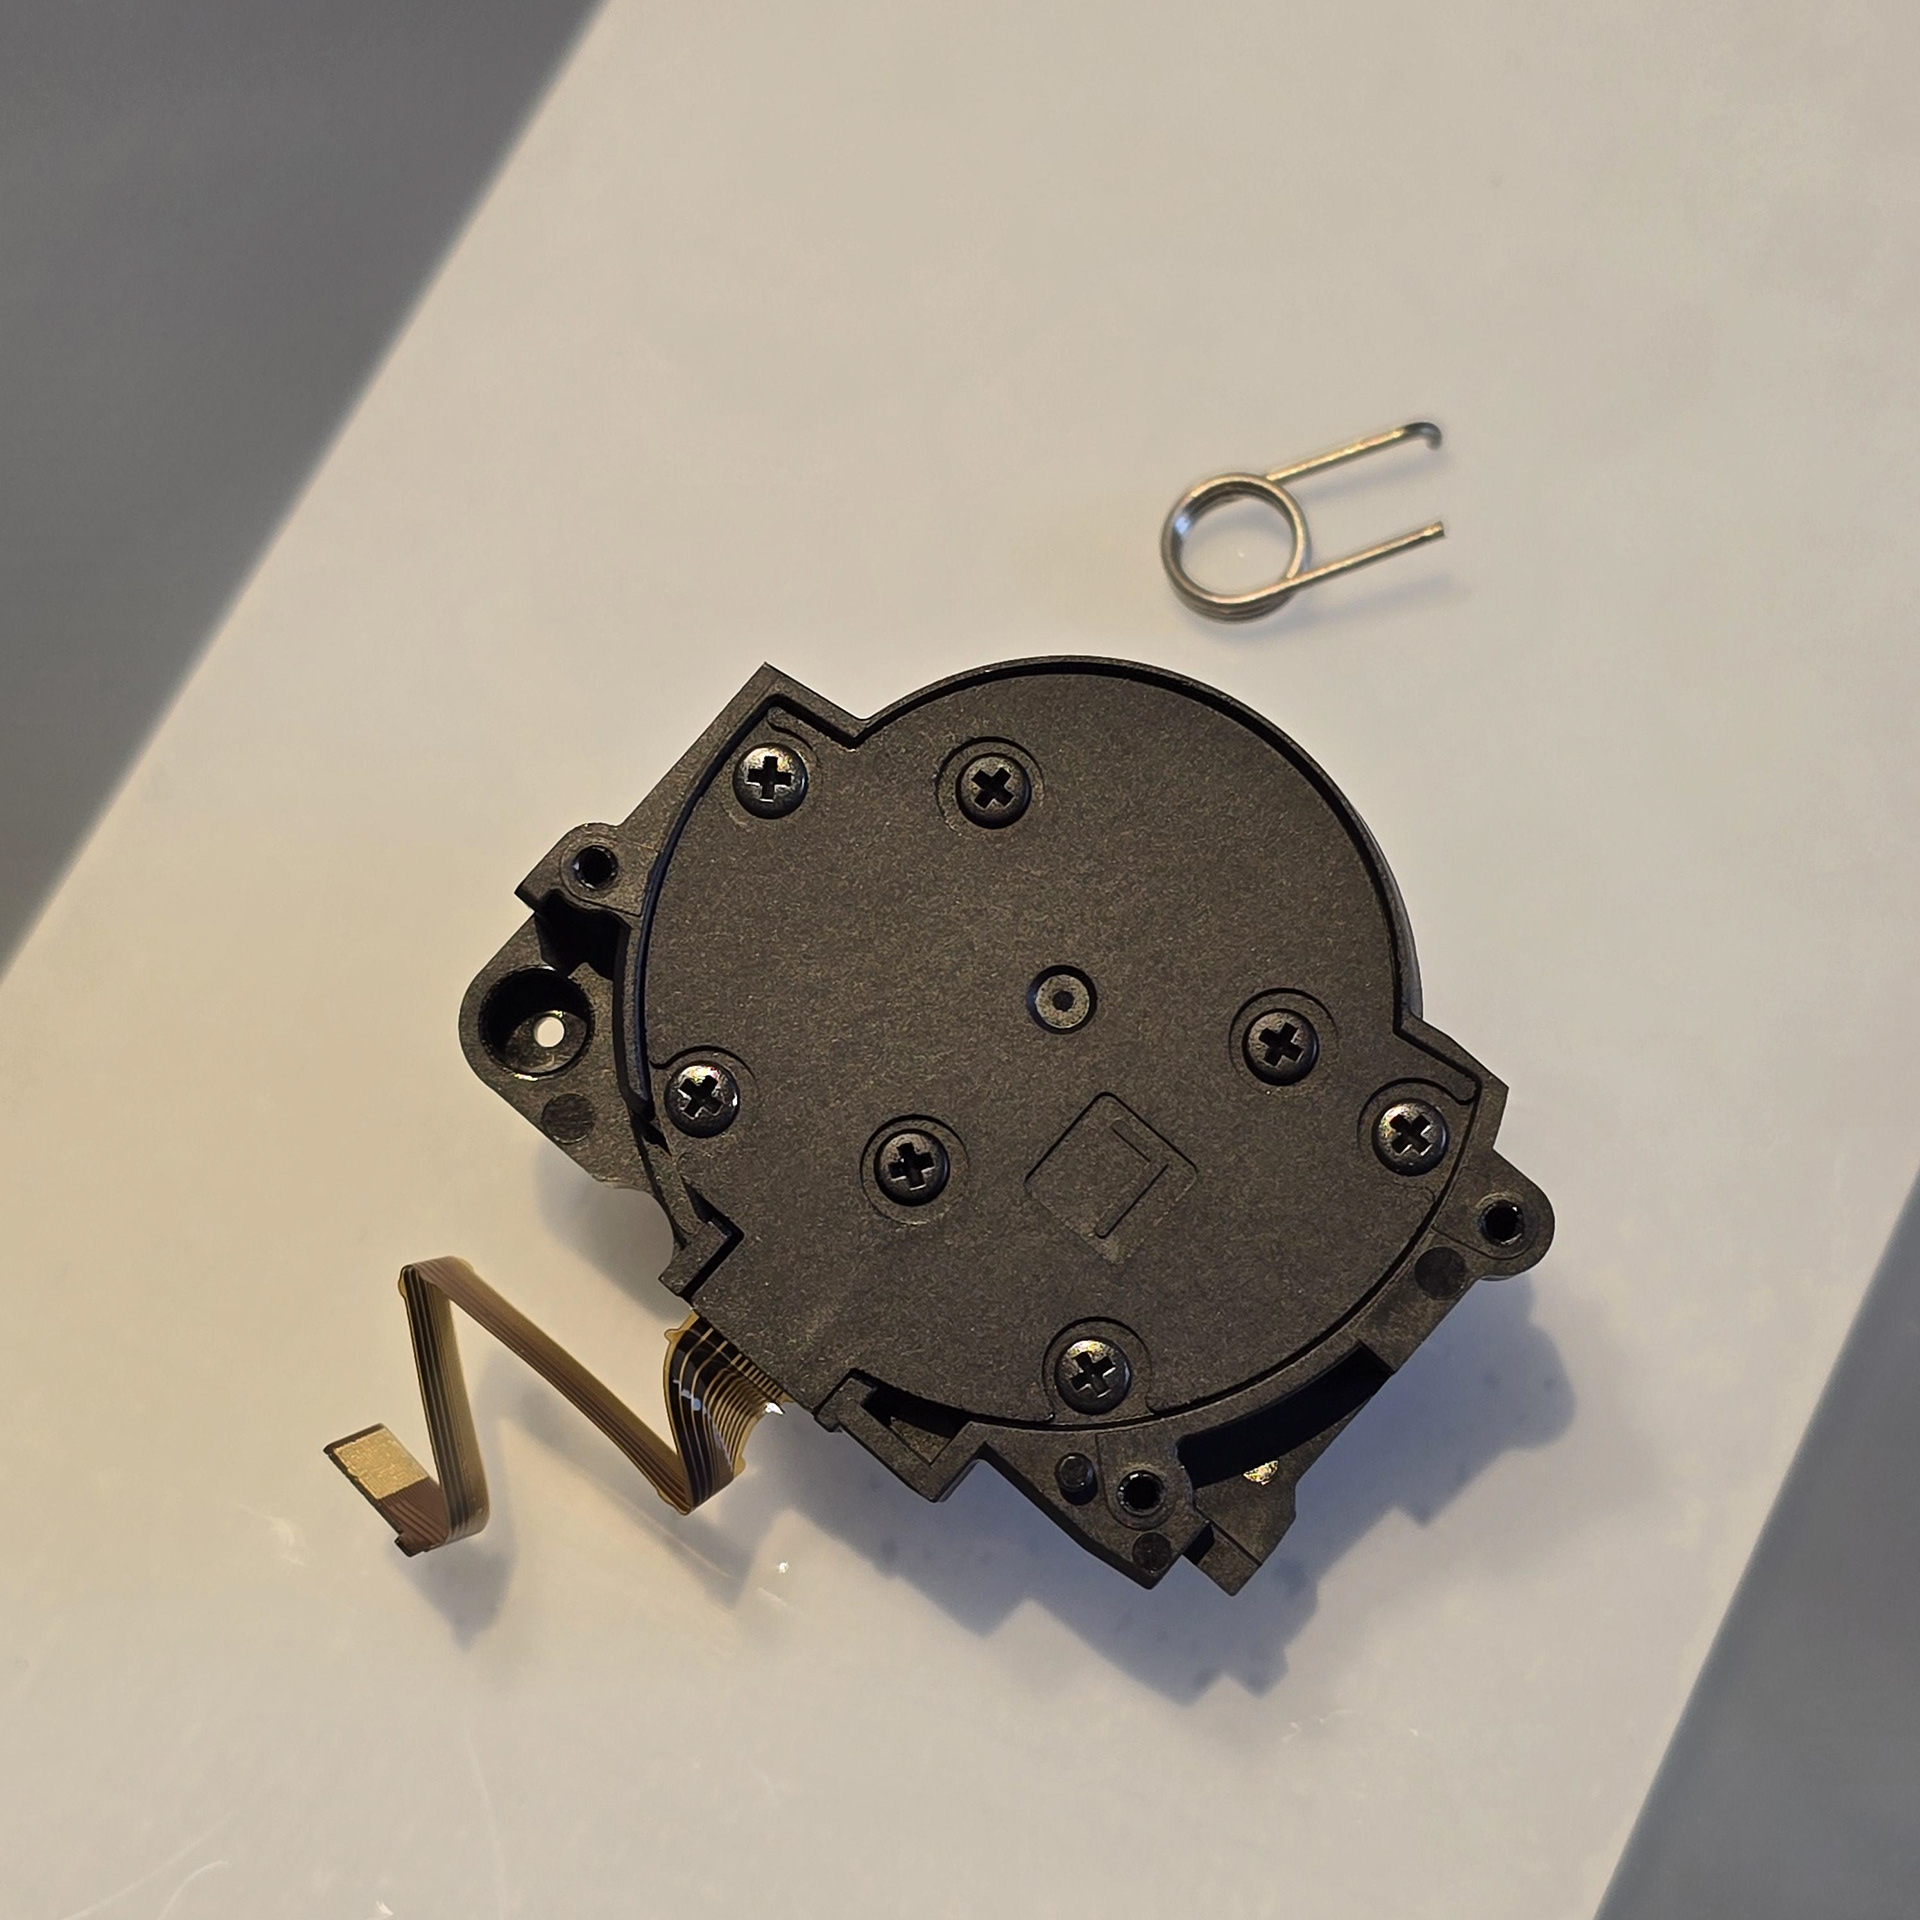
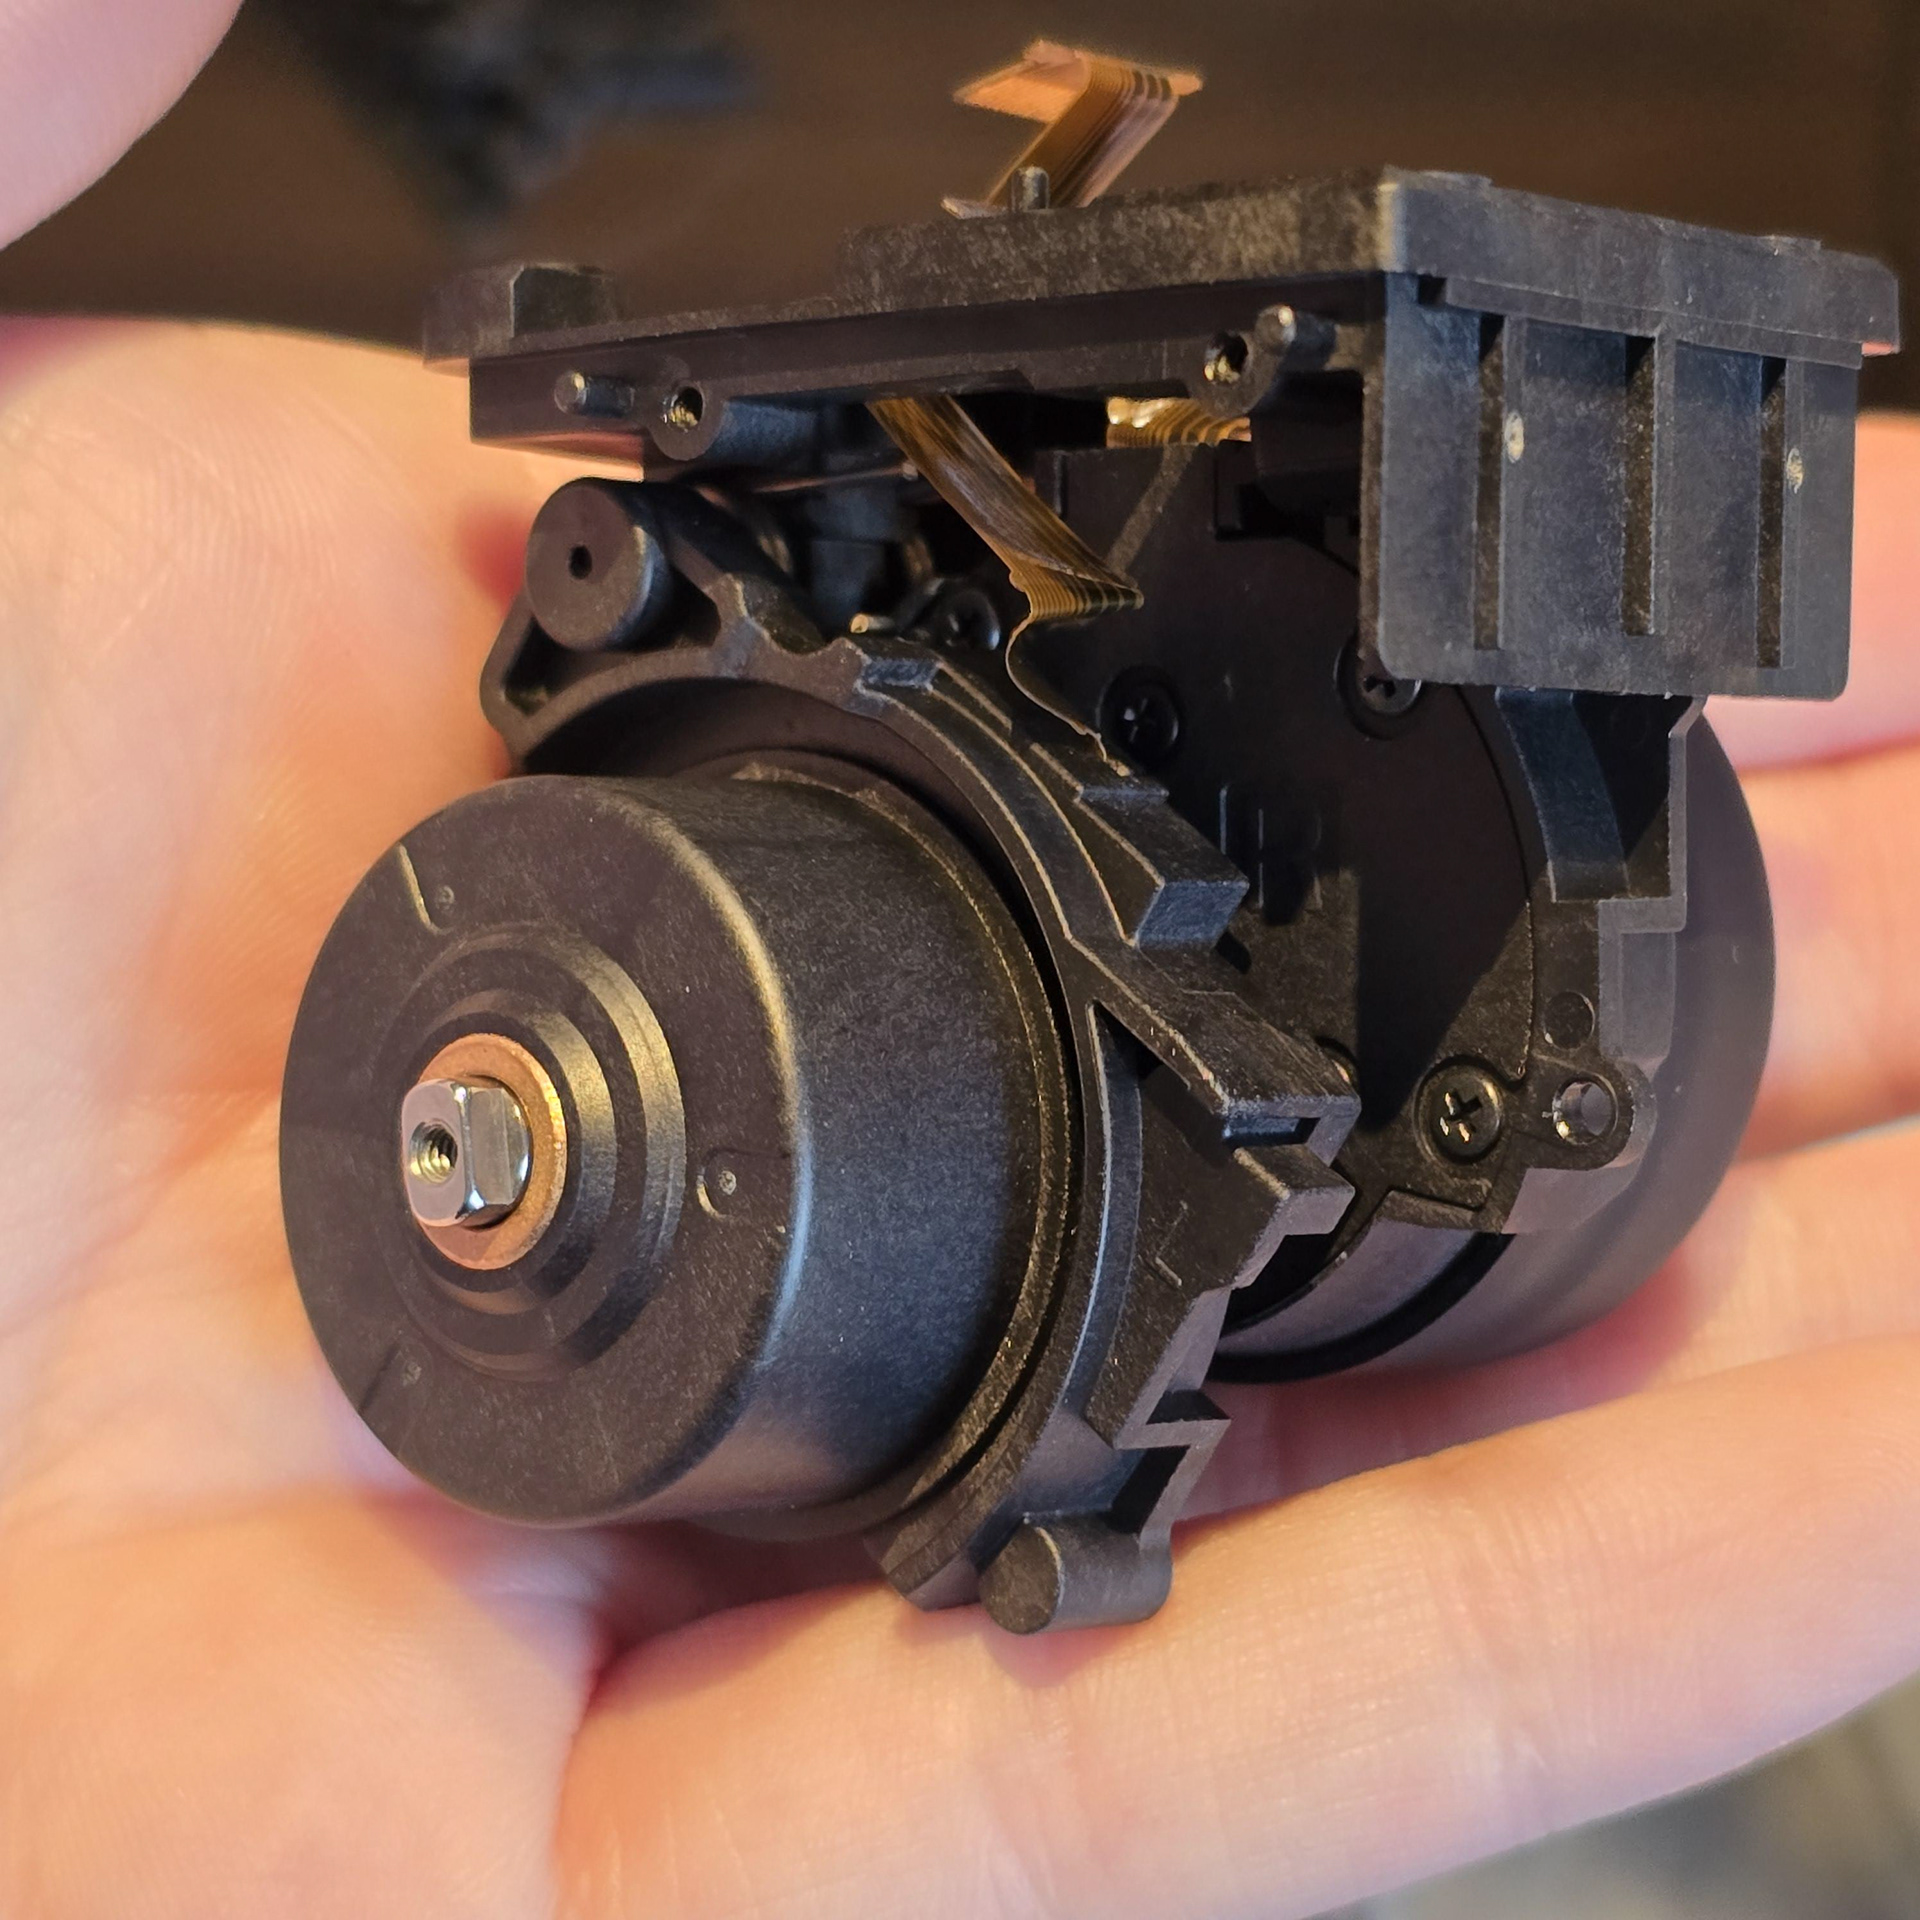
Swivelling the module forward revealed a whole bunch of screws on the inside of each housing a motor. I found out you can dismount each motor housing by pulling them in a certain way, navigating the small metal wire. After that I took out all of the screws I could see in order to open the access door. Looking back, maybe I could have removed the door and motor without dismounting the entire housing from the main wheel frame.
モジュールを前方に回転させると、モーターハウジングの内側にたくさんのネジが取り付けられているのが見えました。細い金属ワイヤーを操作しながら、特定の方法で引っ張ることで、各モーターハウジングを取り外せることが分かりました。その後、アクセスドアを開けるために、見える限りのネジをすべて取り外しました。今にして思えば、ハウジング全体をメインホイールフレームから取り外さずに、ドアとモーターを取り外せたかもしれません。
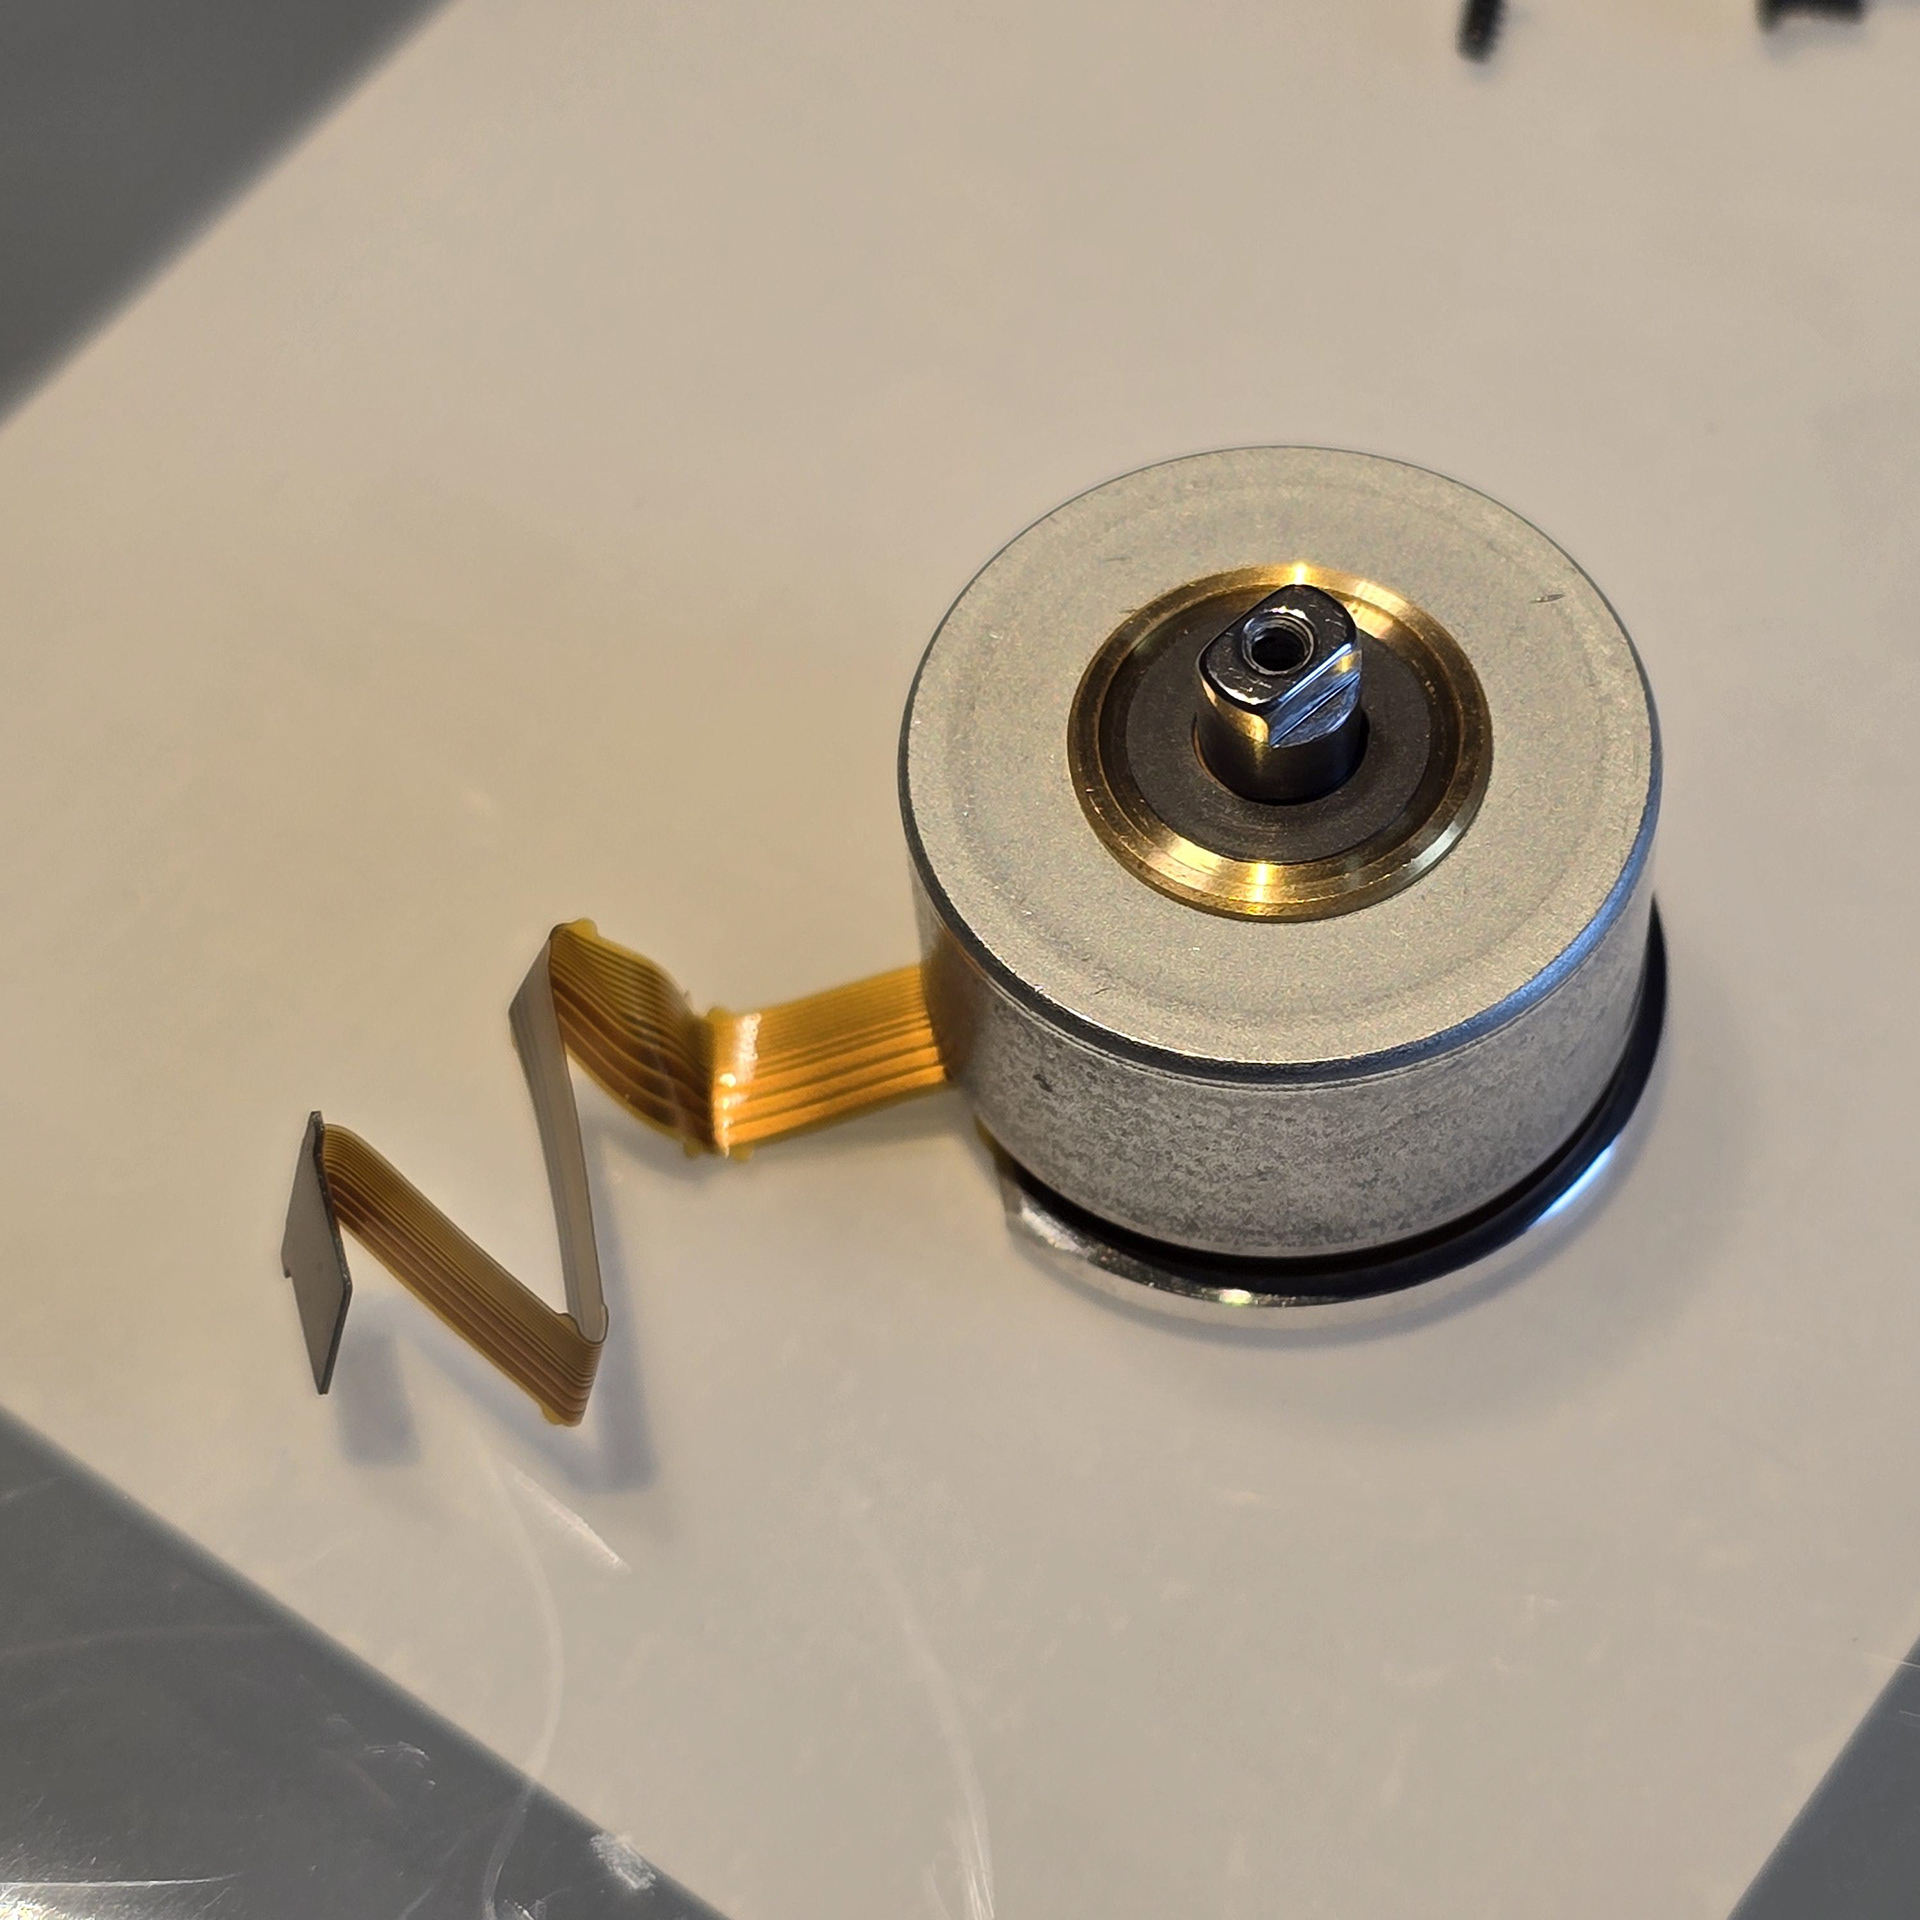
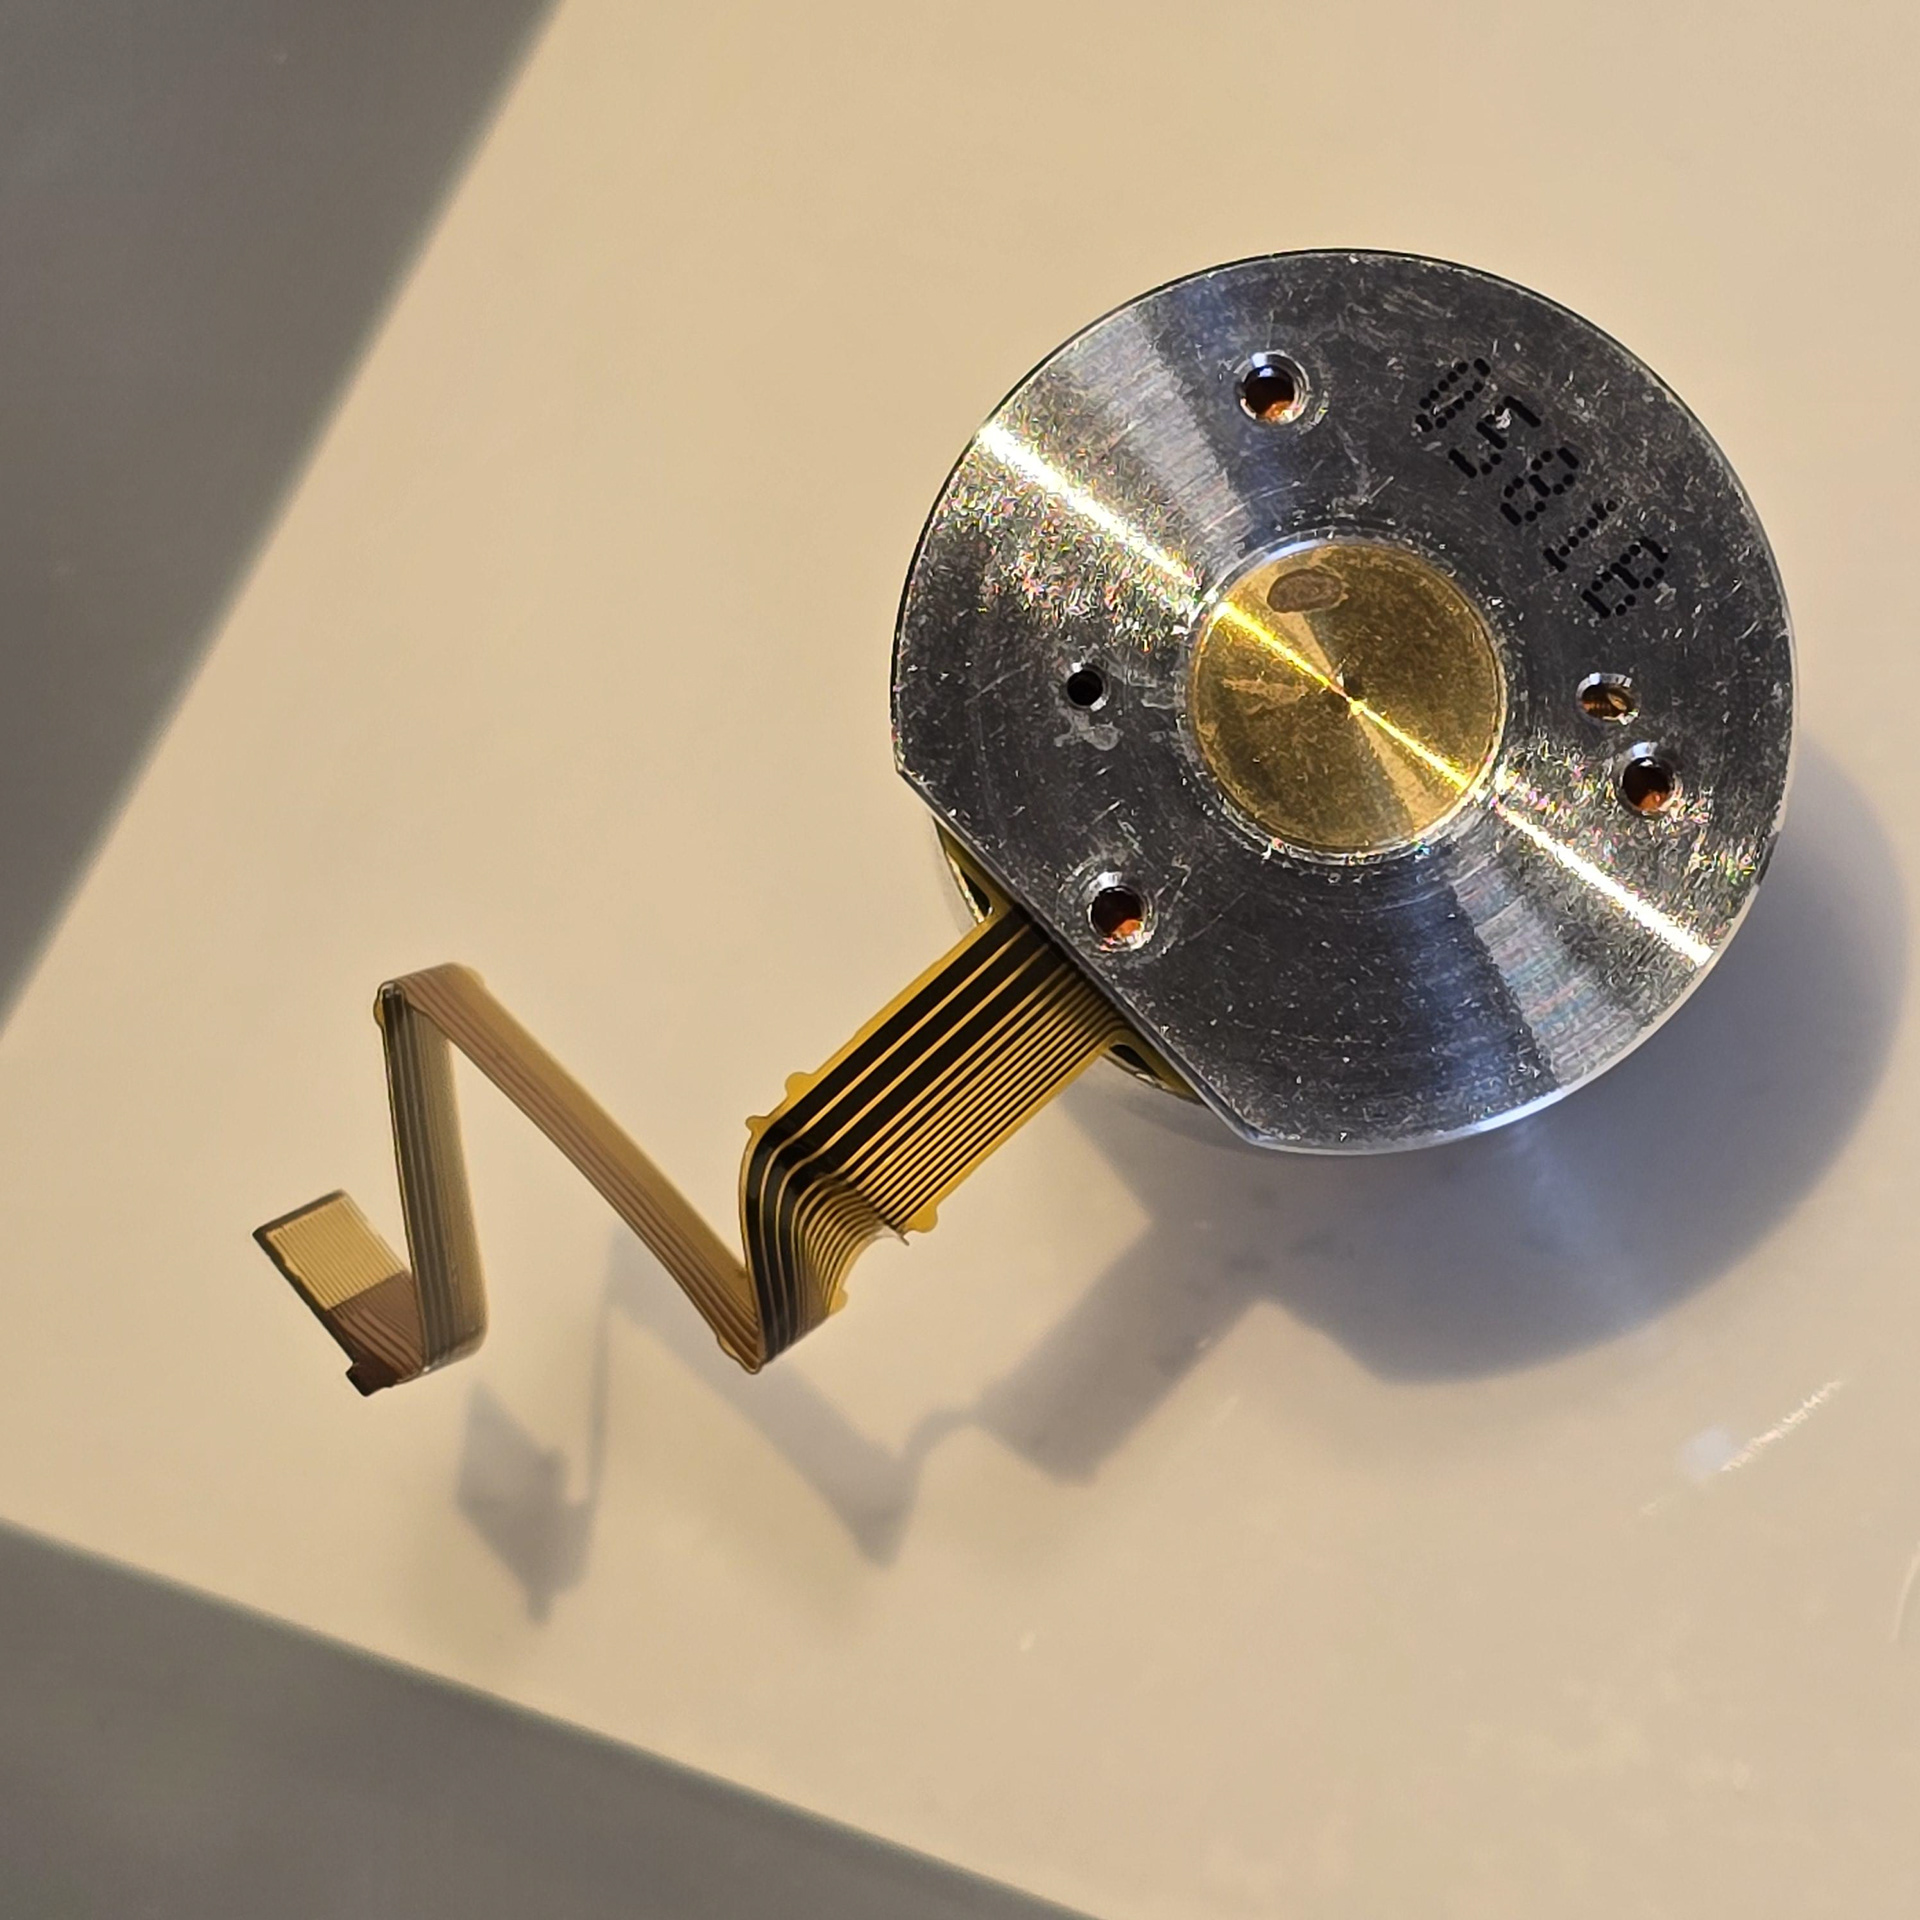
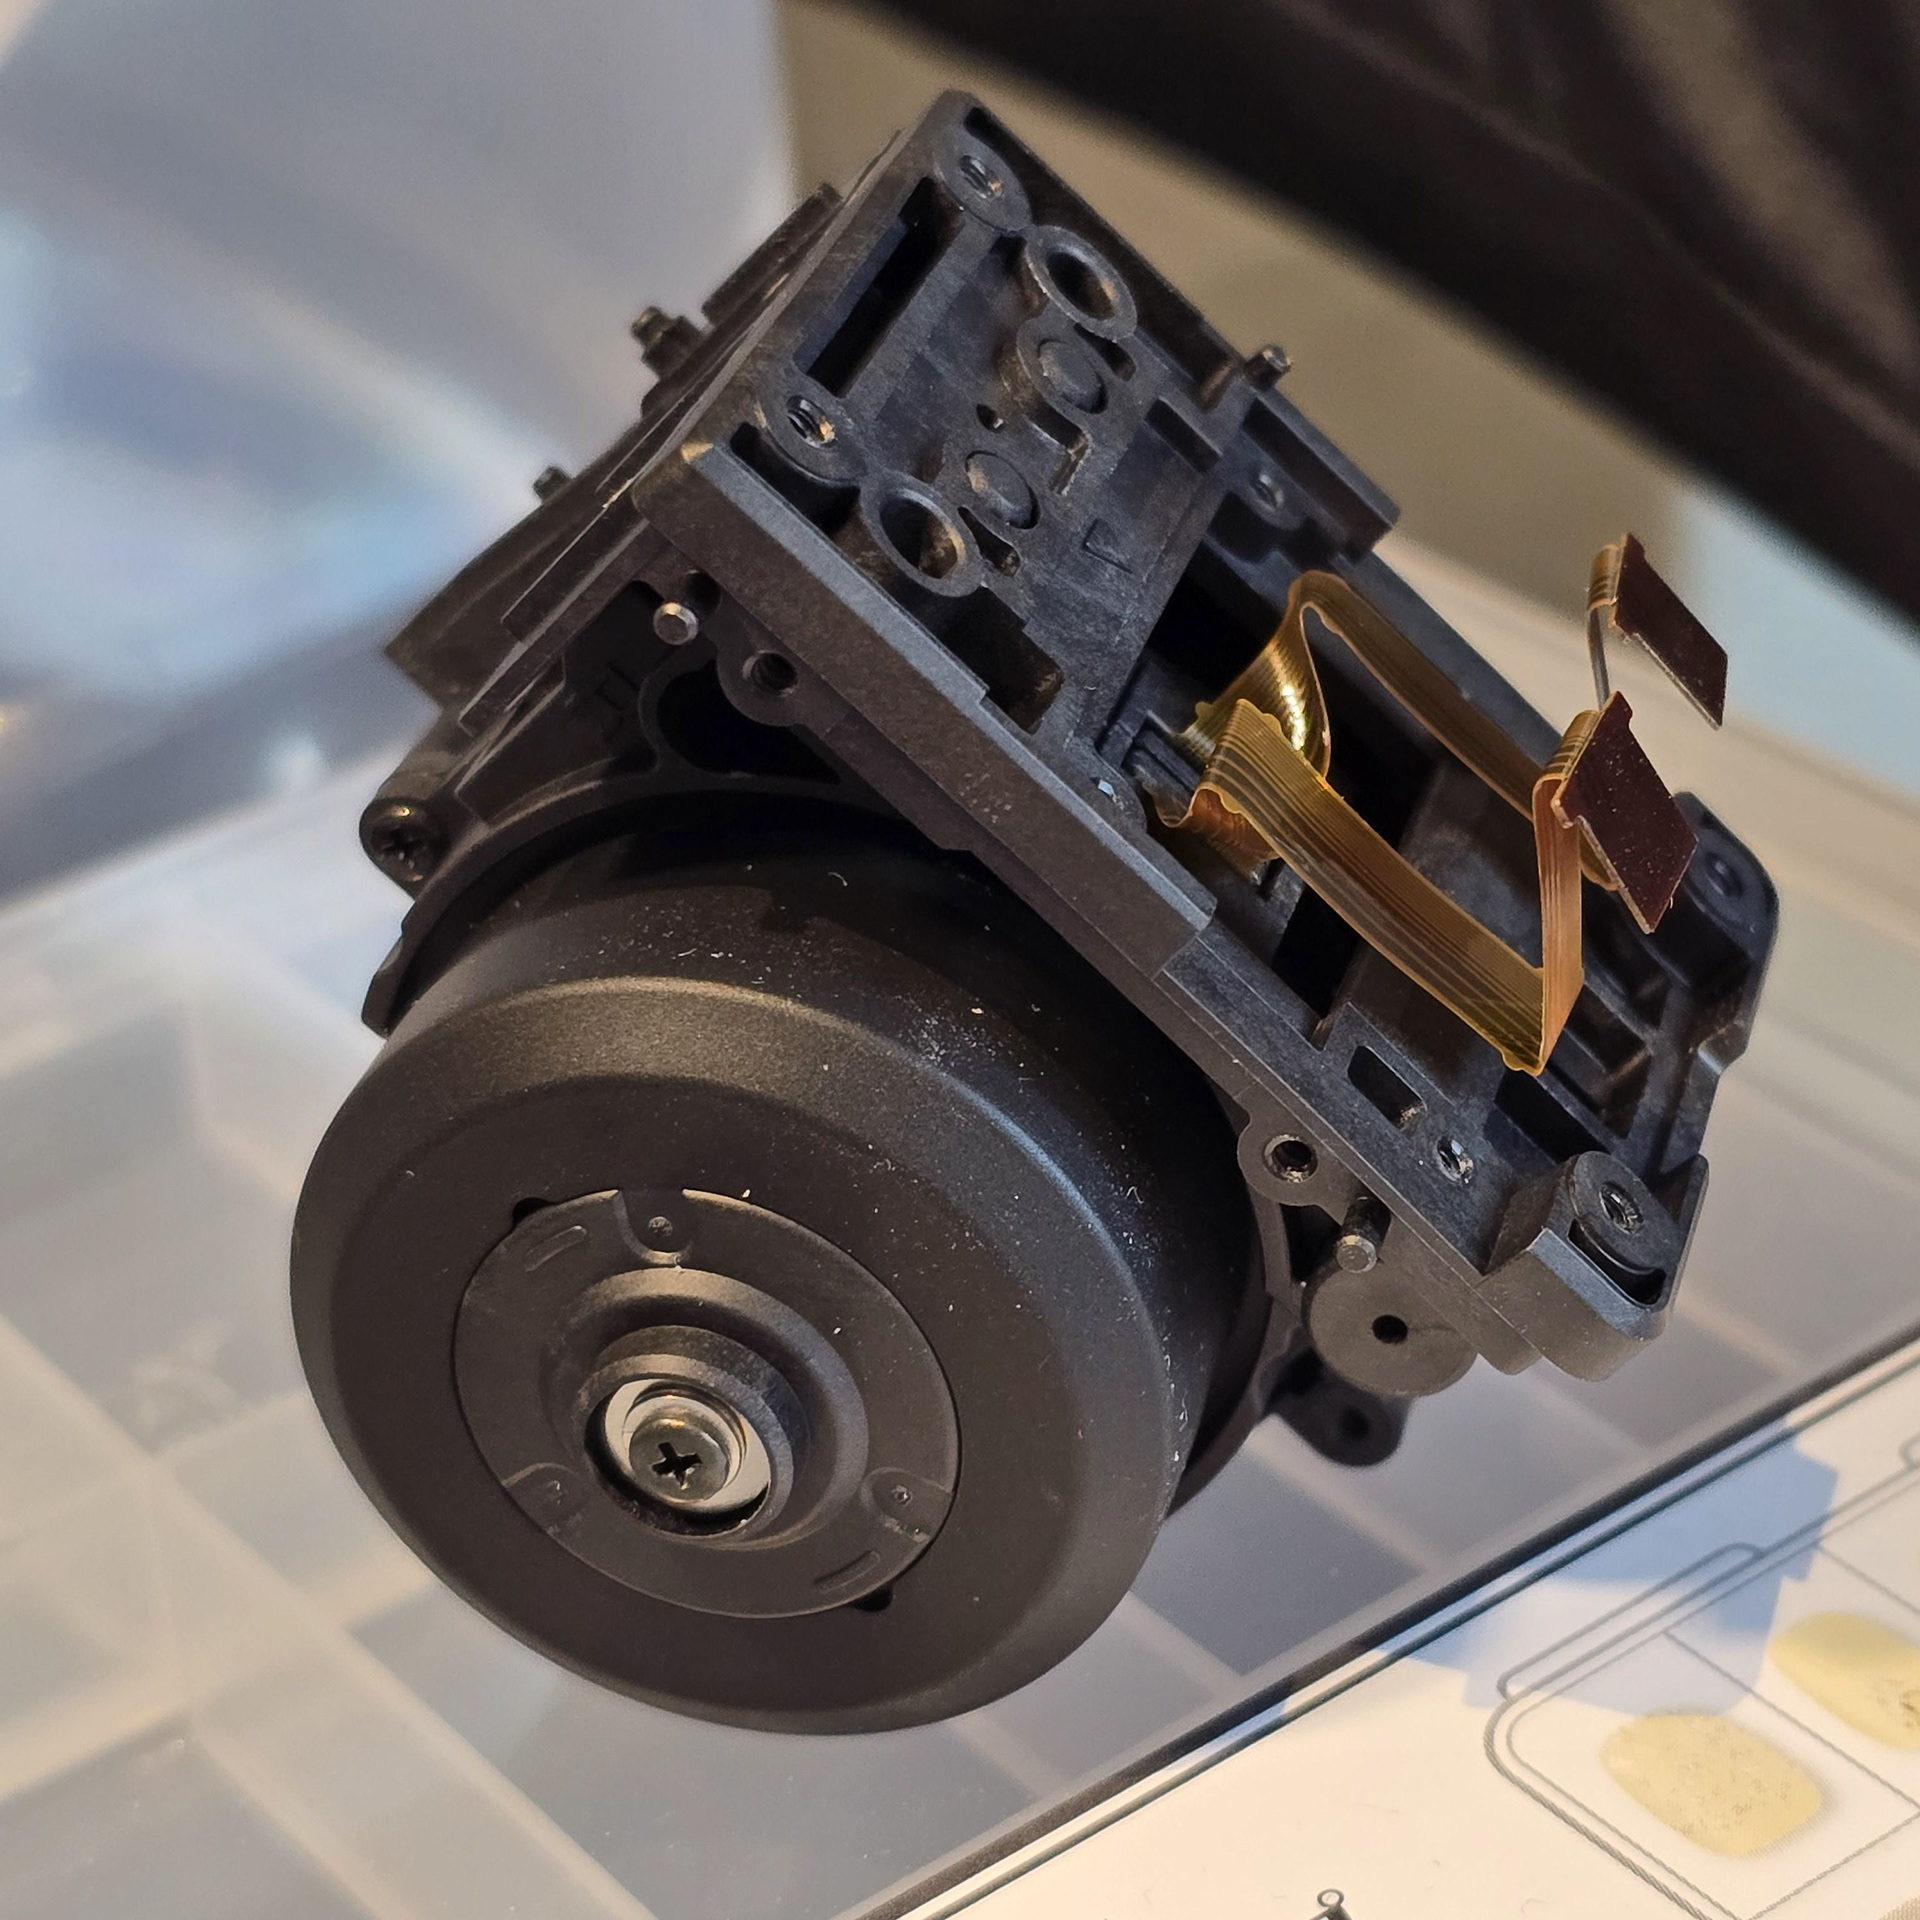
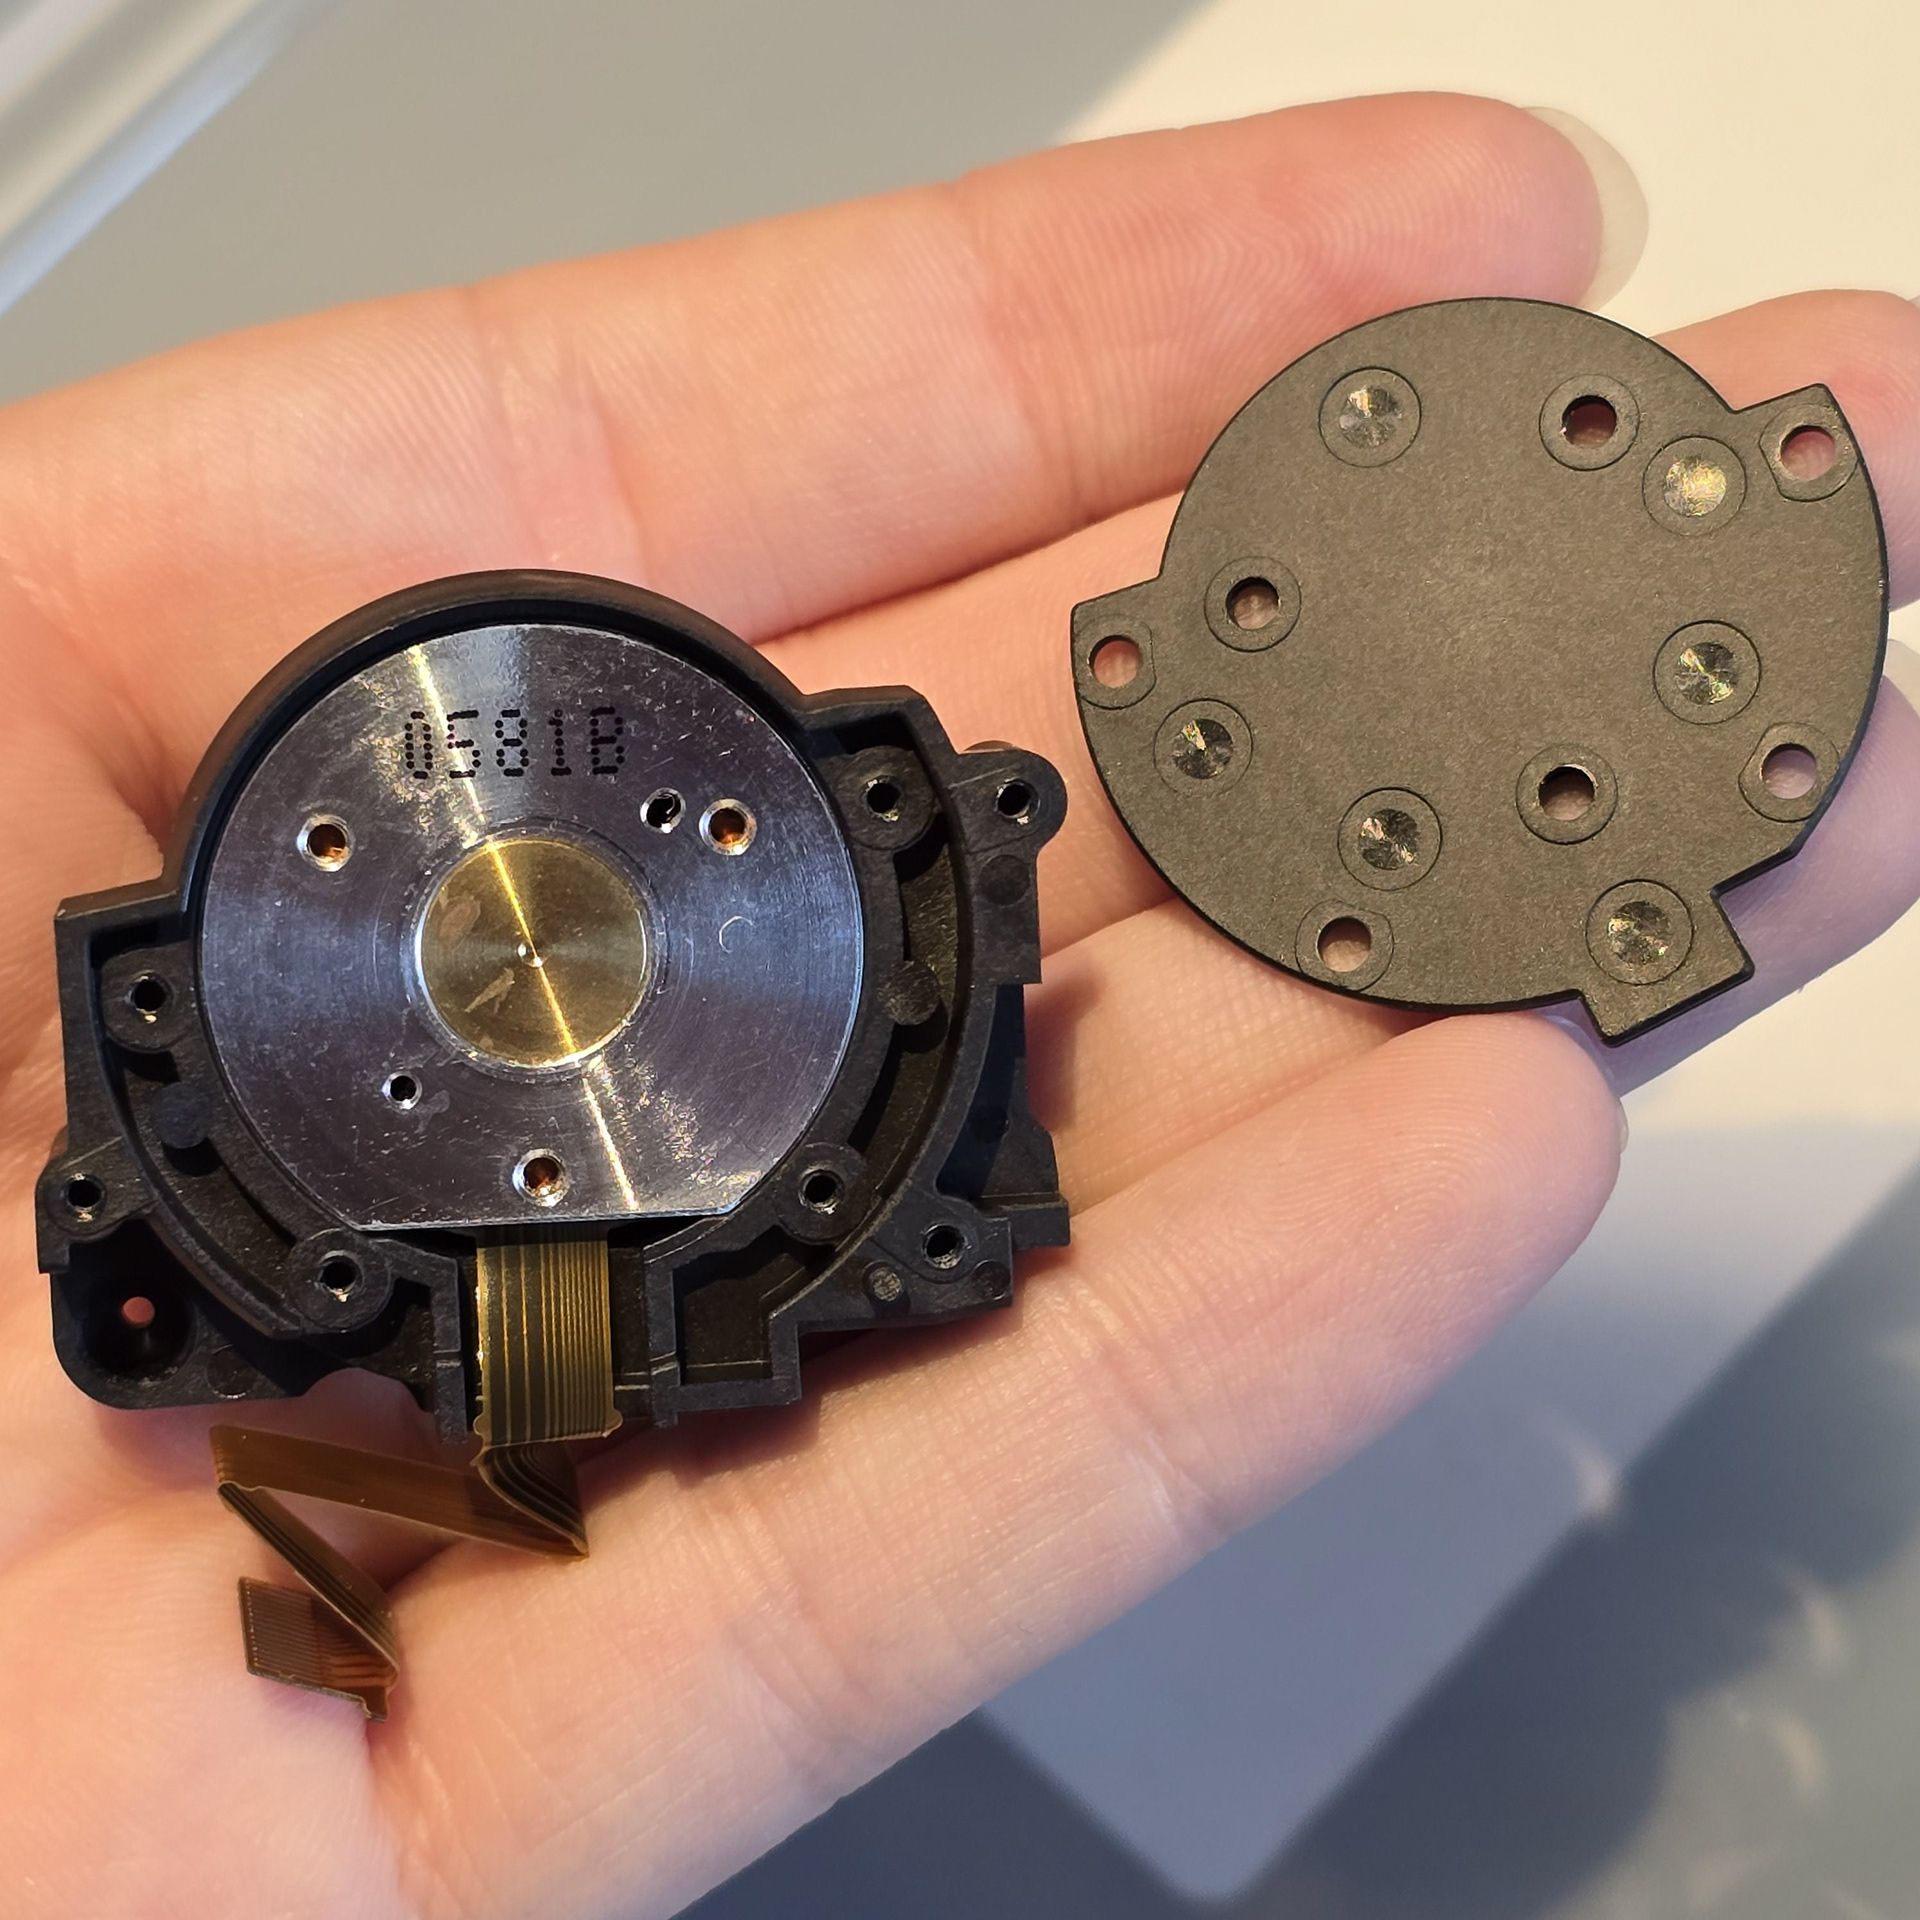
A closer look at the servo - I suspect that it is manufactured by the same company as the ERS-1000's servos, but using a more readily available model.
サーボをよく見ると、ERS-1000 のサーボと同じ会社が製造していると思われますが、より入手しやすいモデルが使用されています。
Next Page: POIQ Head Disassembly >>>