Continuing on from the first part of my POIQ disassembly where we opened a POIQ up for the first time, these are my notes from taking each half of POIQ apart completely. Please note that this isn't intended to be a 'how-to' guide, so I won't be going step-by-step/in detail necessarily. There isn't really any point to disassembling a POIQ, I just did so in order to figure out how to do so for my own curiosity. Regardless, I hope you find this interesting.
POIQ分解のパート1(初めてPOIQを分解した)に続き、POIQの各半分を完全に分解した際のメモです。これは「ハウツー」ガイドではないため、必ずしも手順を追って詳しく説明するわけではありません。POIQを分解することに特に意味はなく、単に自分の好奇心から分解方法を調べてみただけです。とはいえ、興味を持っていただければ幸いです。

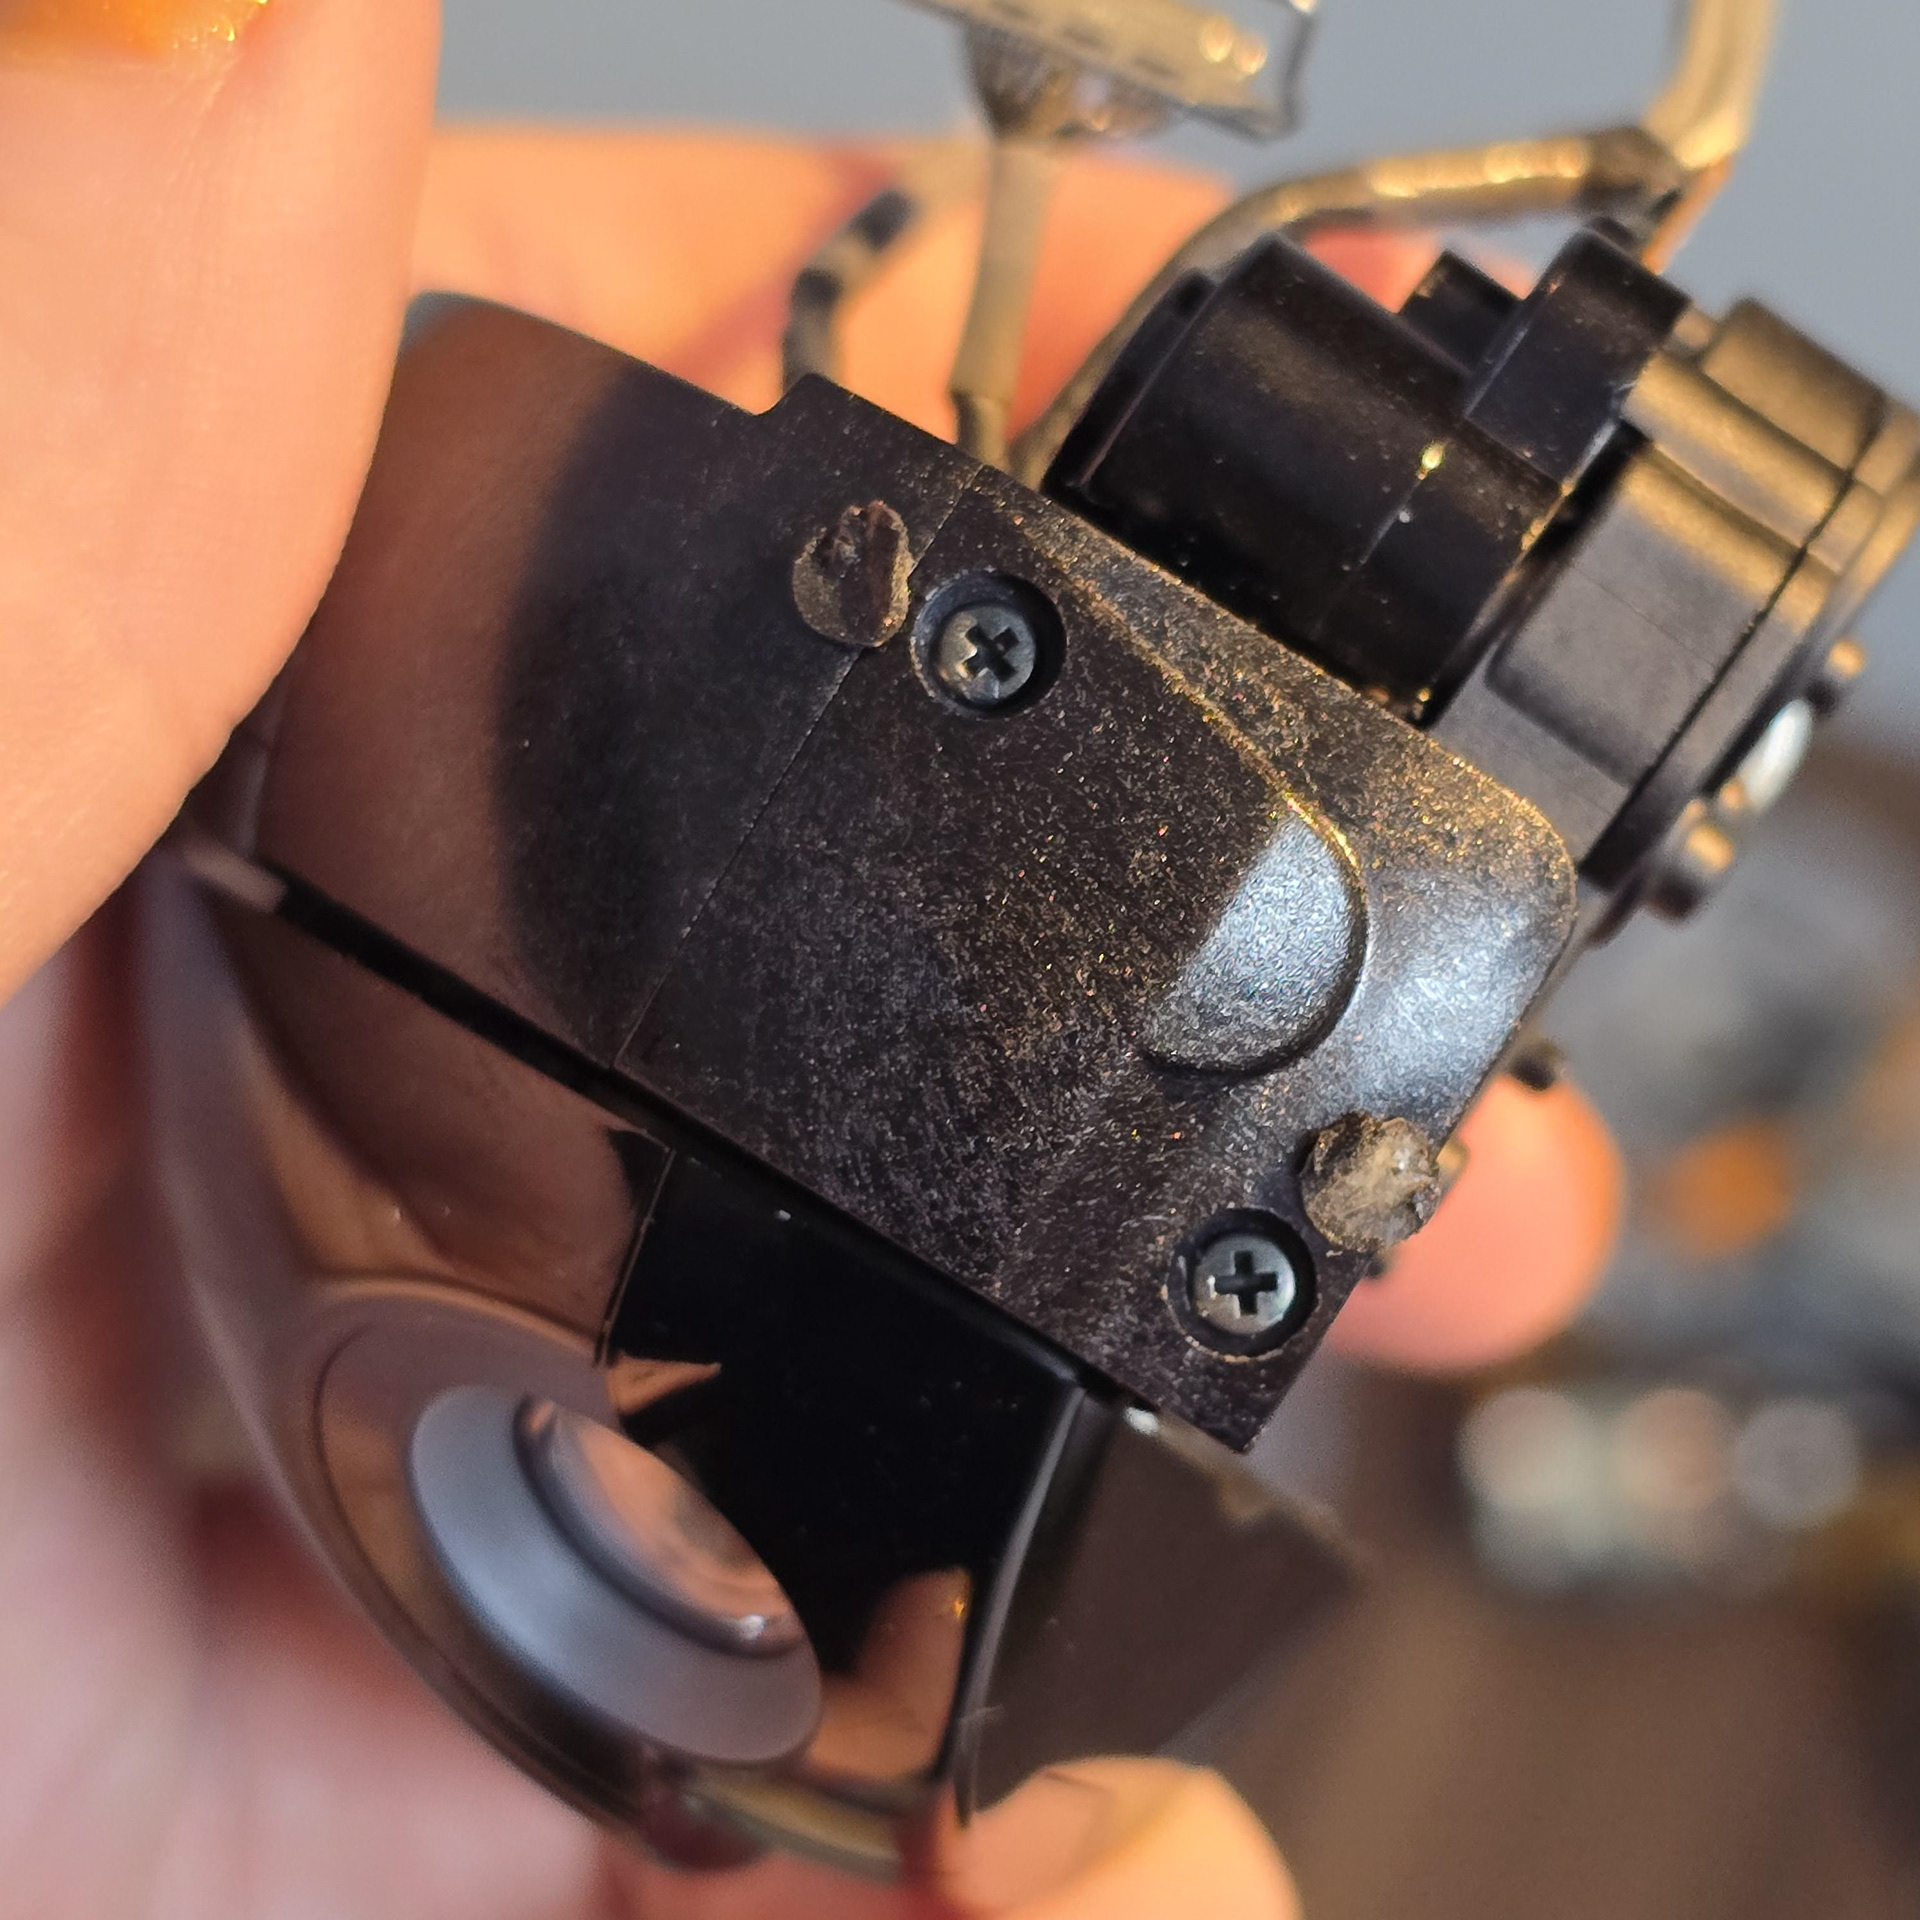
There are hidden screws under black foam stickers on either side of the head that need to be removed.
ヘッドの両側にある黒いフォーム ステッカーの下に隠れたネジがあり、取り外す必要があります。

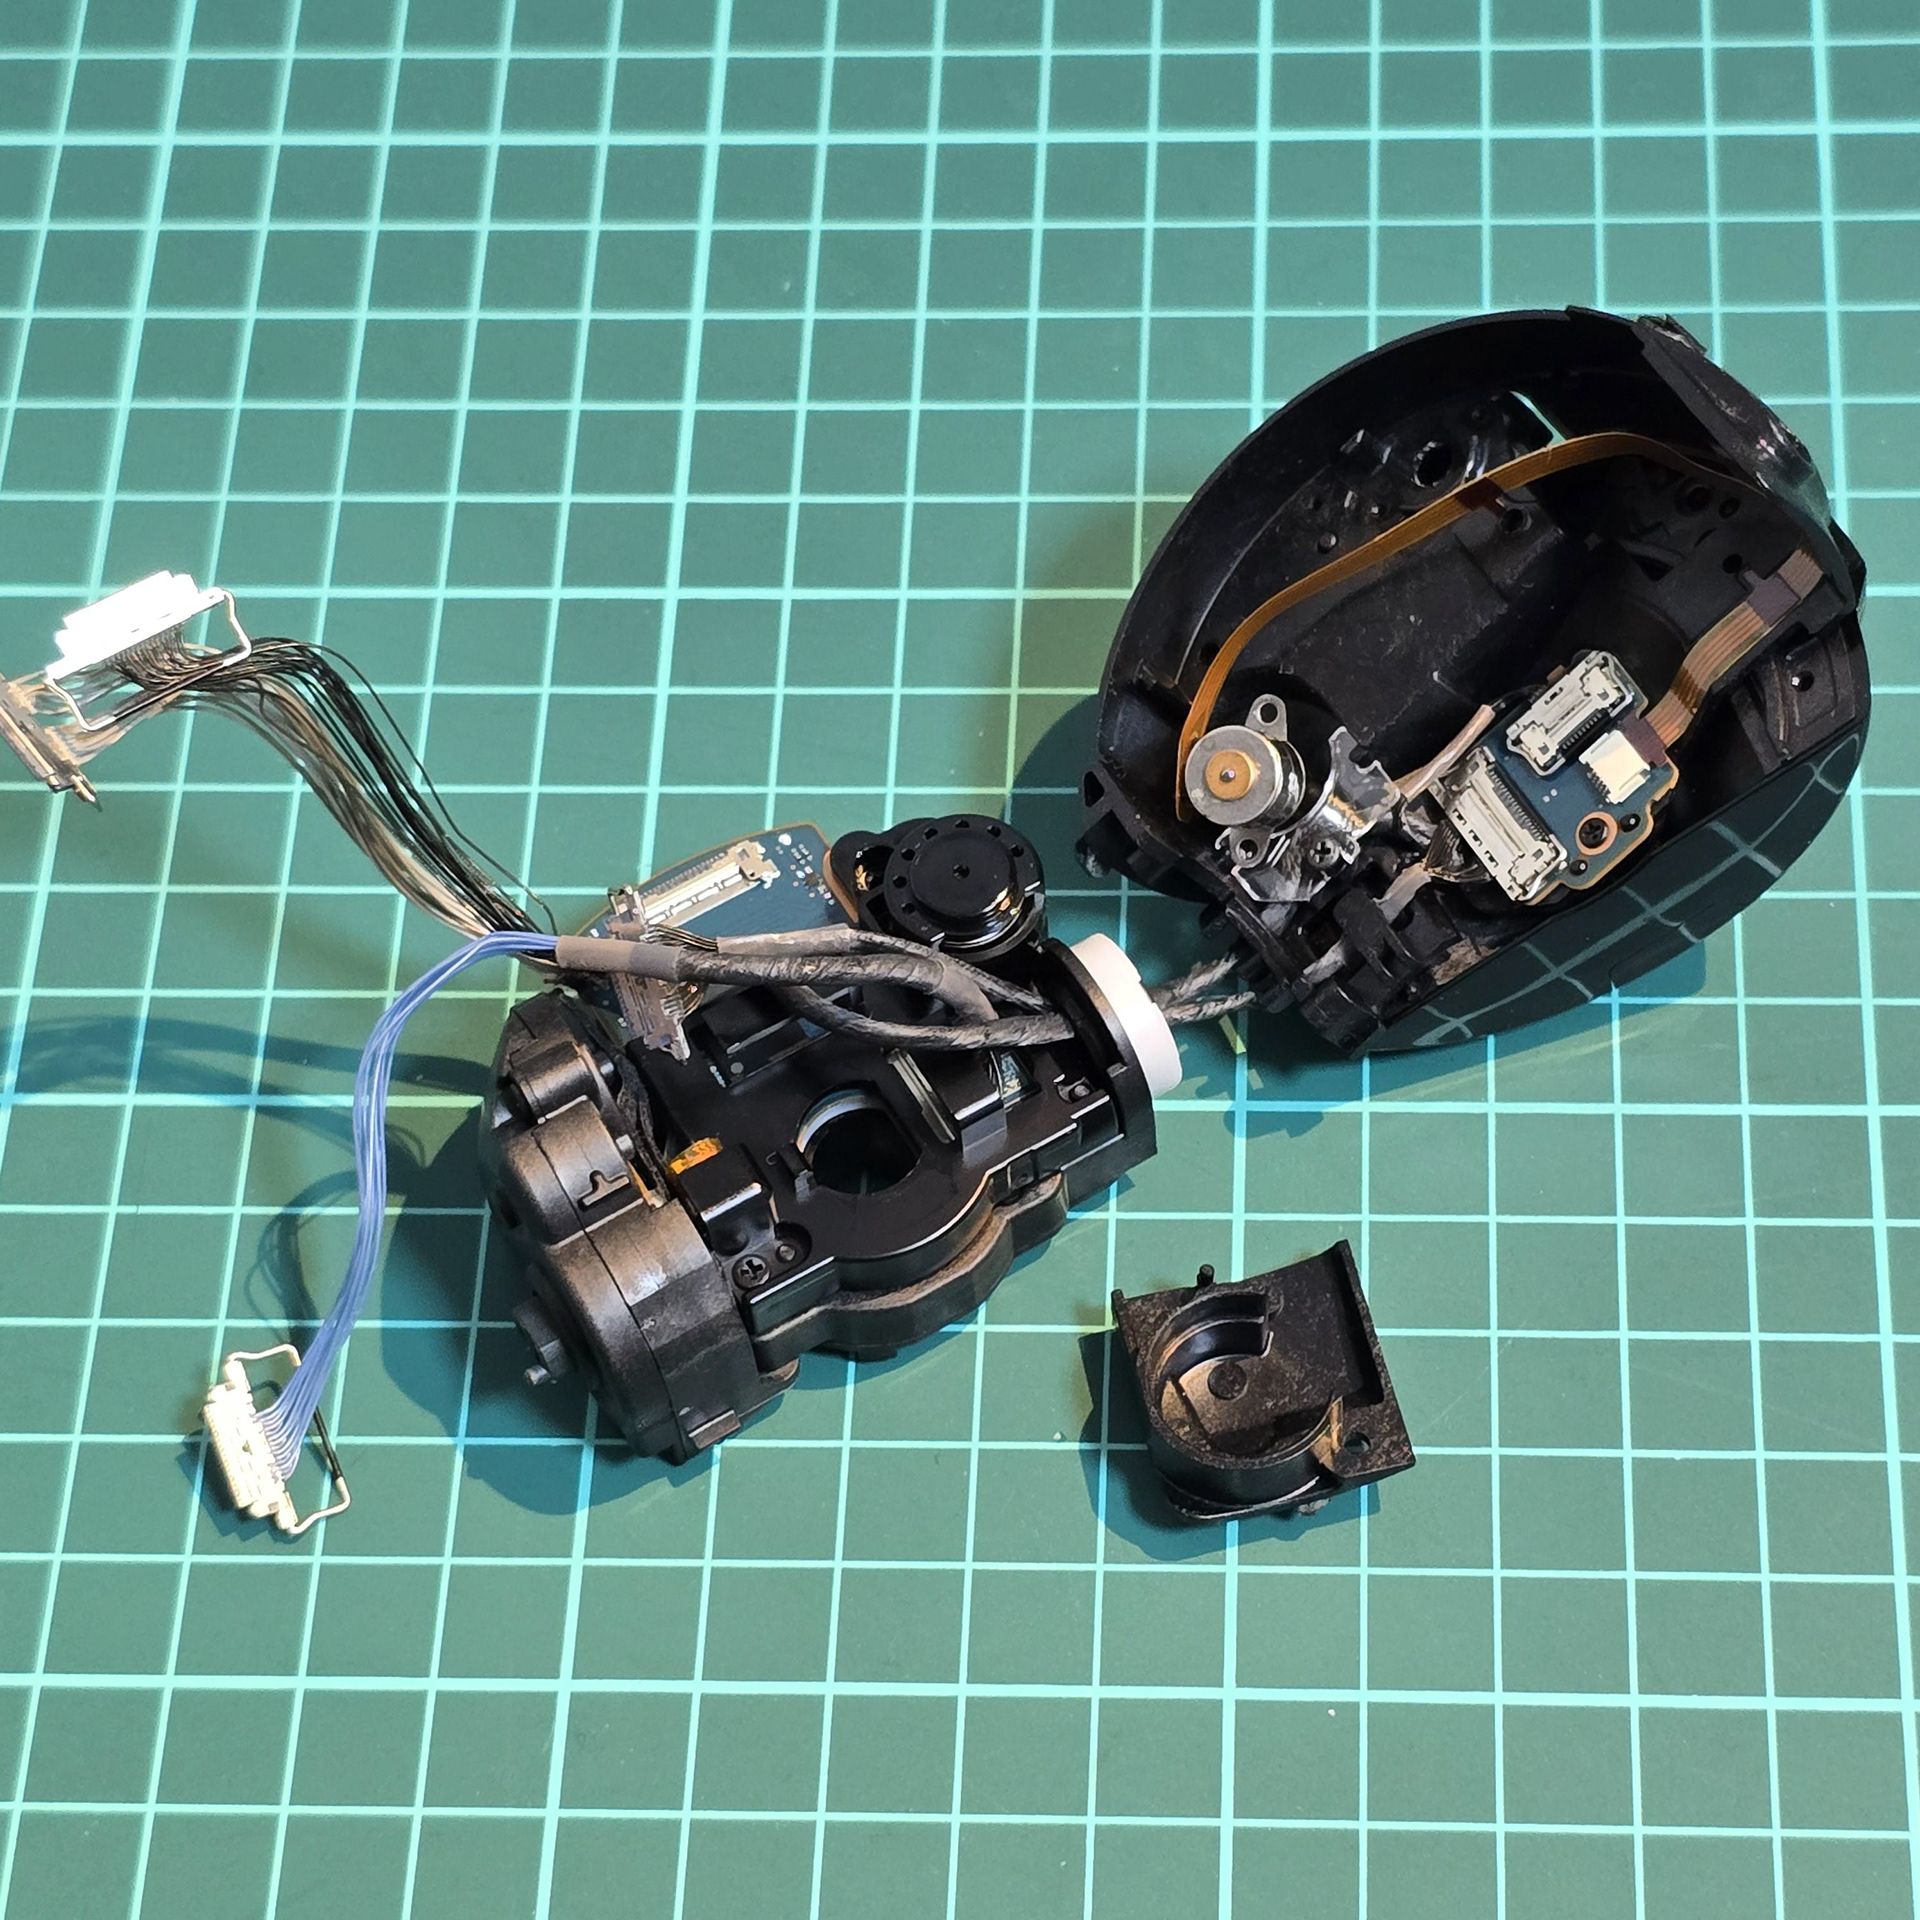
Doing so allows for this side access panel to be removed and seperation. It was a bit confusing figuring out how to separate the layers, but I managed it eventually.
こうすることで、このサイドアクセスパネルを取り外して分離できるようになります。レイヤーをどうやって分離するか少し戸惑いましたが、最終的にはうまくいきました。
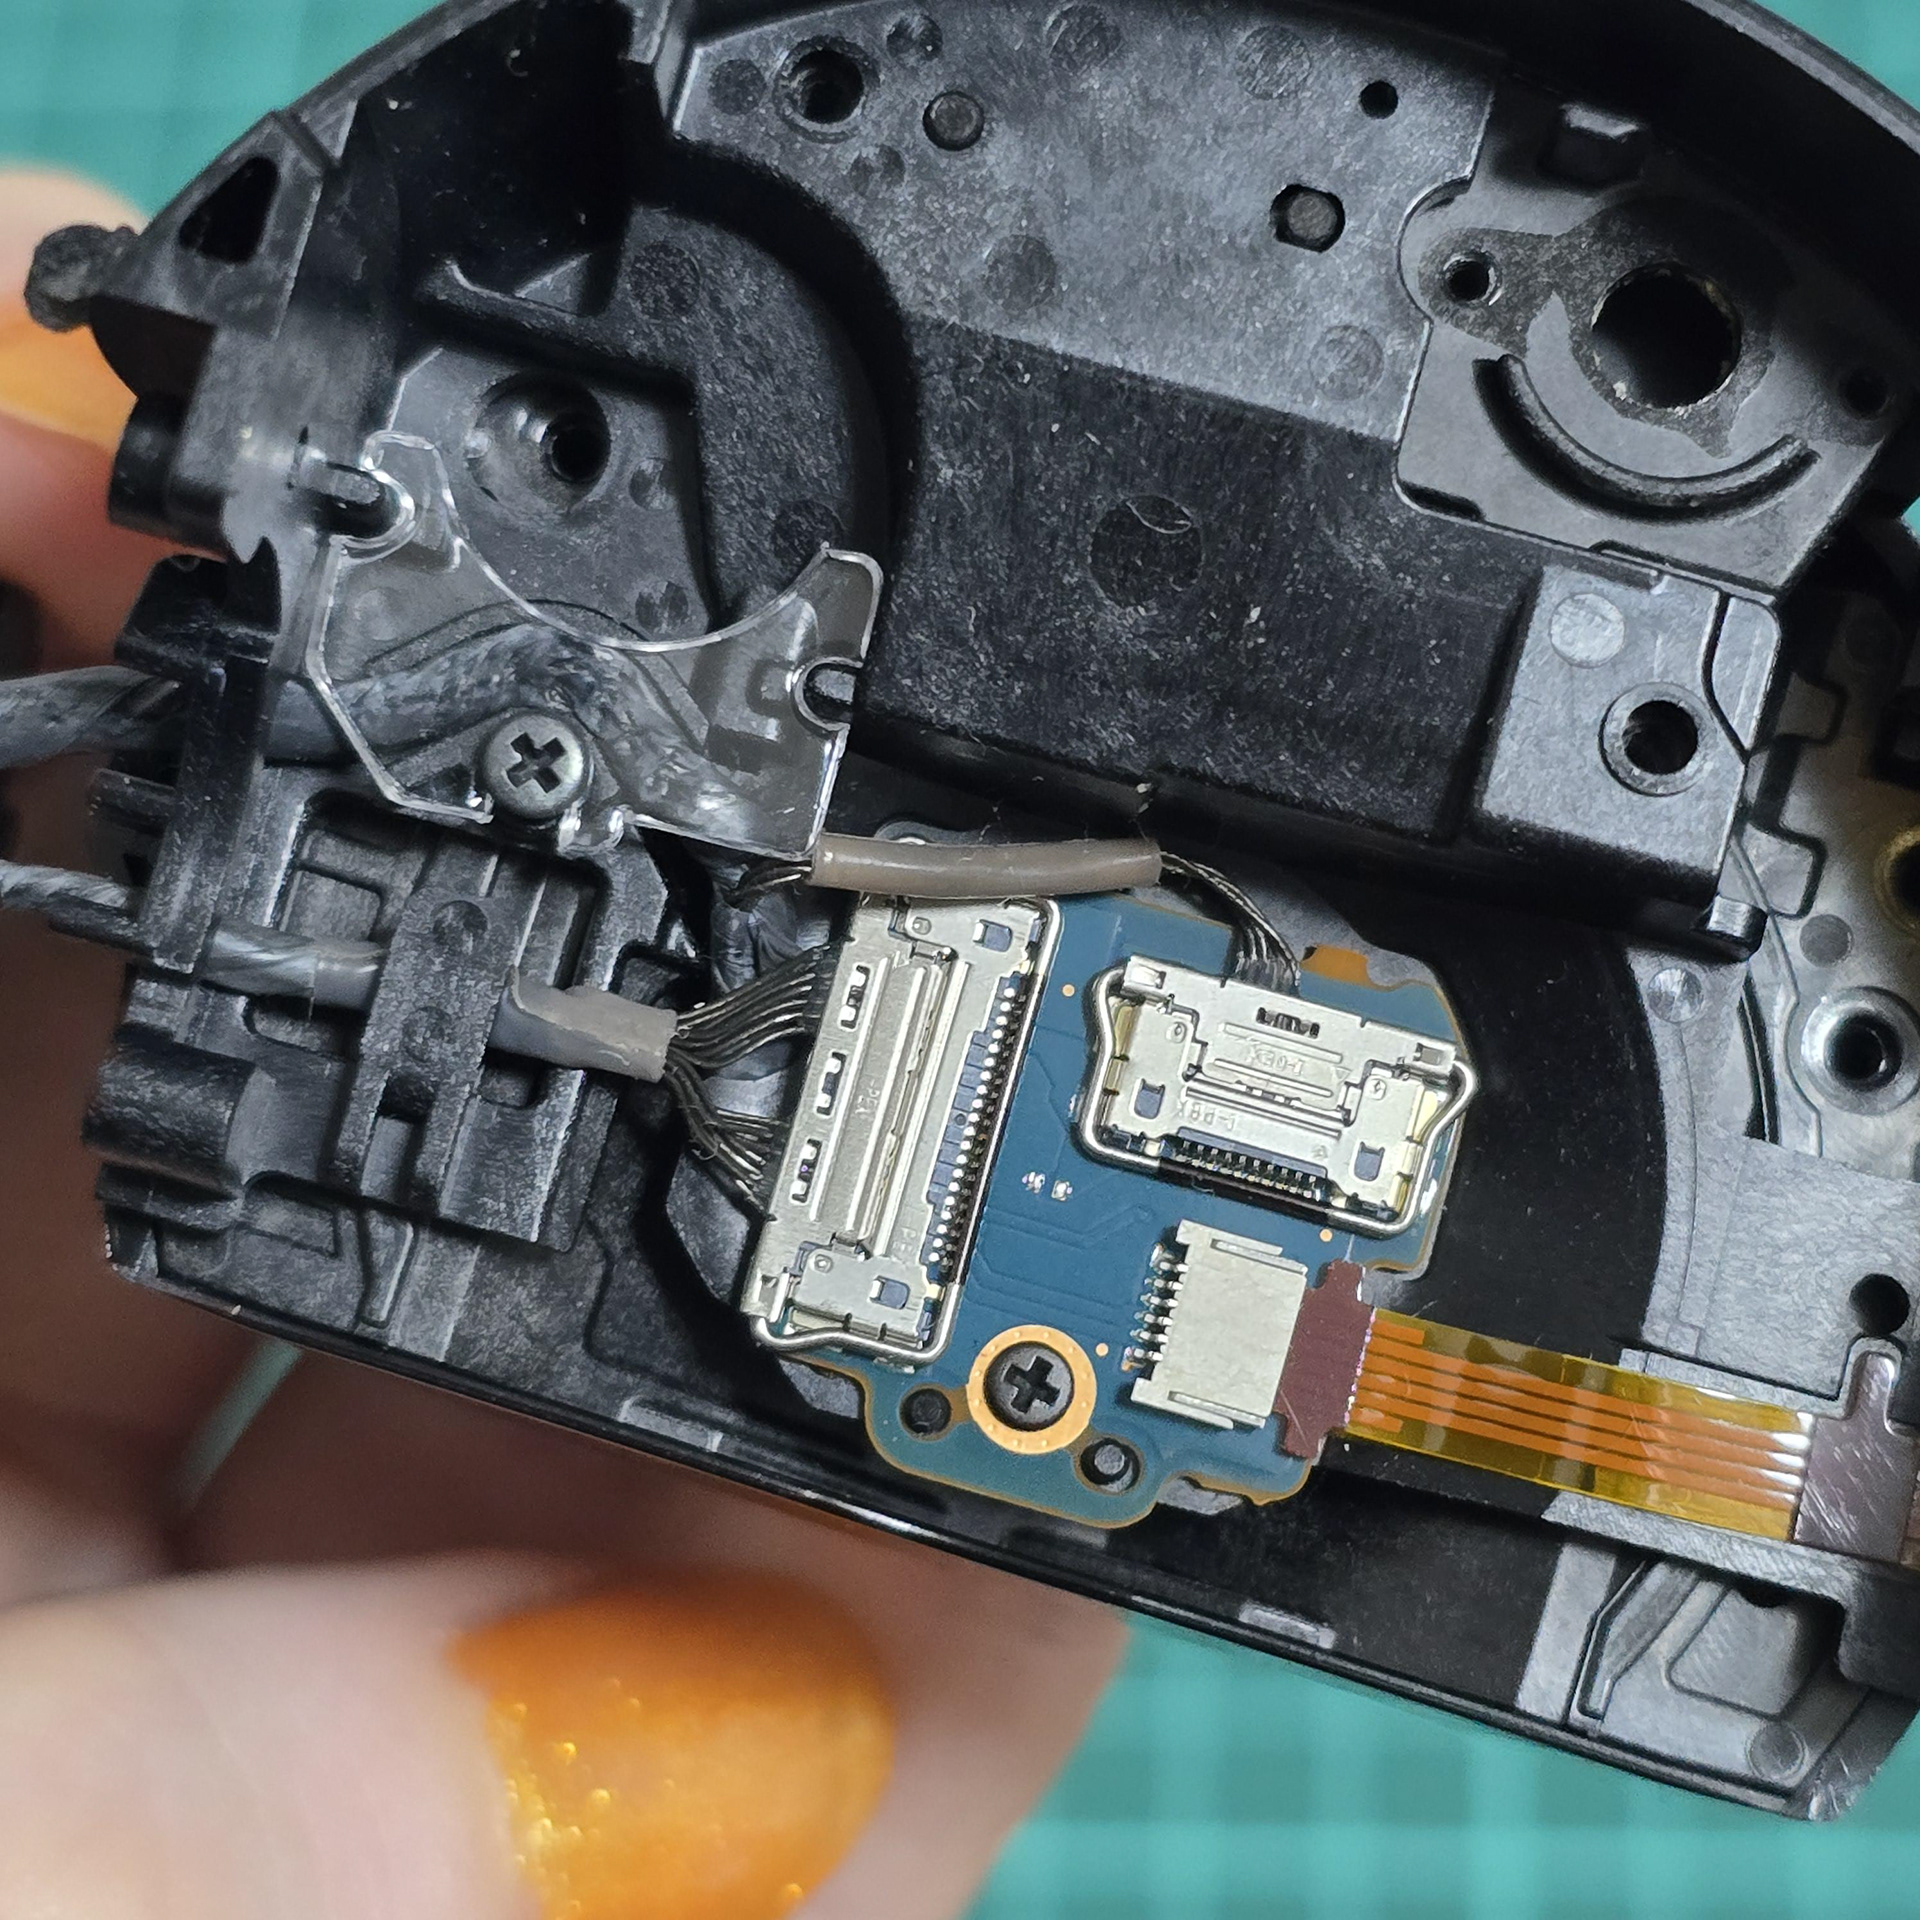
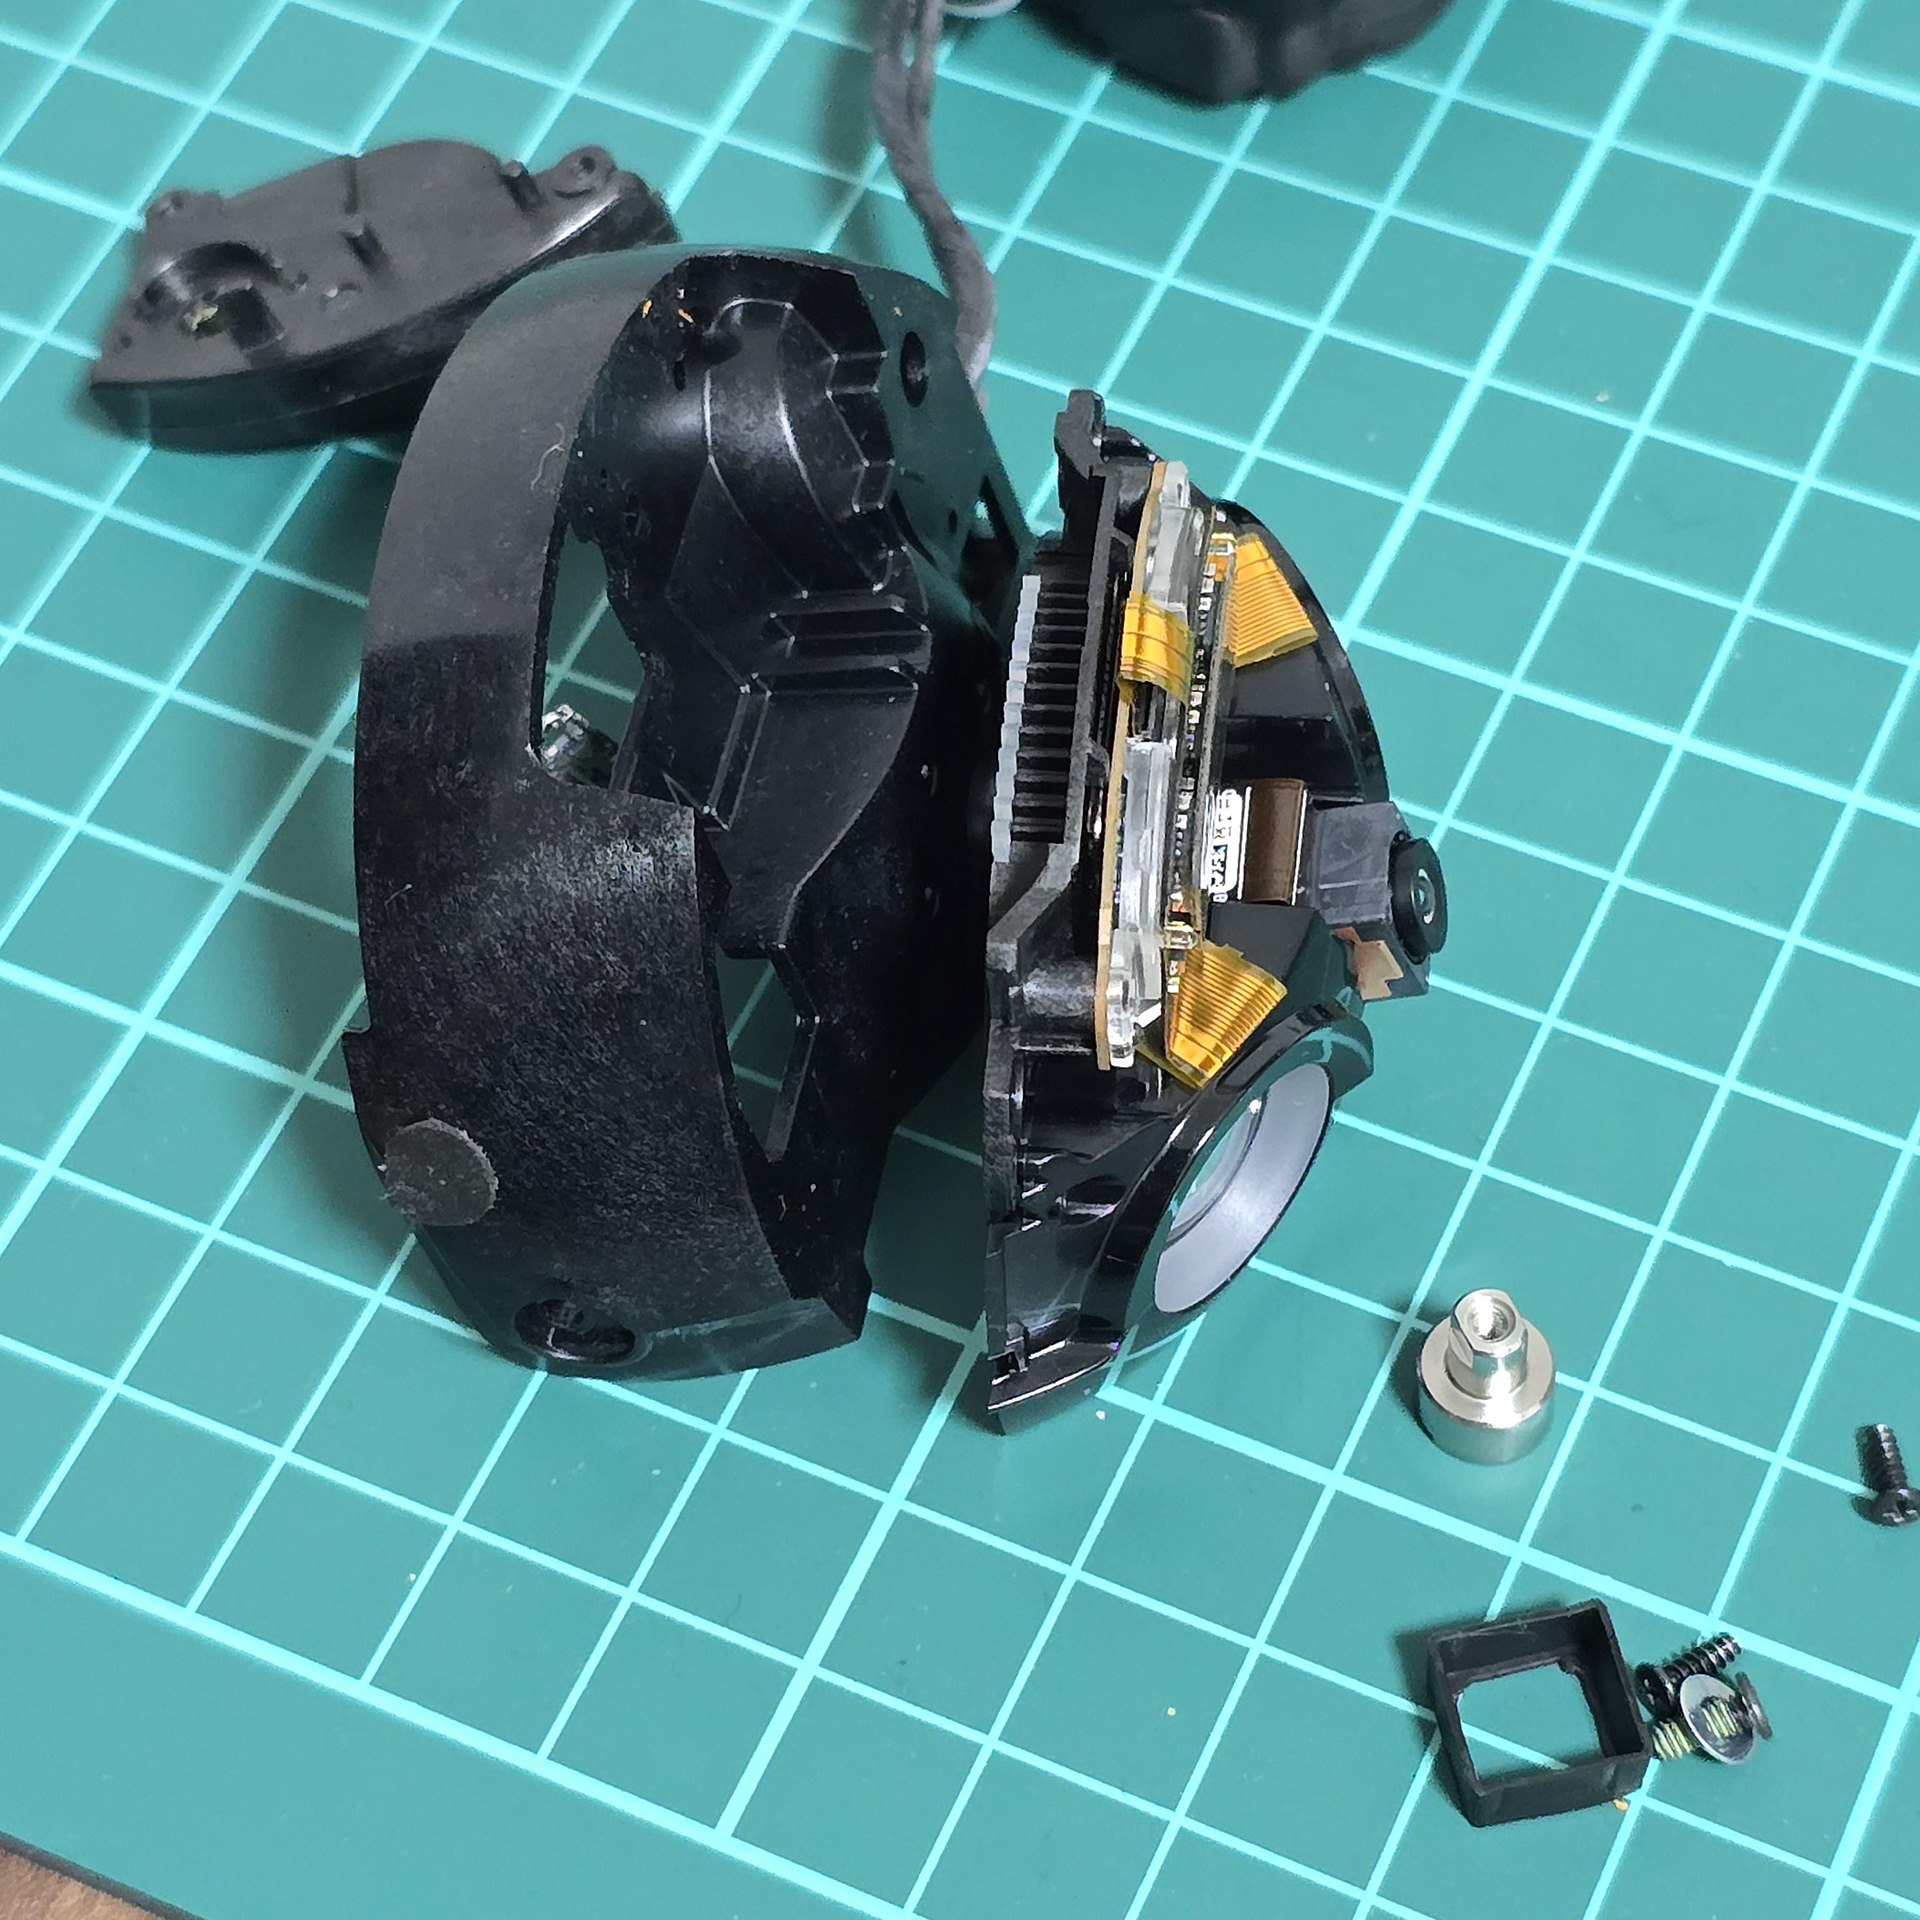
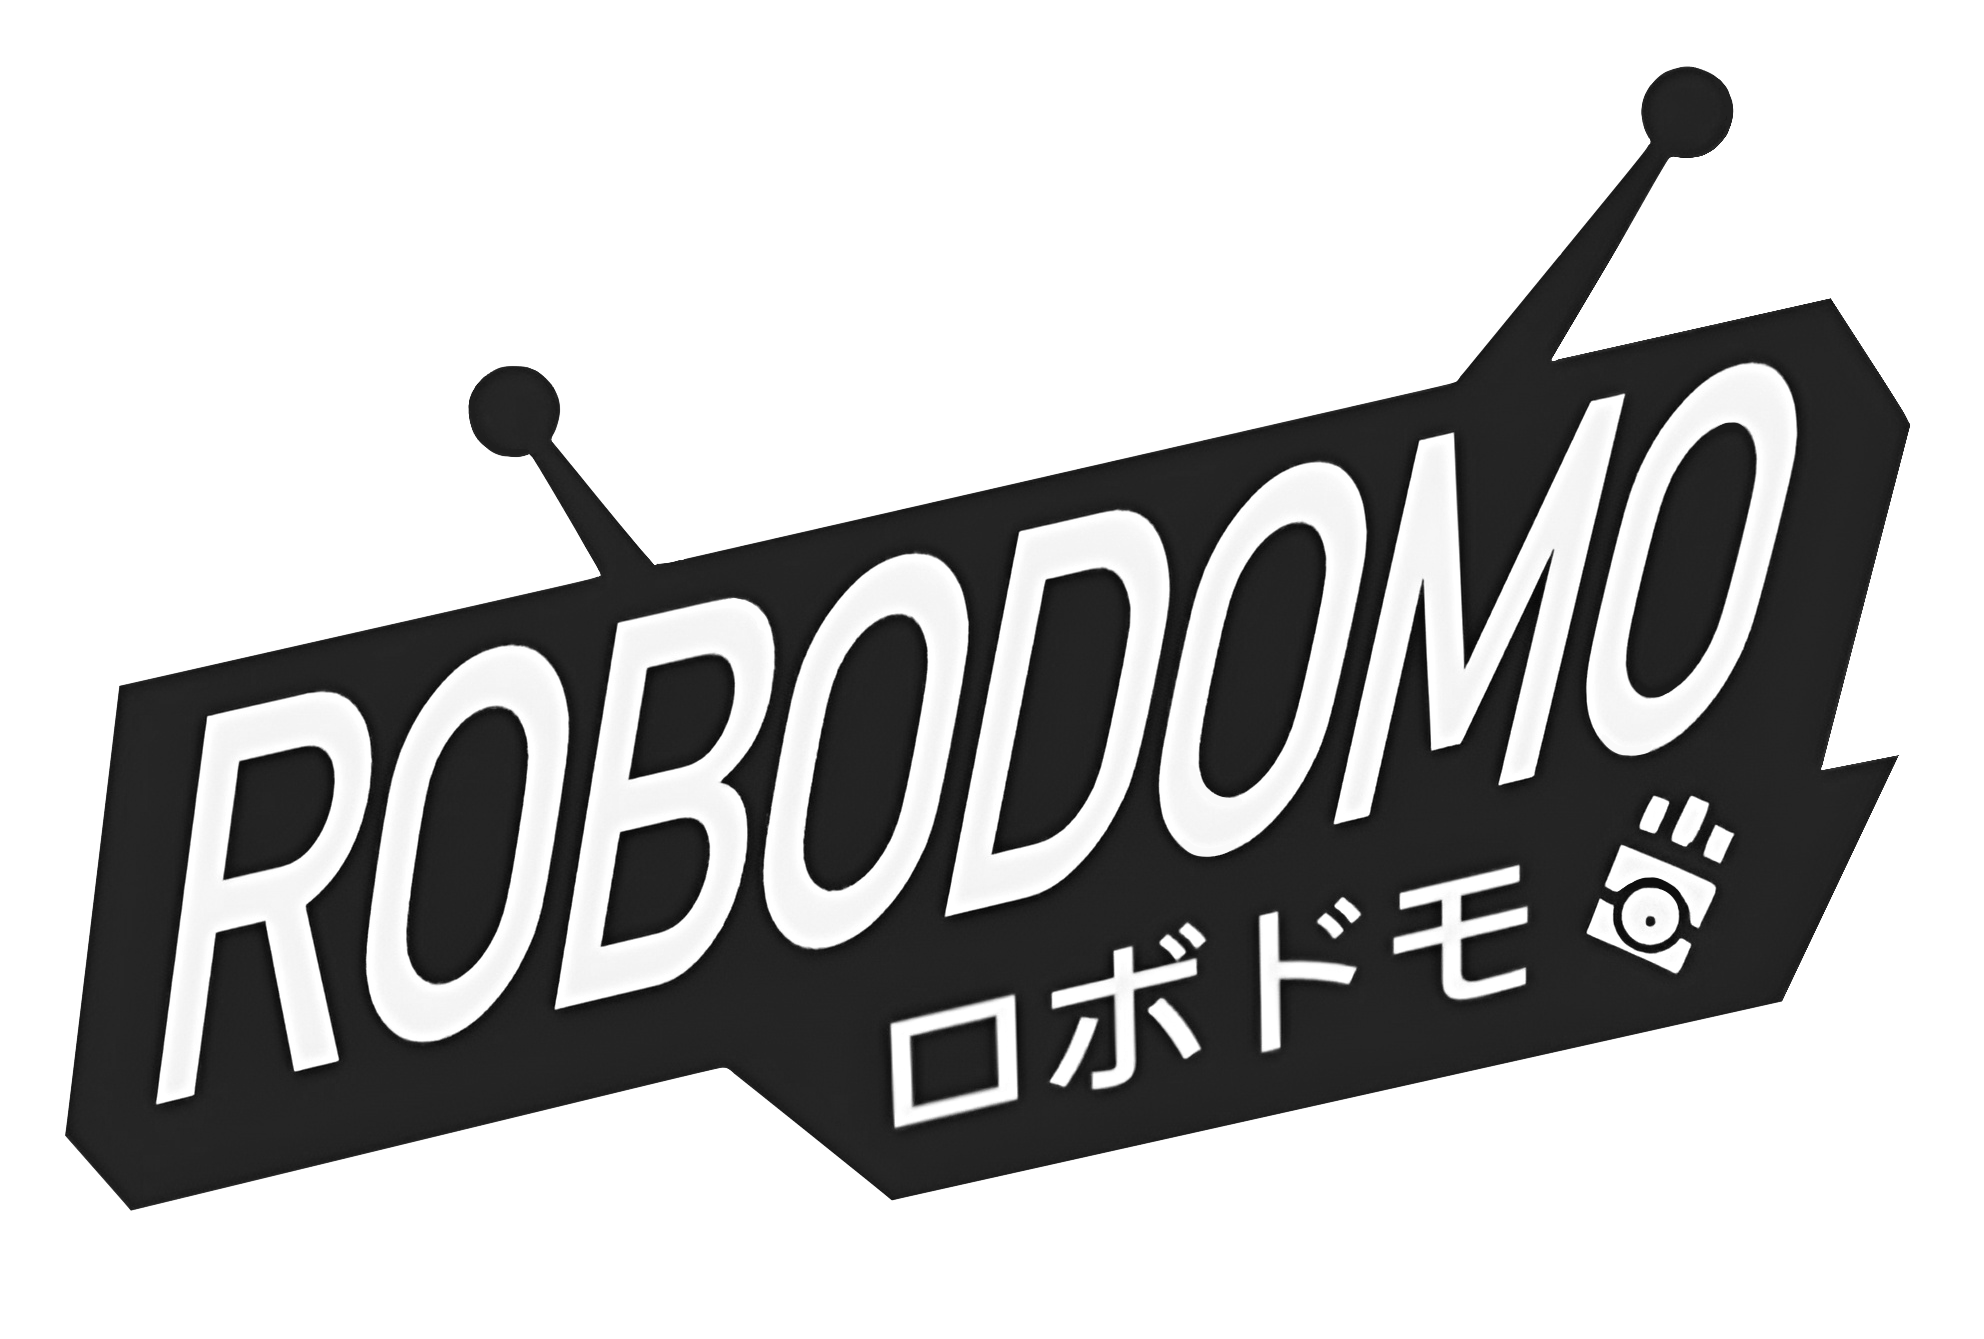
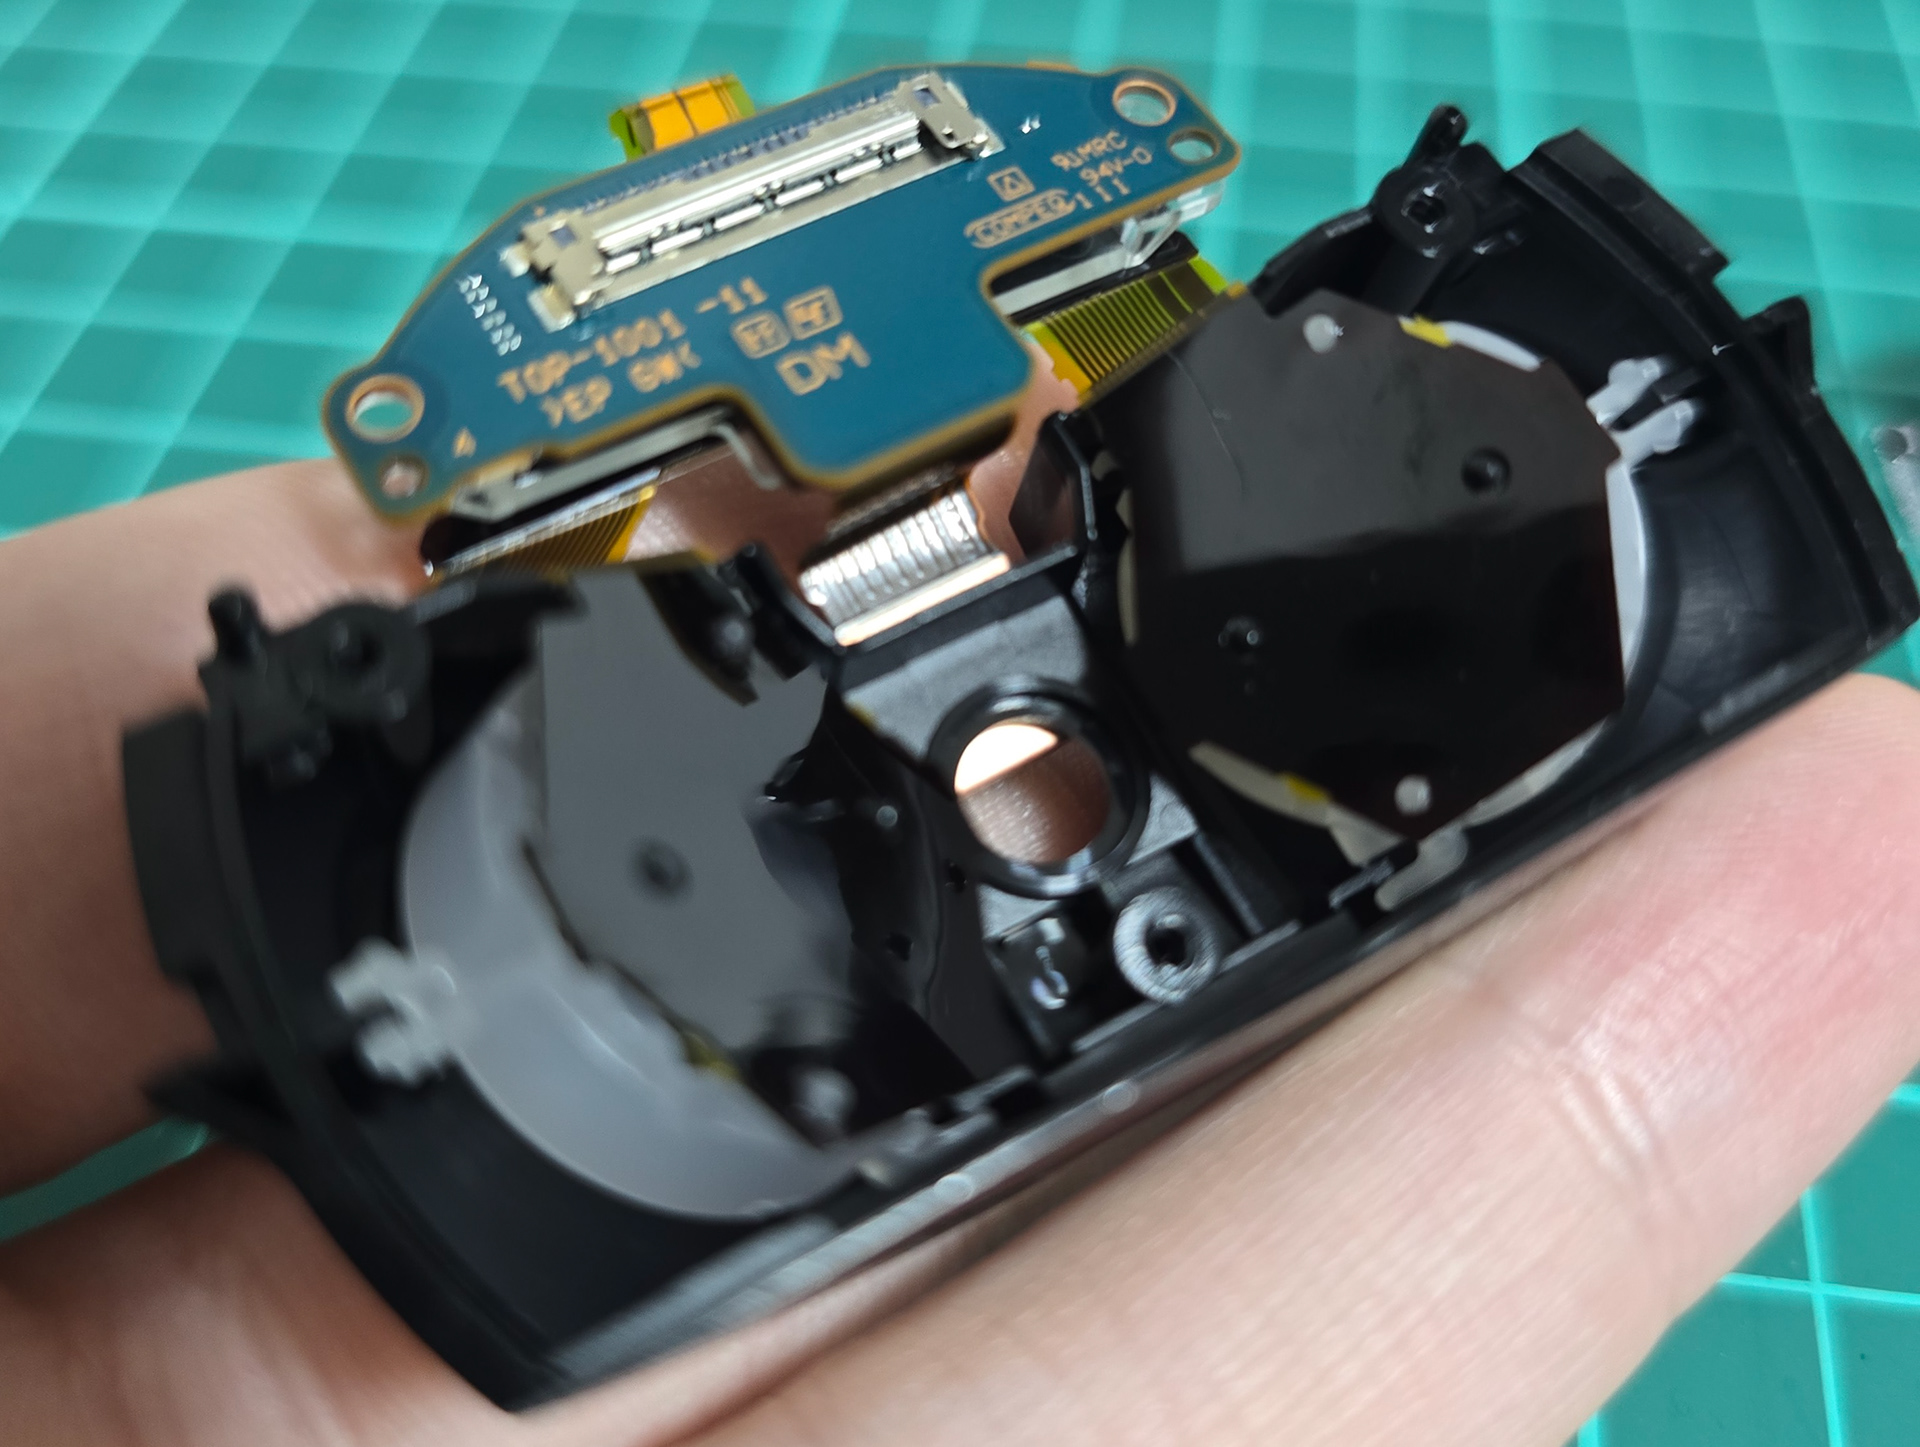
The cable bundles are clipped/kept in place with plastic clips and a clear plastic piece which is screwed in place. Plugging these back in and getting the cable management the same later was surprisingly fiddly, After the board and some other things are removed I was able to finally start separating the face layers.
ケーブル束はプラスチッククリップと、ネジ止めされた透明なプラスチック部品で固定されています。これを元に戻してケーブル管理を元に戻したのは、驚くほど面倒でした。基板とその他の部品を取り外した後、ようやく表面層を分離する作業を始めることができました。
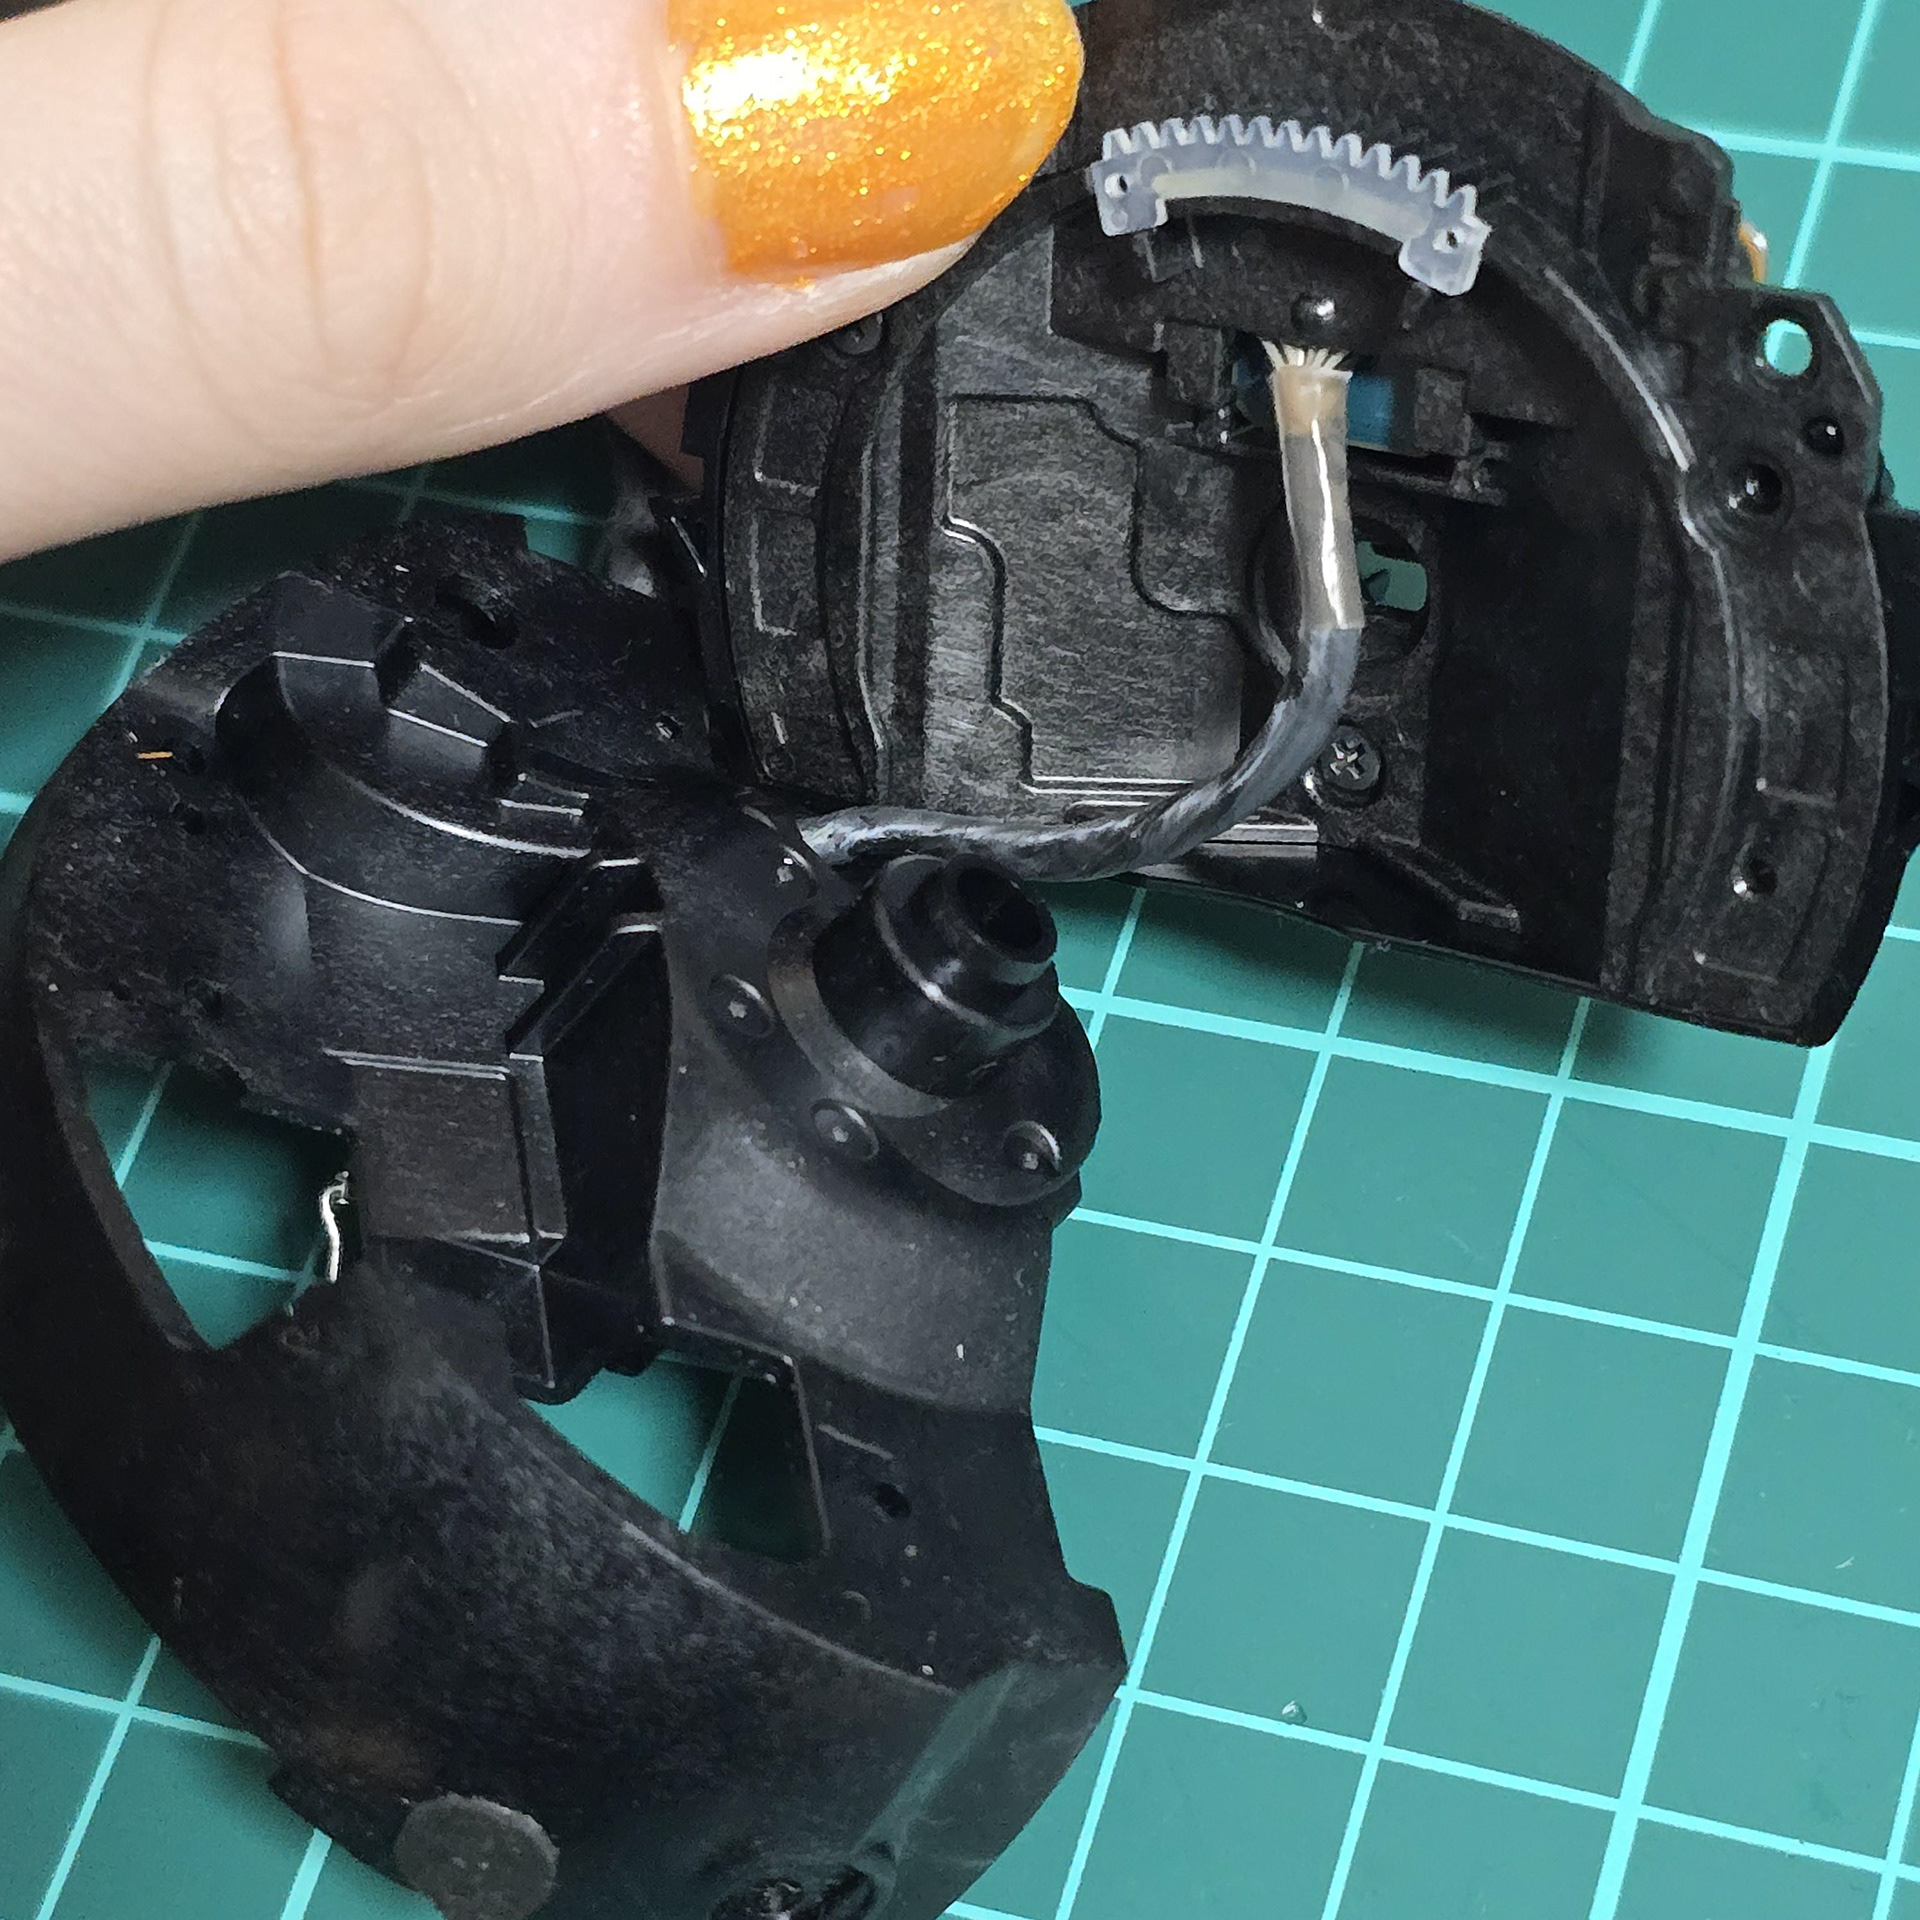
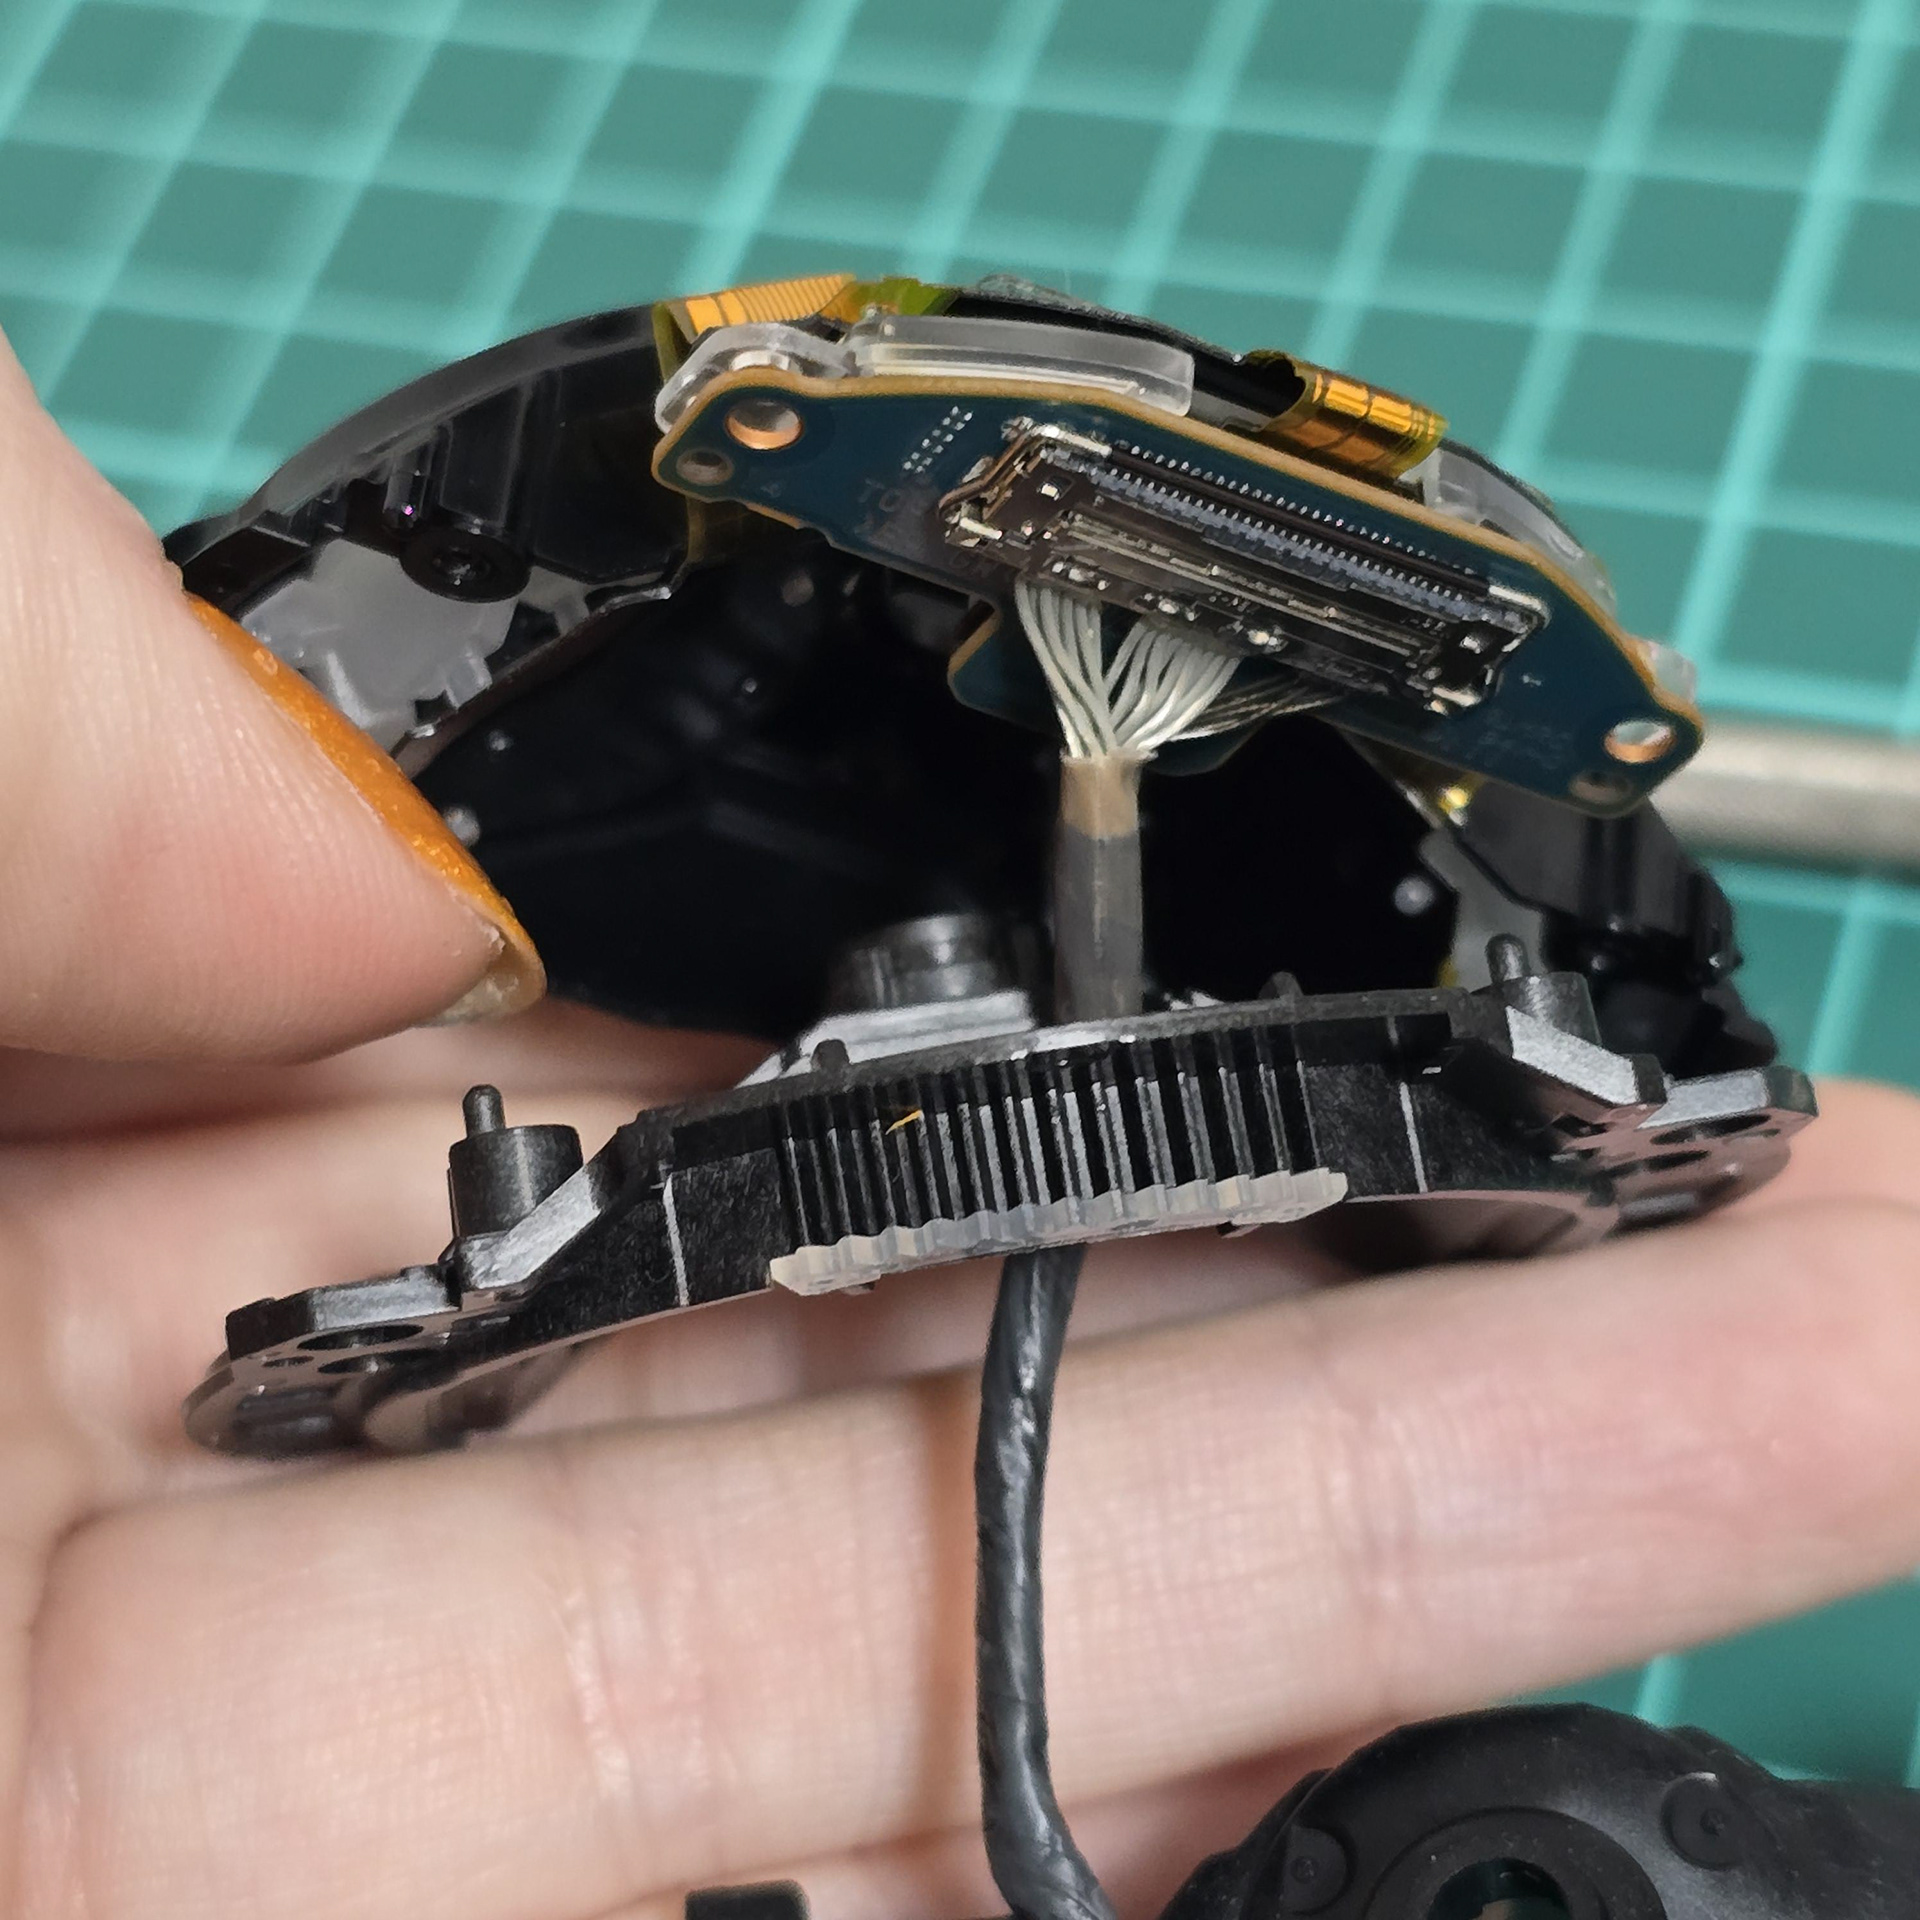

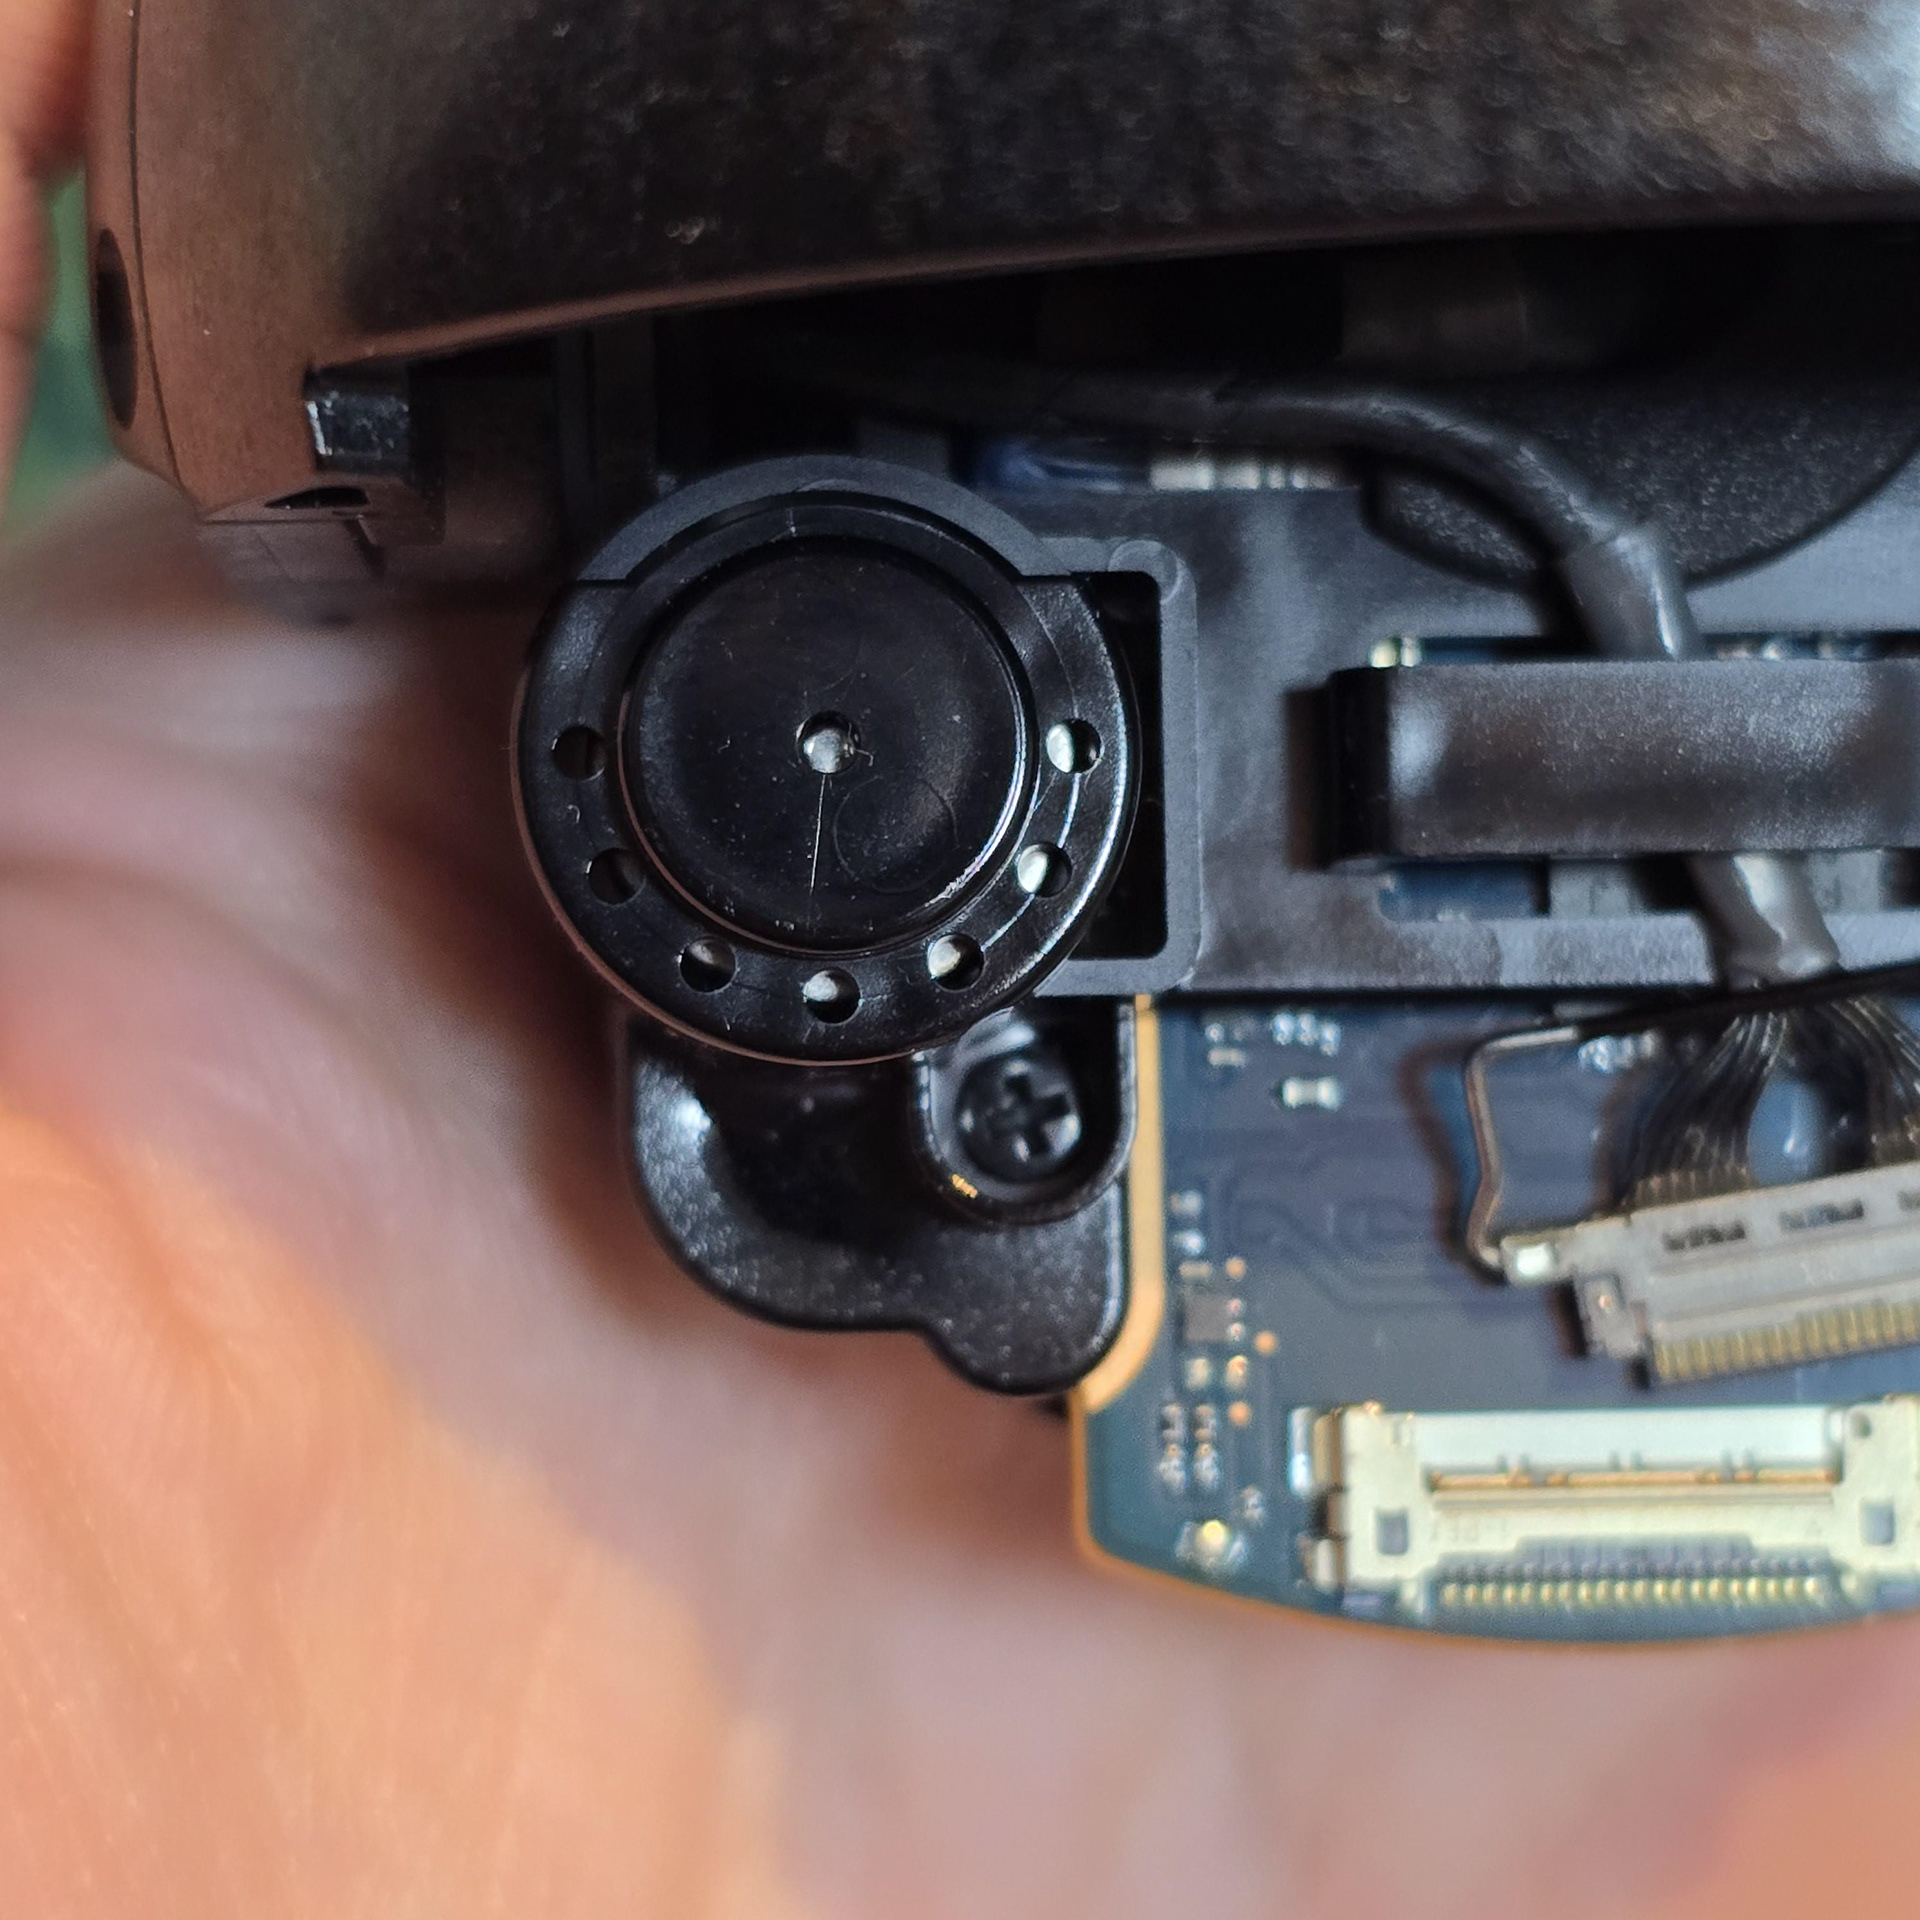
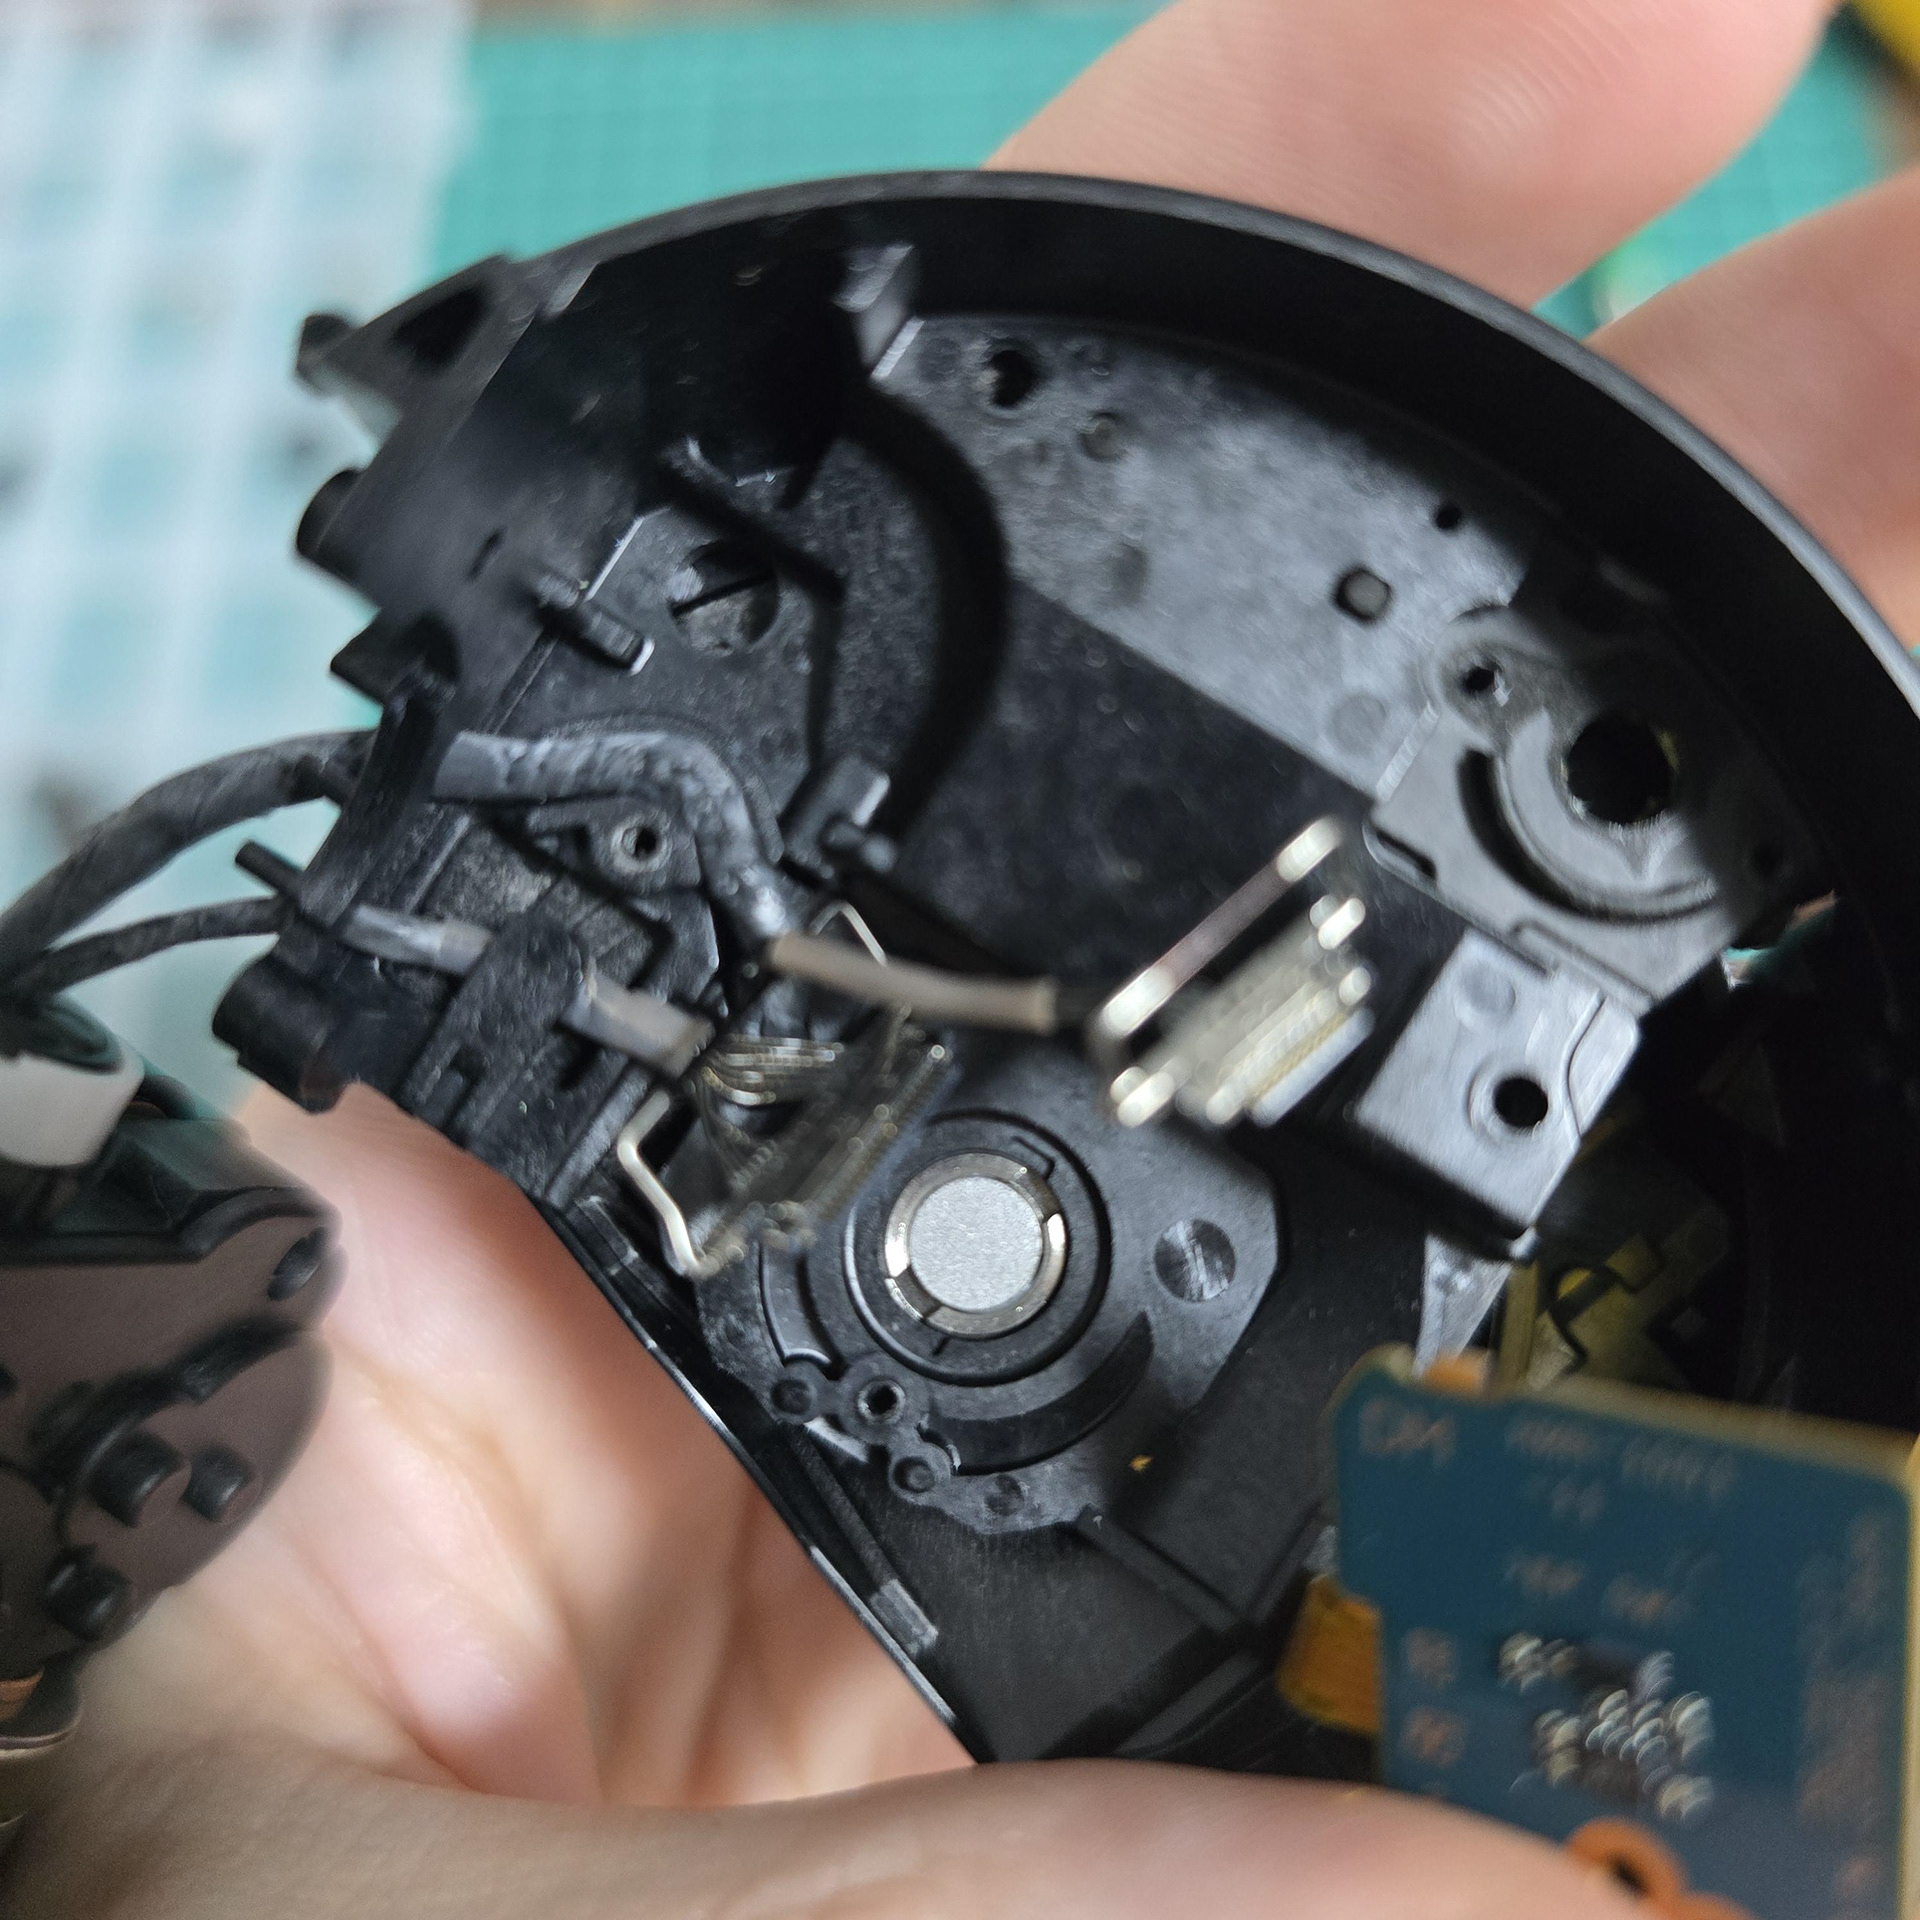
Taking apart the custom gear layers and feeding the cable bundle through. This is all of the face rotation.
カスタムギアレイヤーを分解し、ケーブル束を通します。これでフェイスローテーションは完了です。

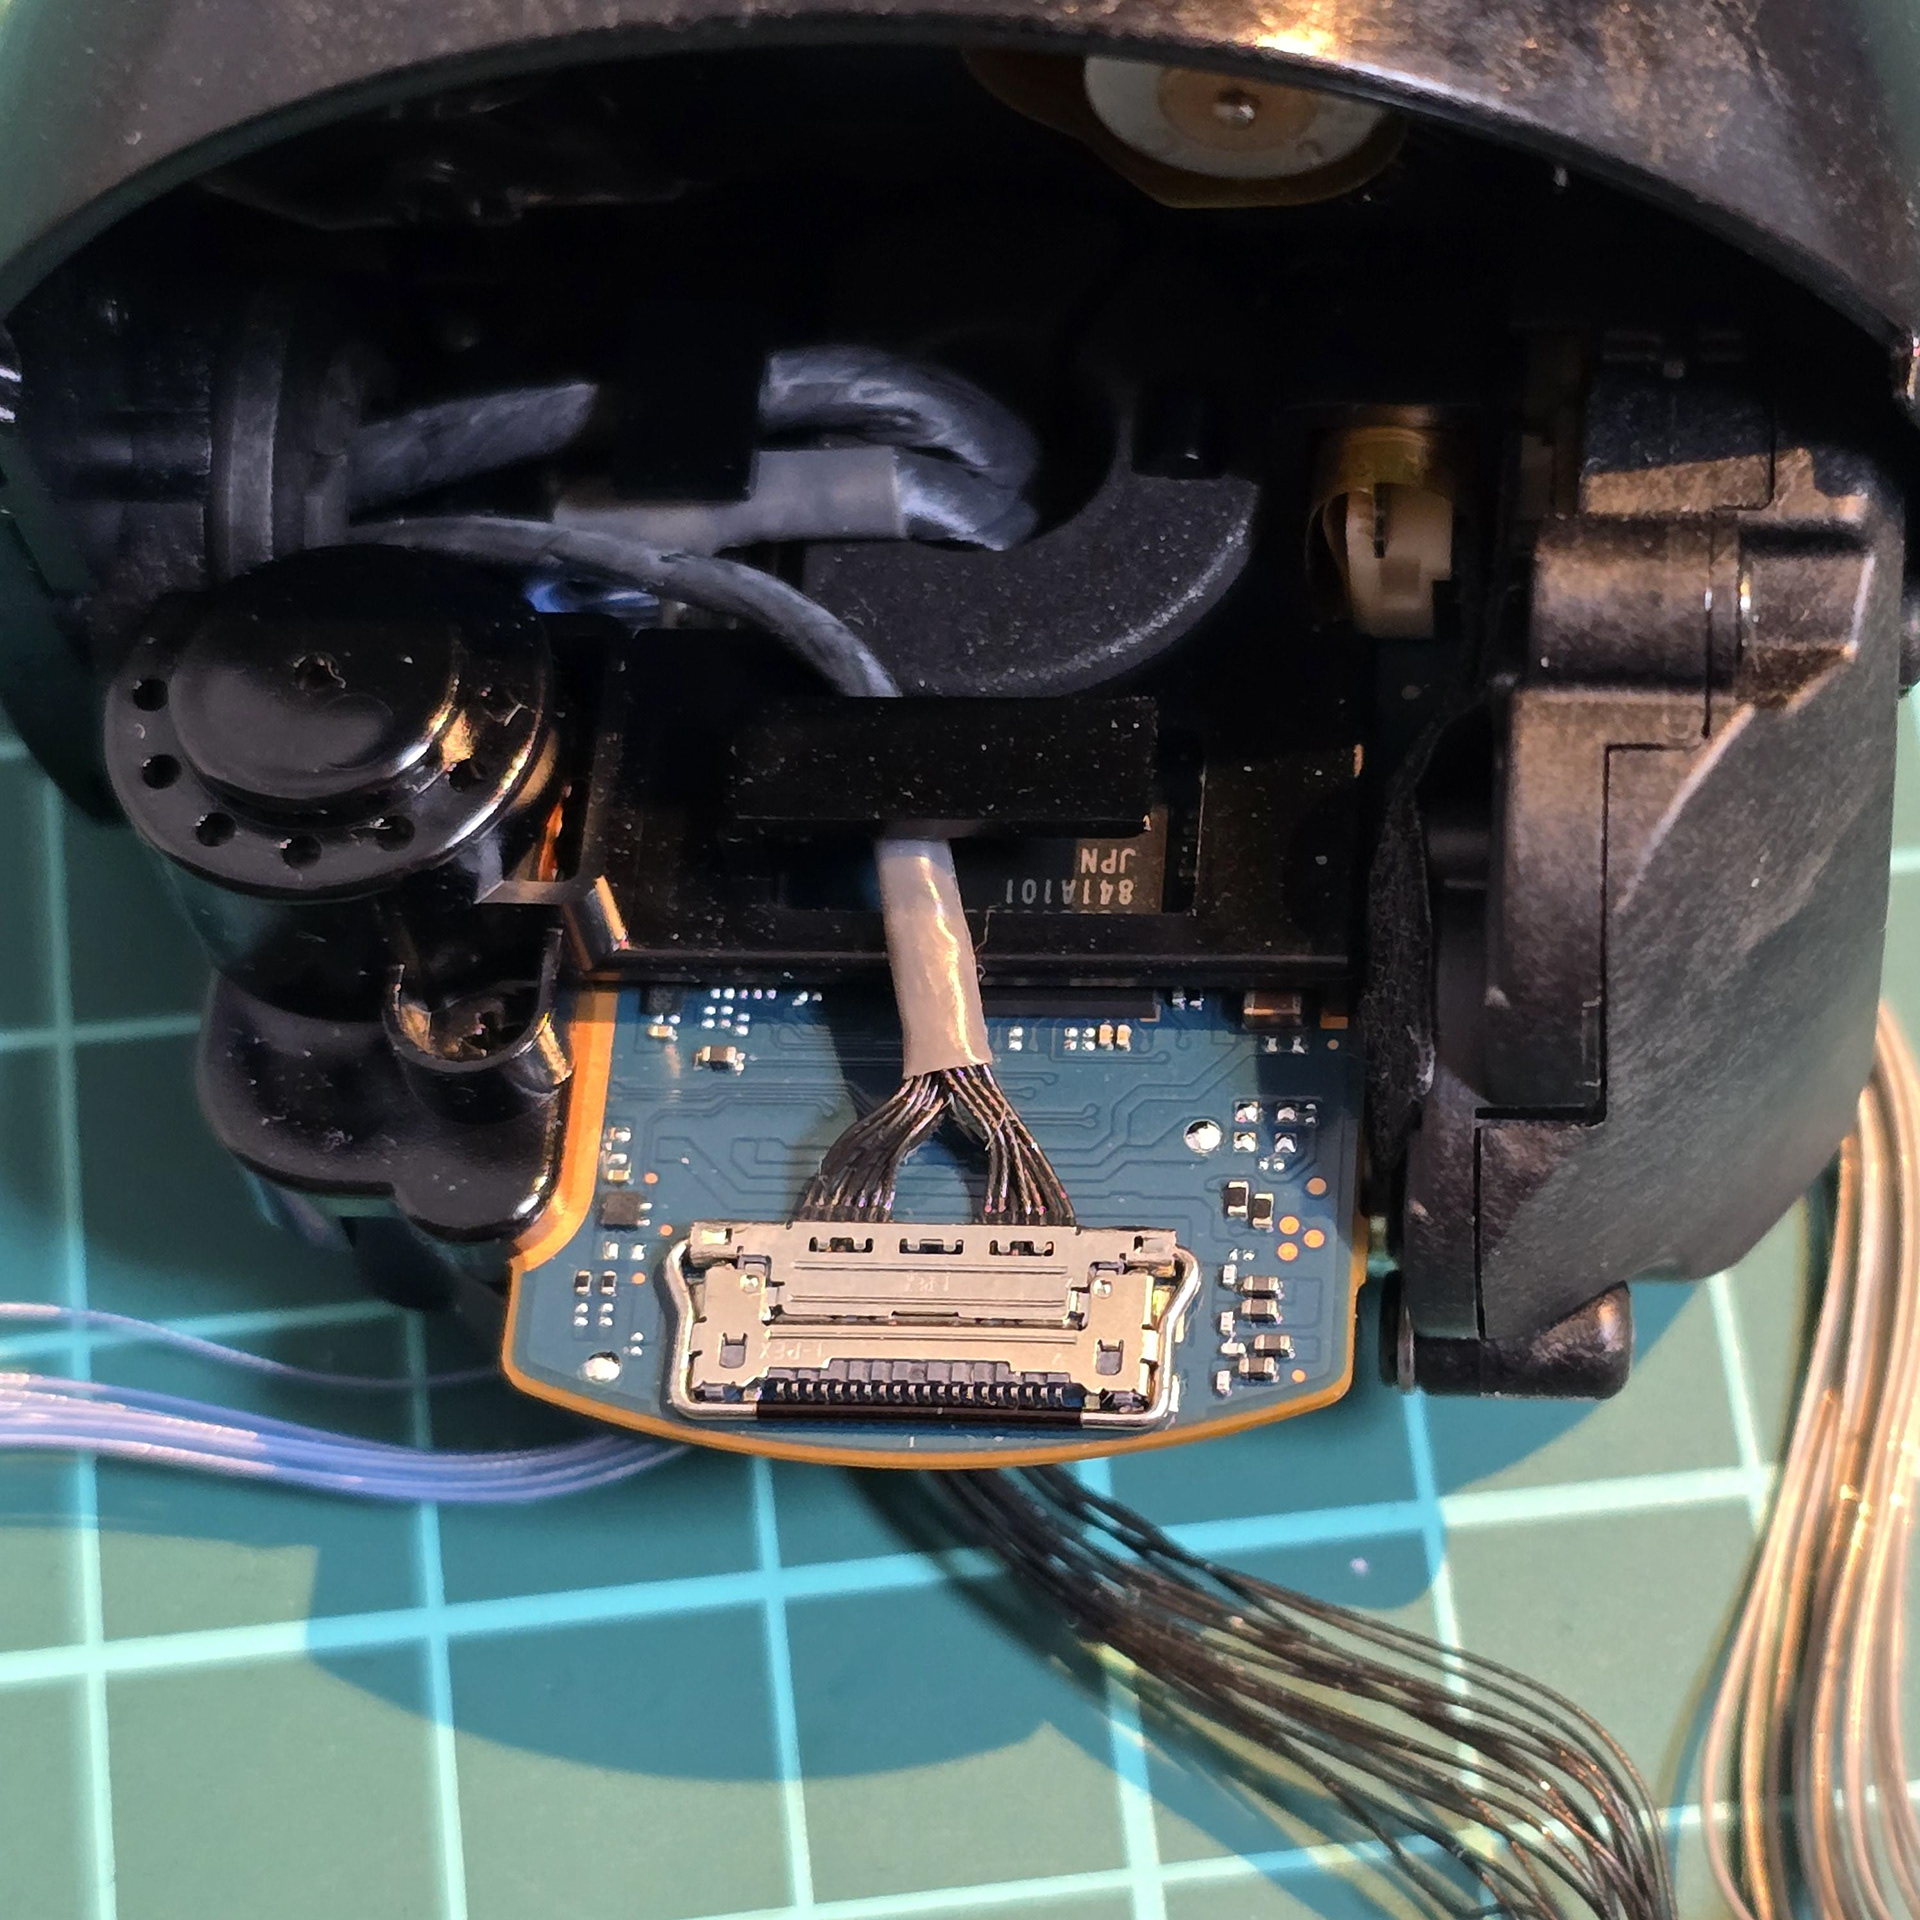
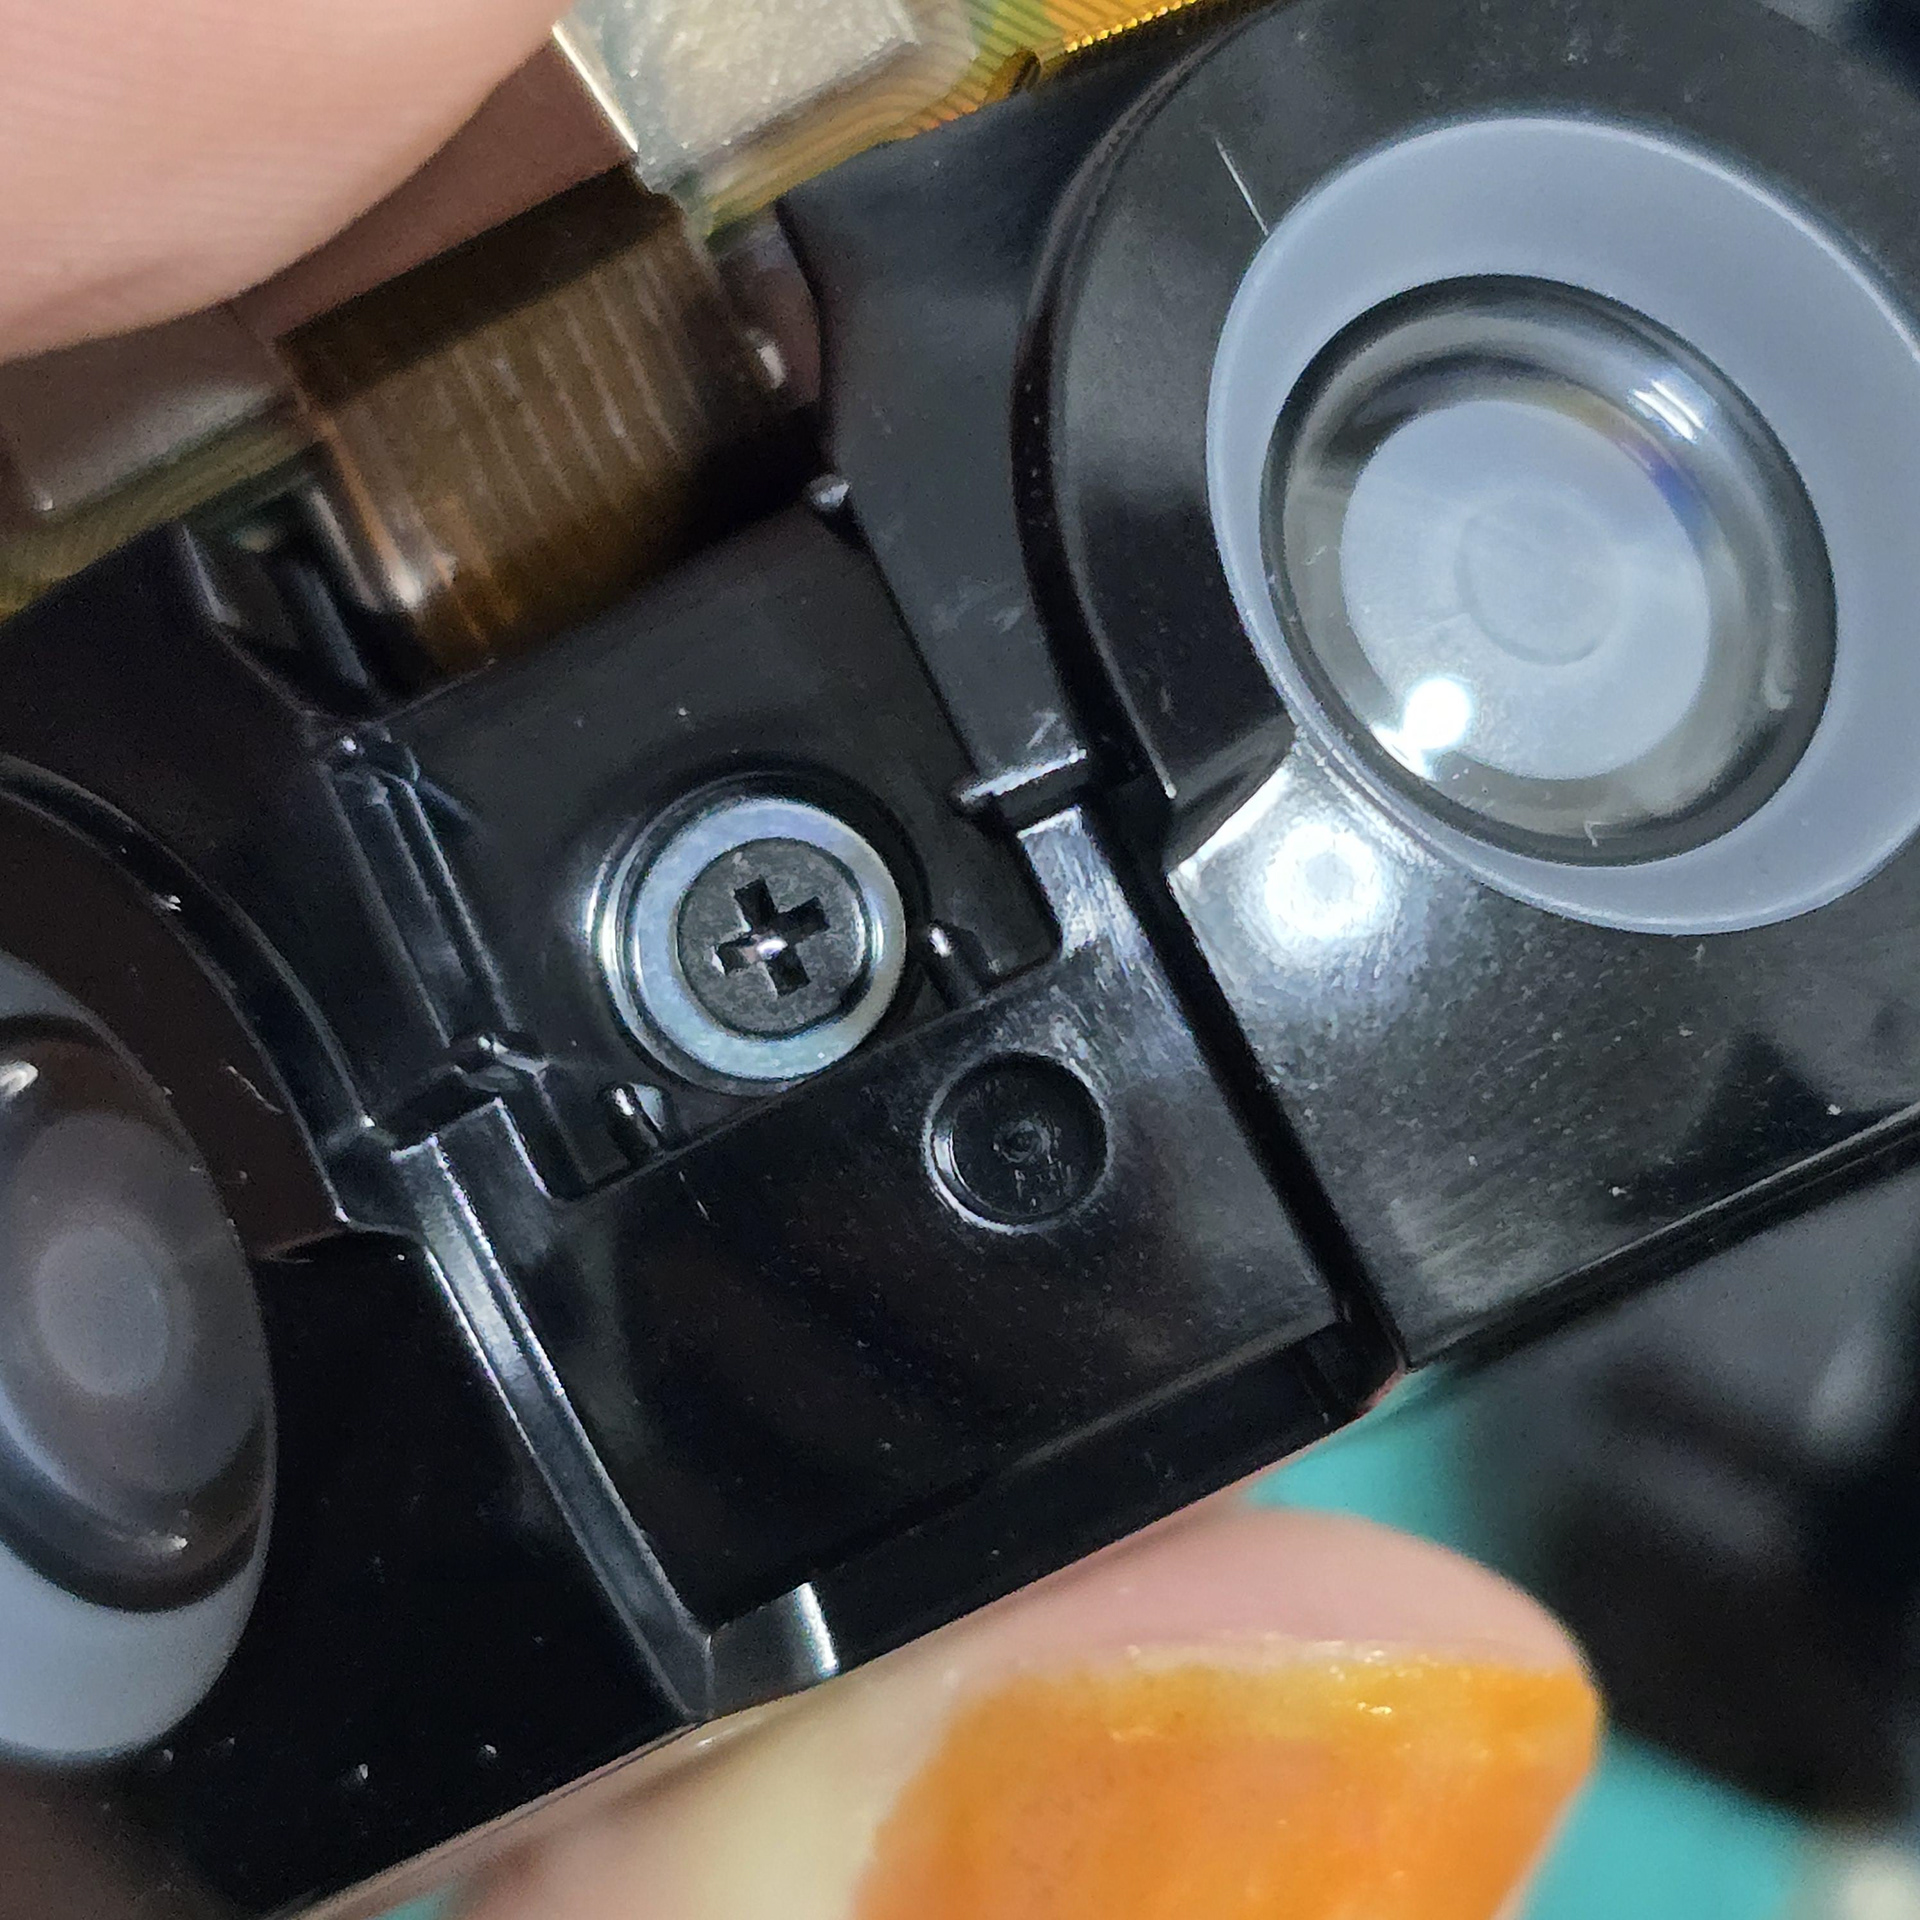
Pulling the plastic face cover after removing screws. After taking two more screws out from the front, the camera module slides out to reveal the final screw.
ネジを外した後、プラスチック製のフェイスカバーを引き抜きます。前面からさらに2本のネジを外すと、カメラモジュールがスライドして外れ、最後のネジが現れます。
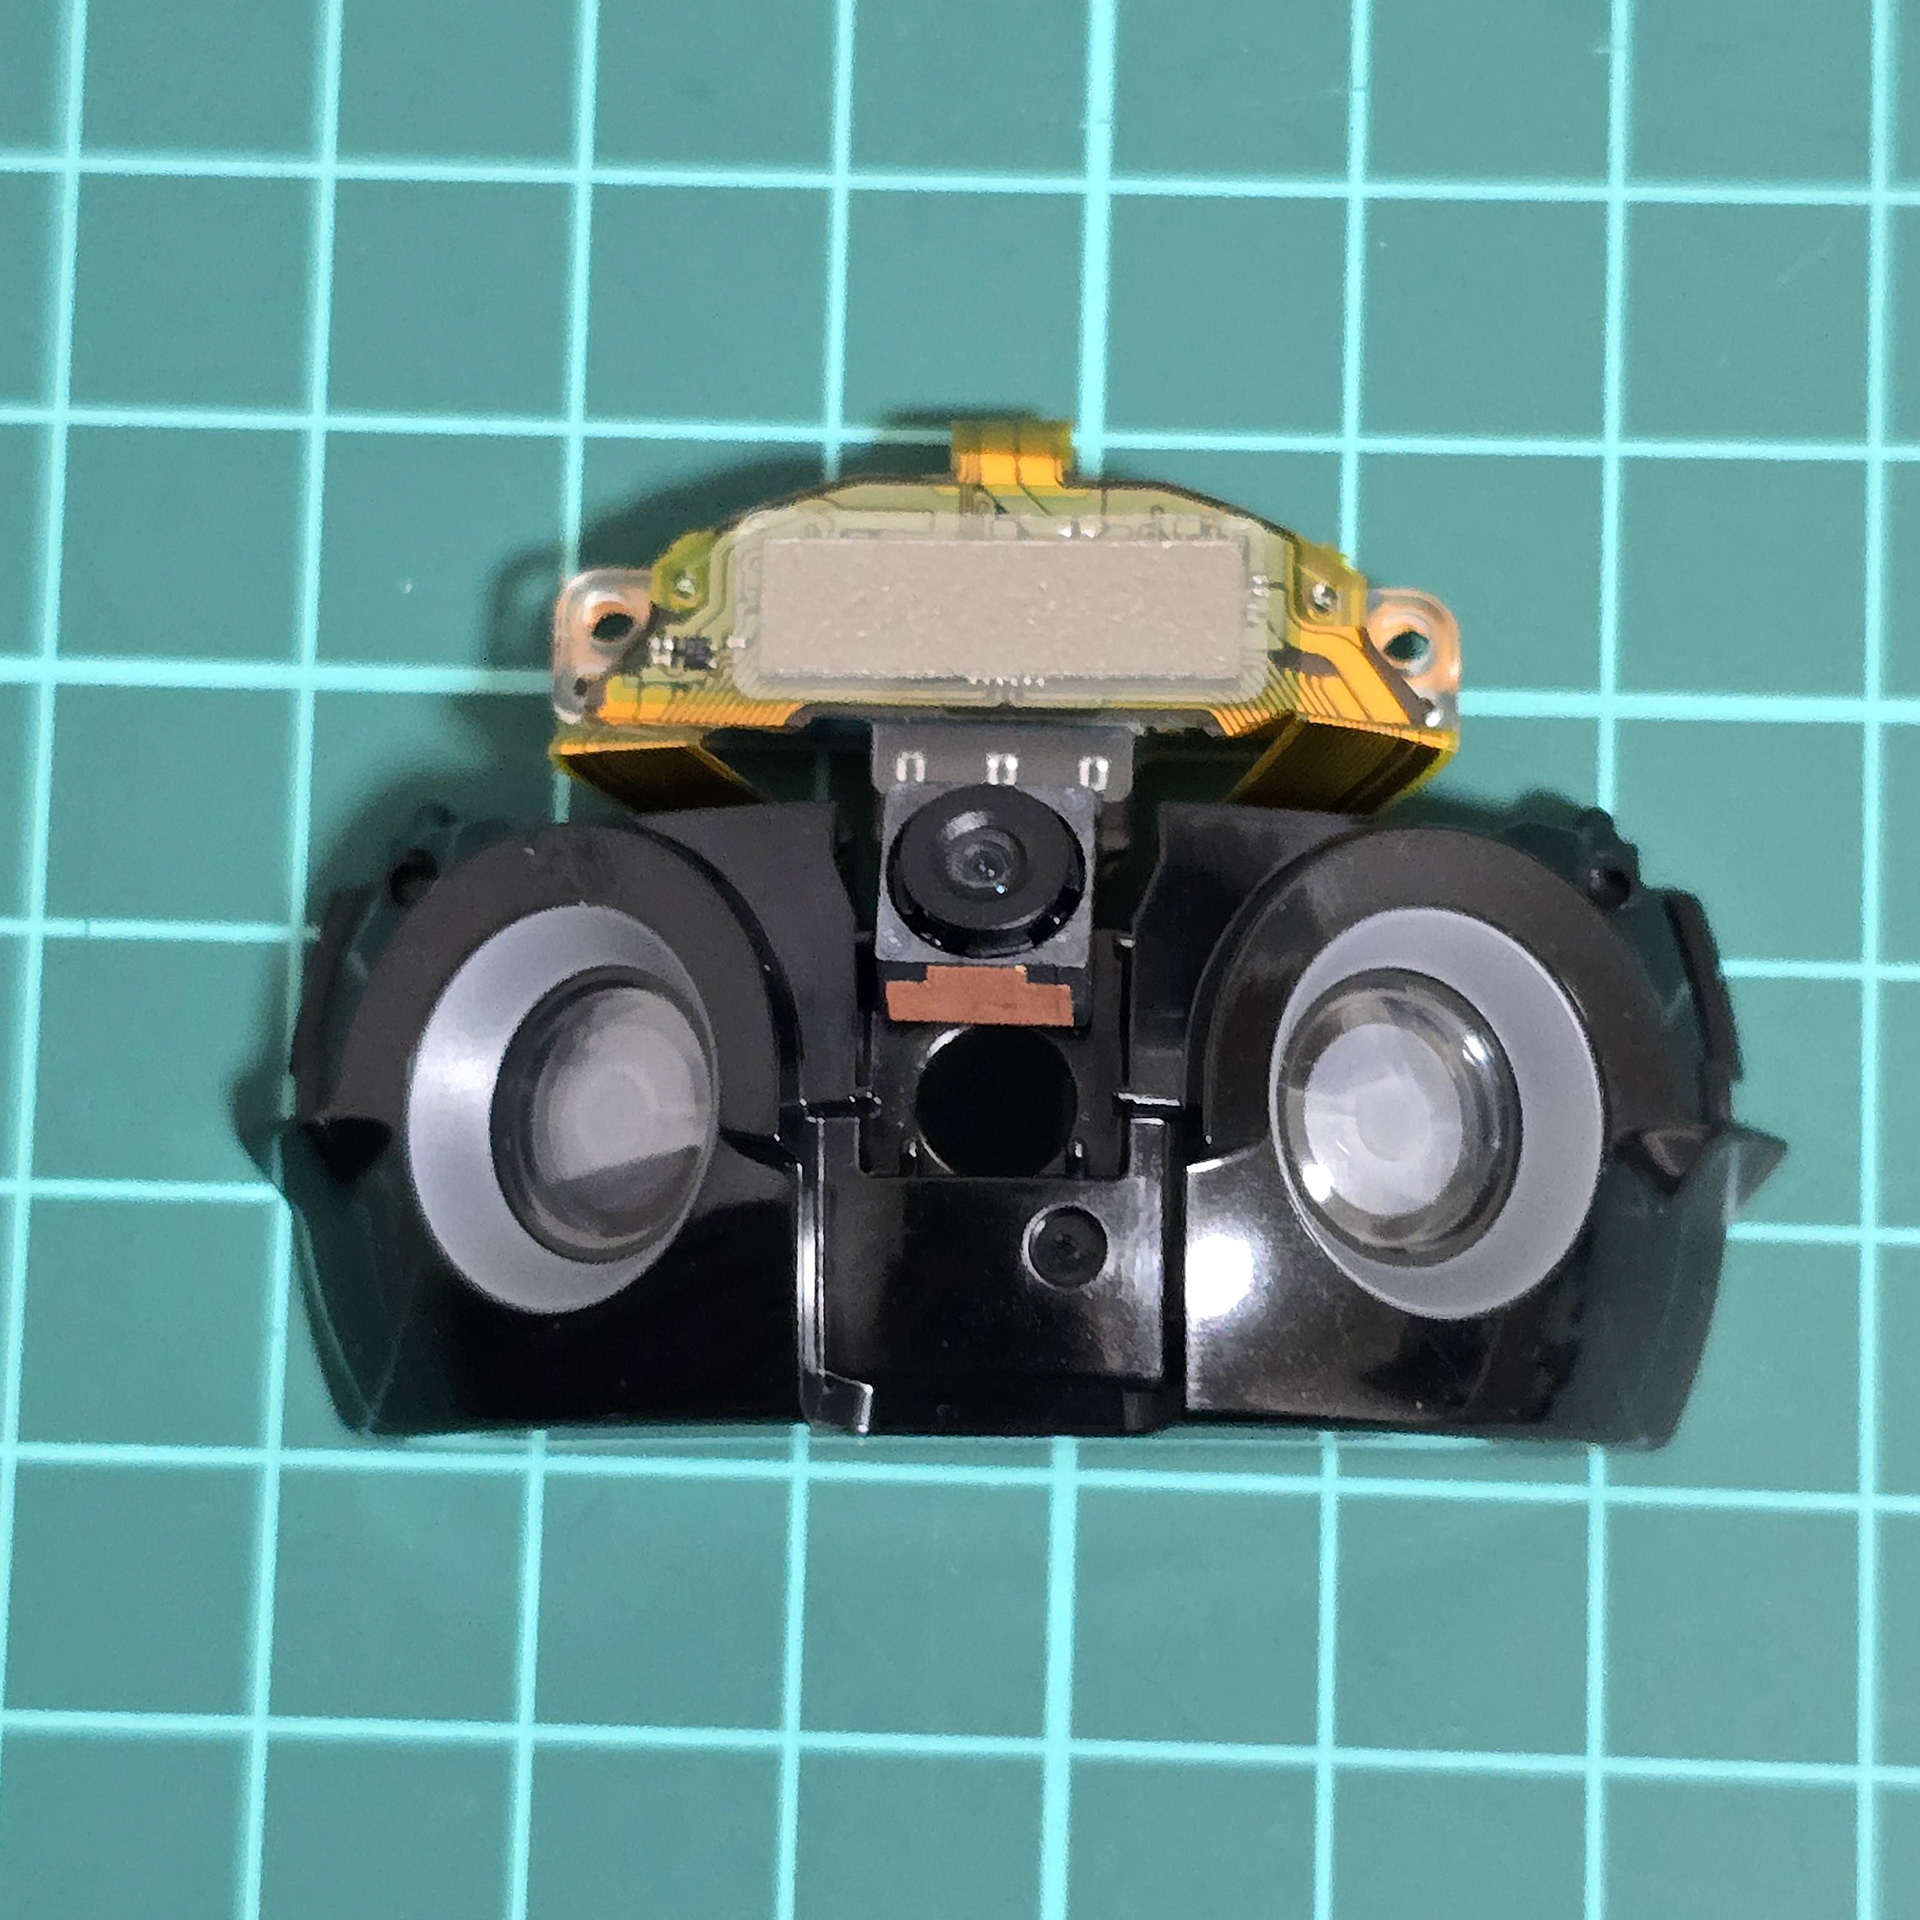
Once the screw is removed, the eye parts, board and camera can be freed from the black plastic by pulling them out of their clips.
ネジを外すと、目の部分、ボード、カメラをクリップから引き抜くことで、黒いプラスチックから取り外すことができます。
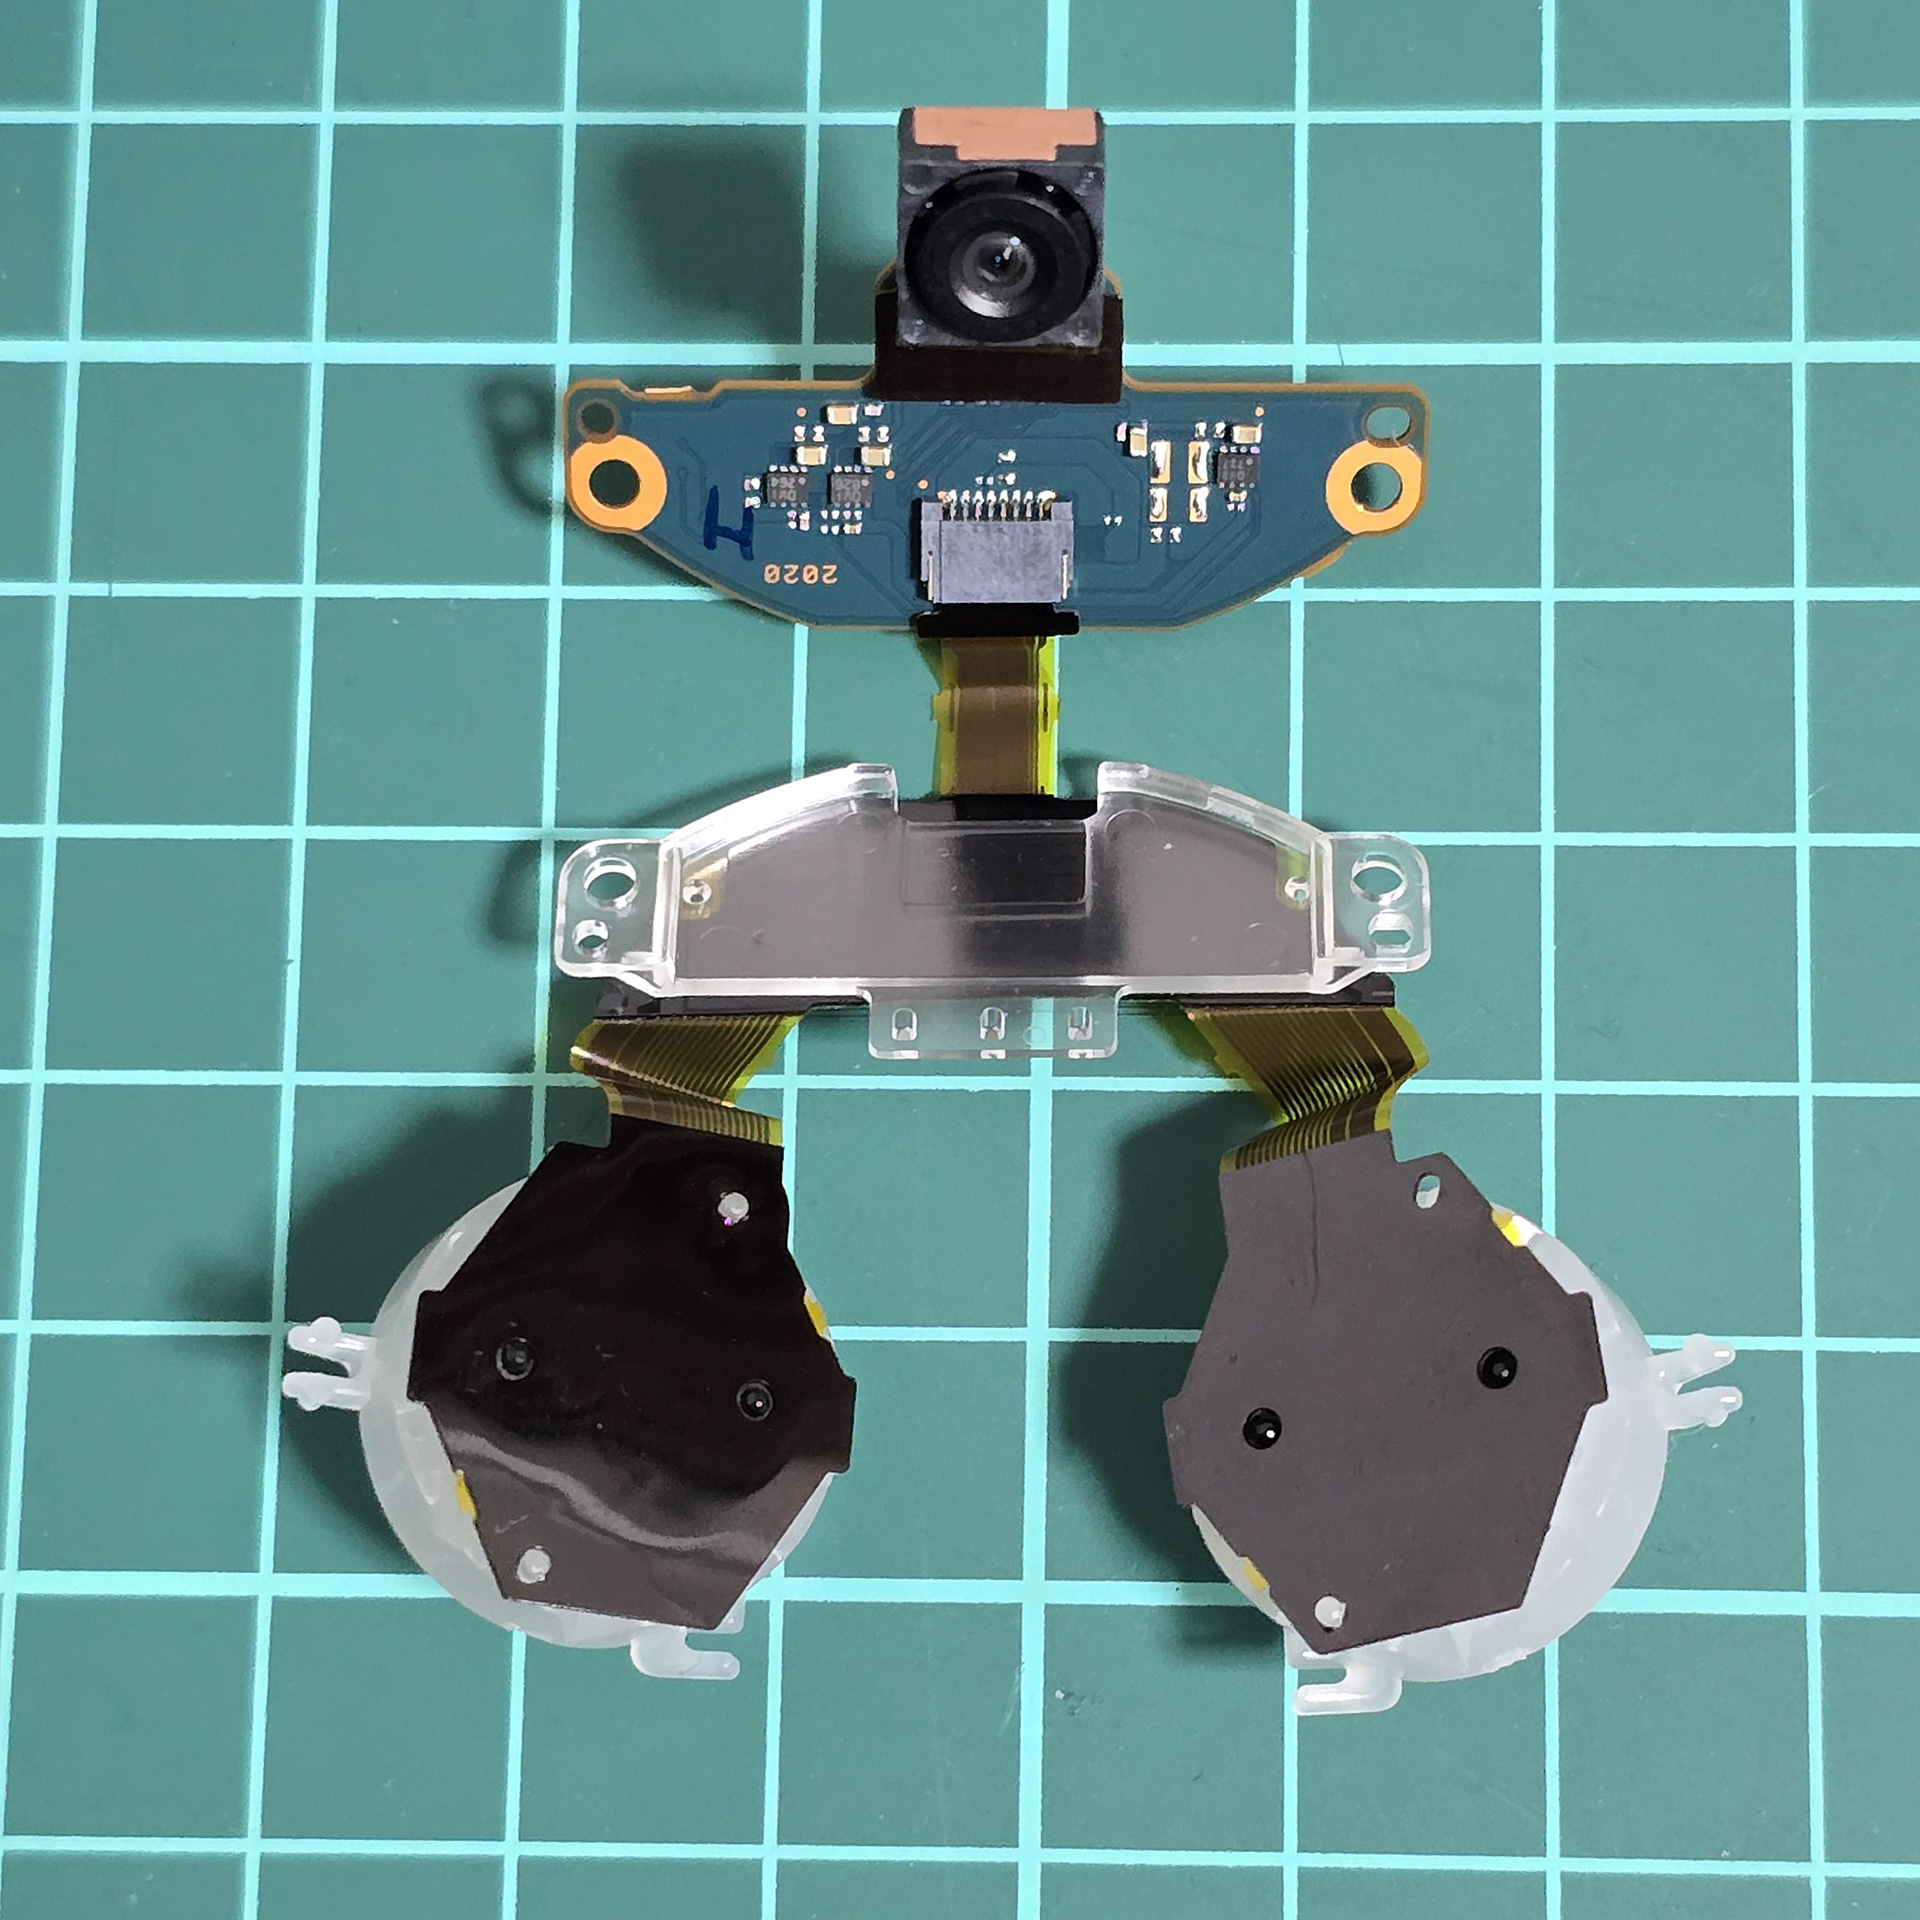
The eye lights and diffusion plastics are attached to the black eye plastics with little plastic tabs that clasp at sides. The LEDs are mounted to the back via little plastic push-in tabs.
アイライトと拡散プラスチックは、側面で留める小さなプラスチックタブでブラックアイのプラスチックに固定されています。LEDは、小さなプラスチック製の押し込み式タブで背面に取り付けられています。
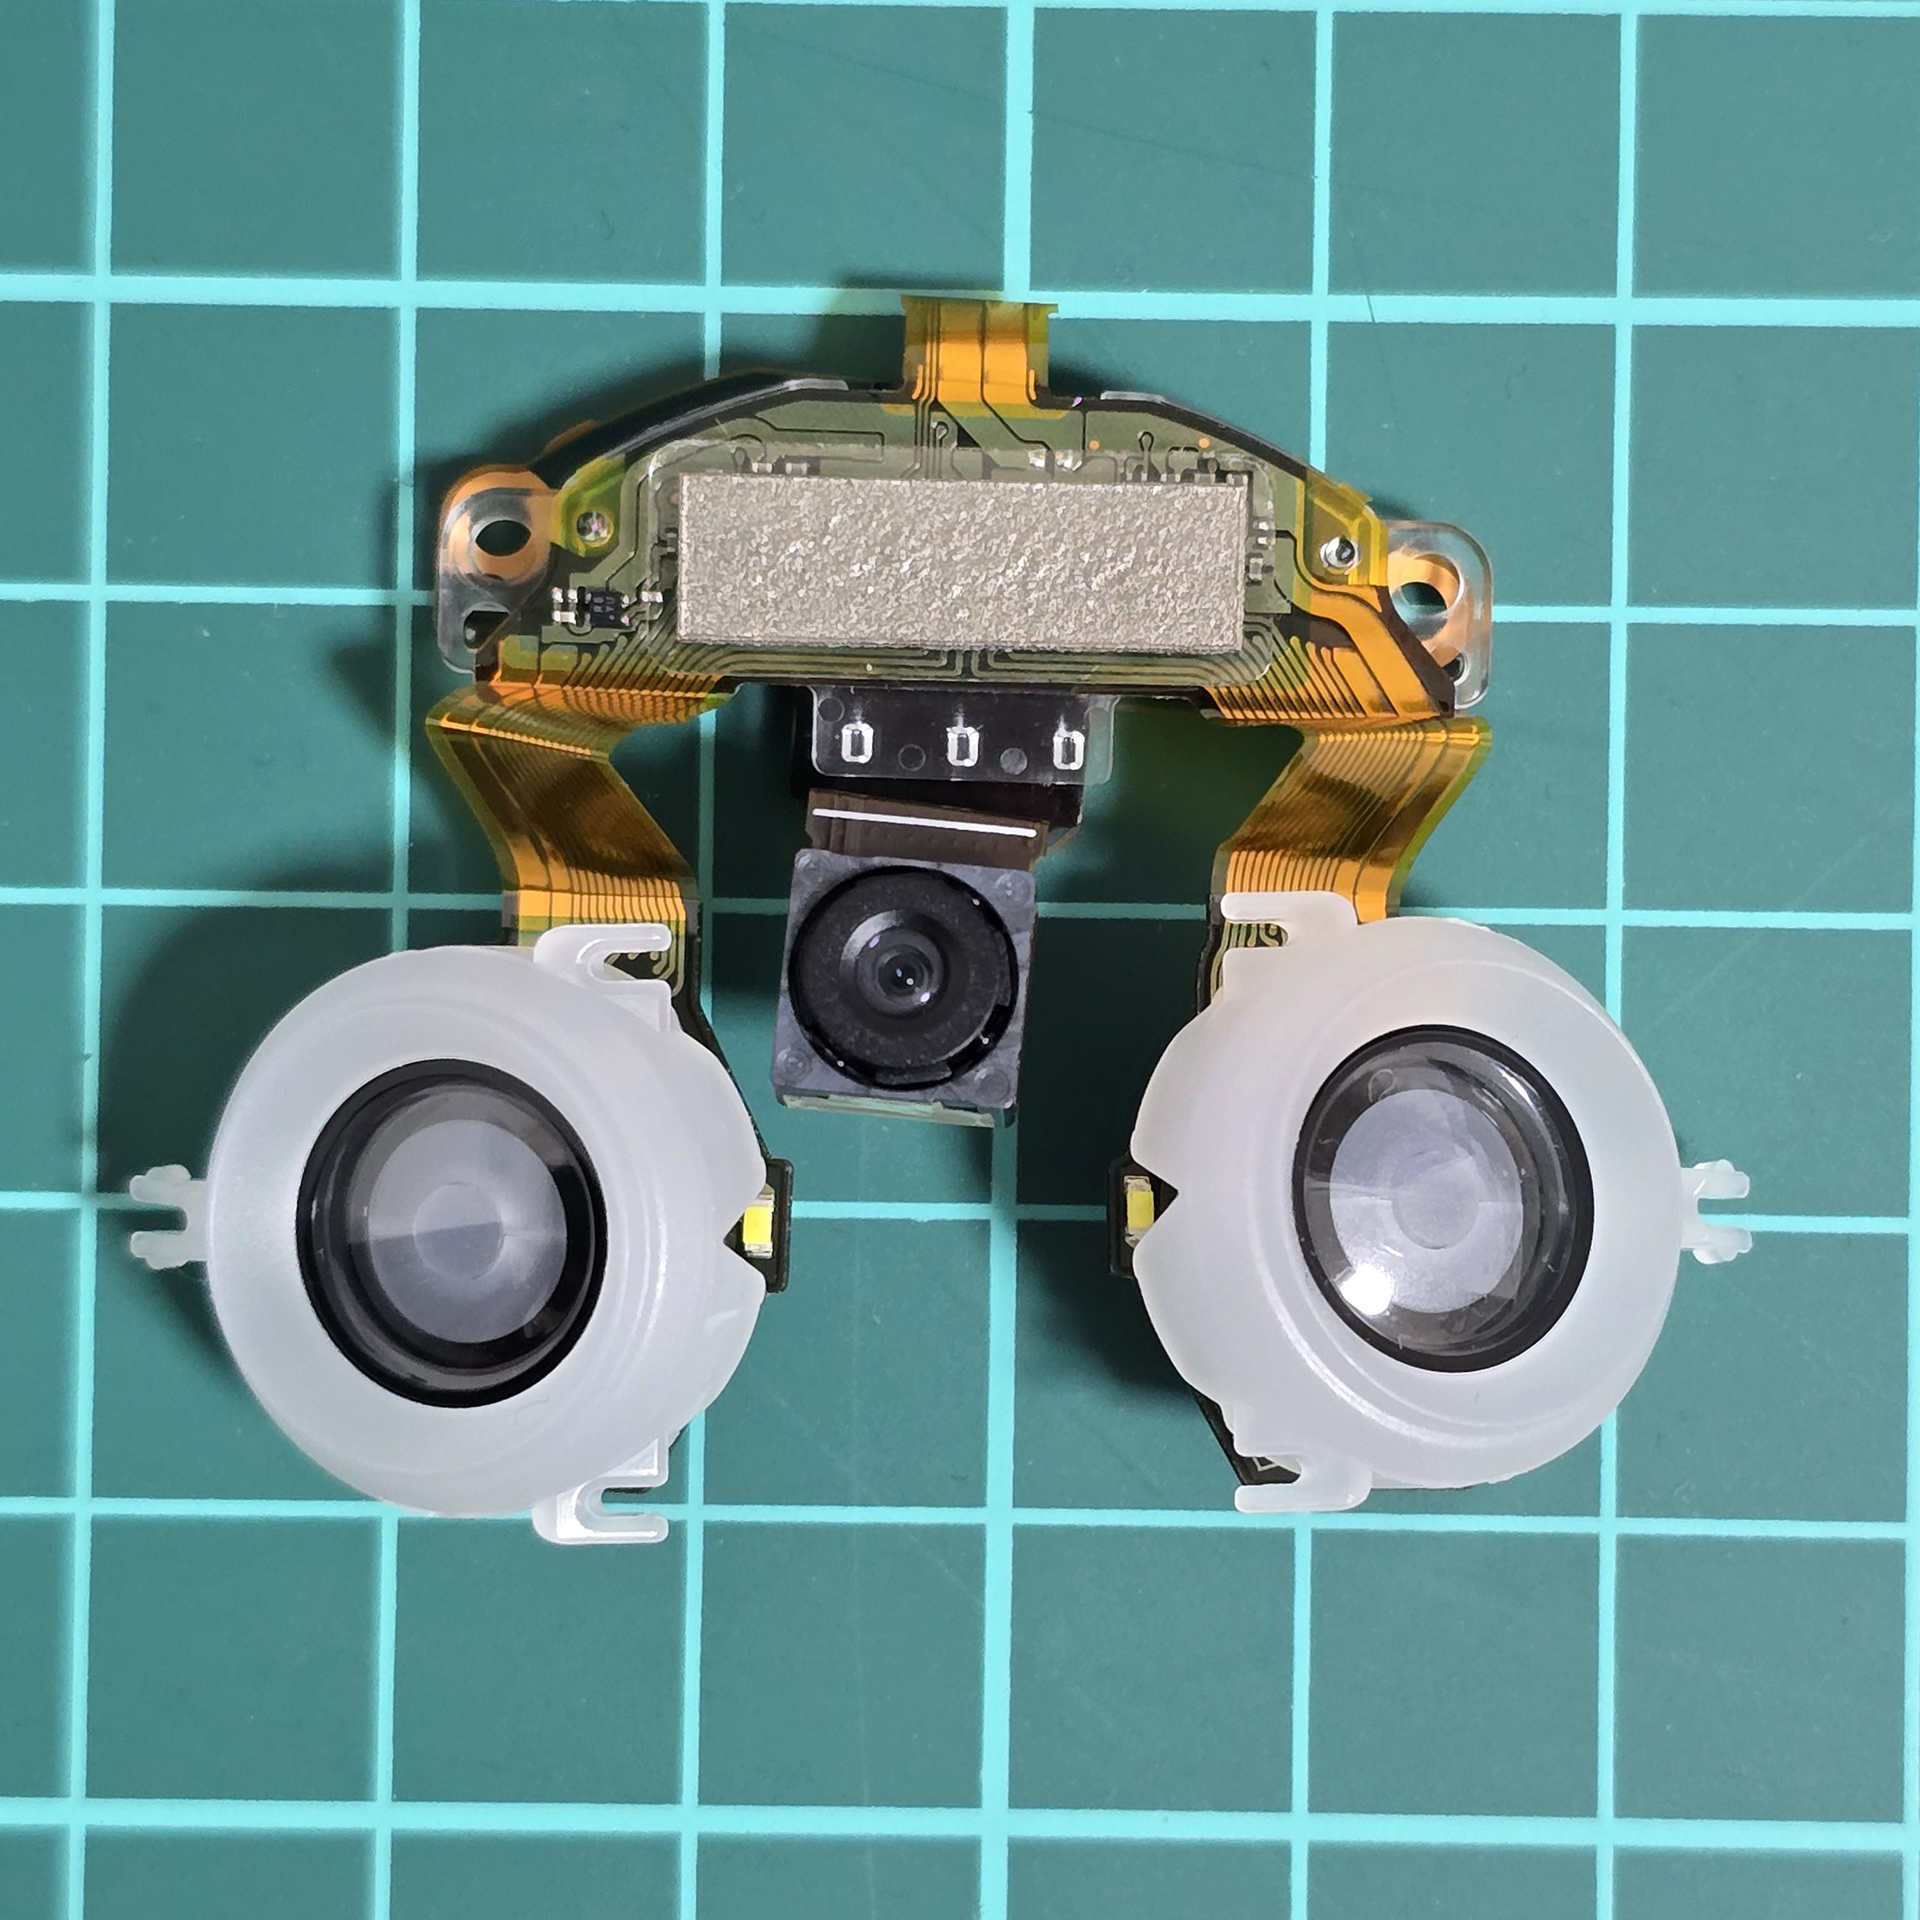
They are easily released from the black plastic, giving us a better view of the camera + LED array.
これらは黒いプラスチックから簡単に取り外すことができ、カメラと LED アレイがよく見えるようになります。
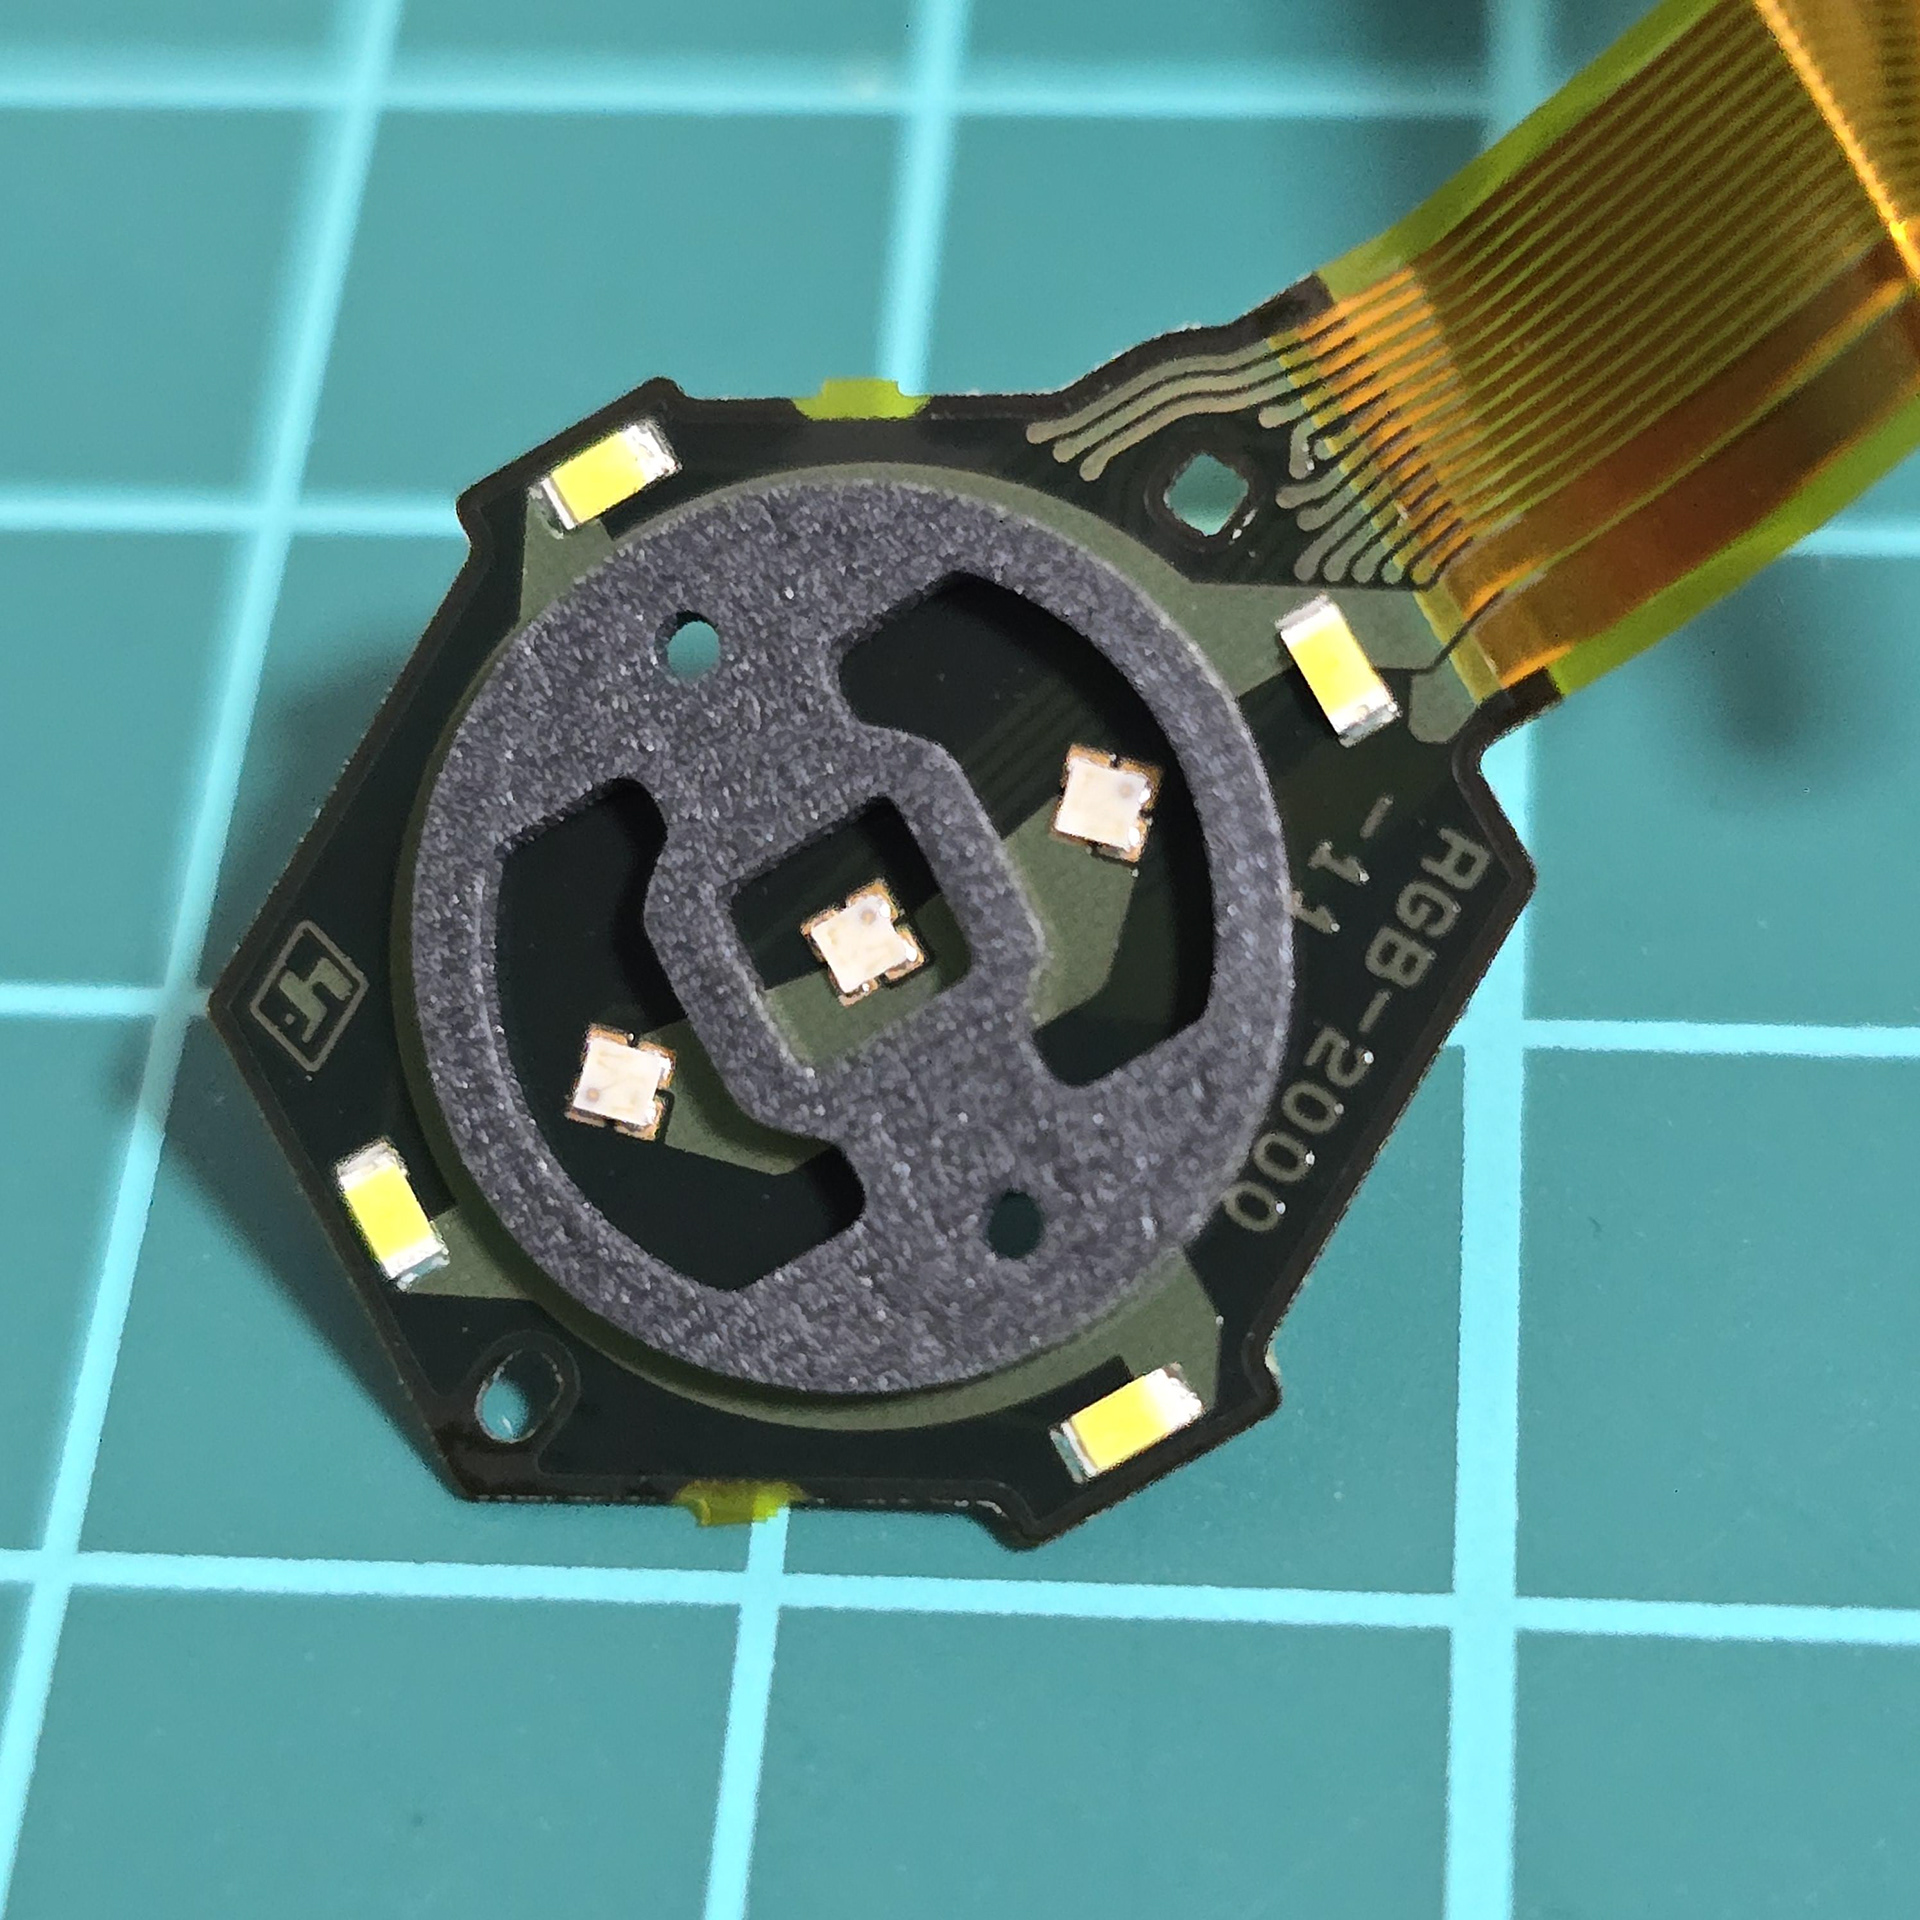
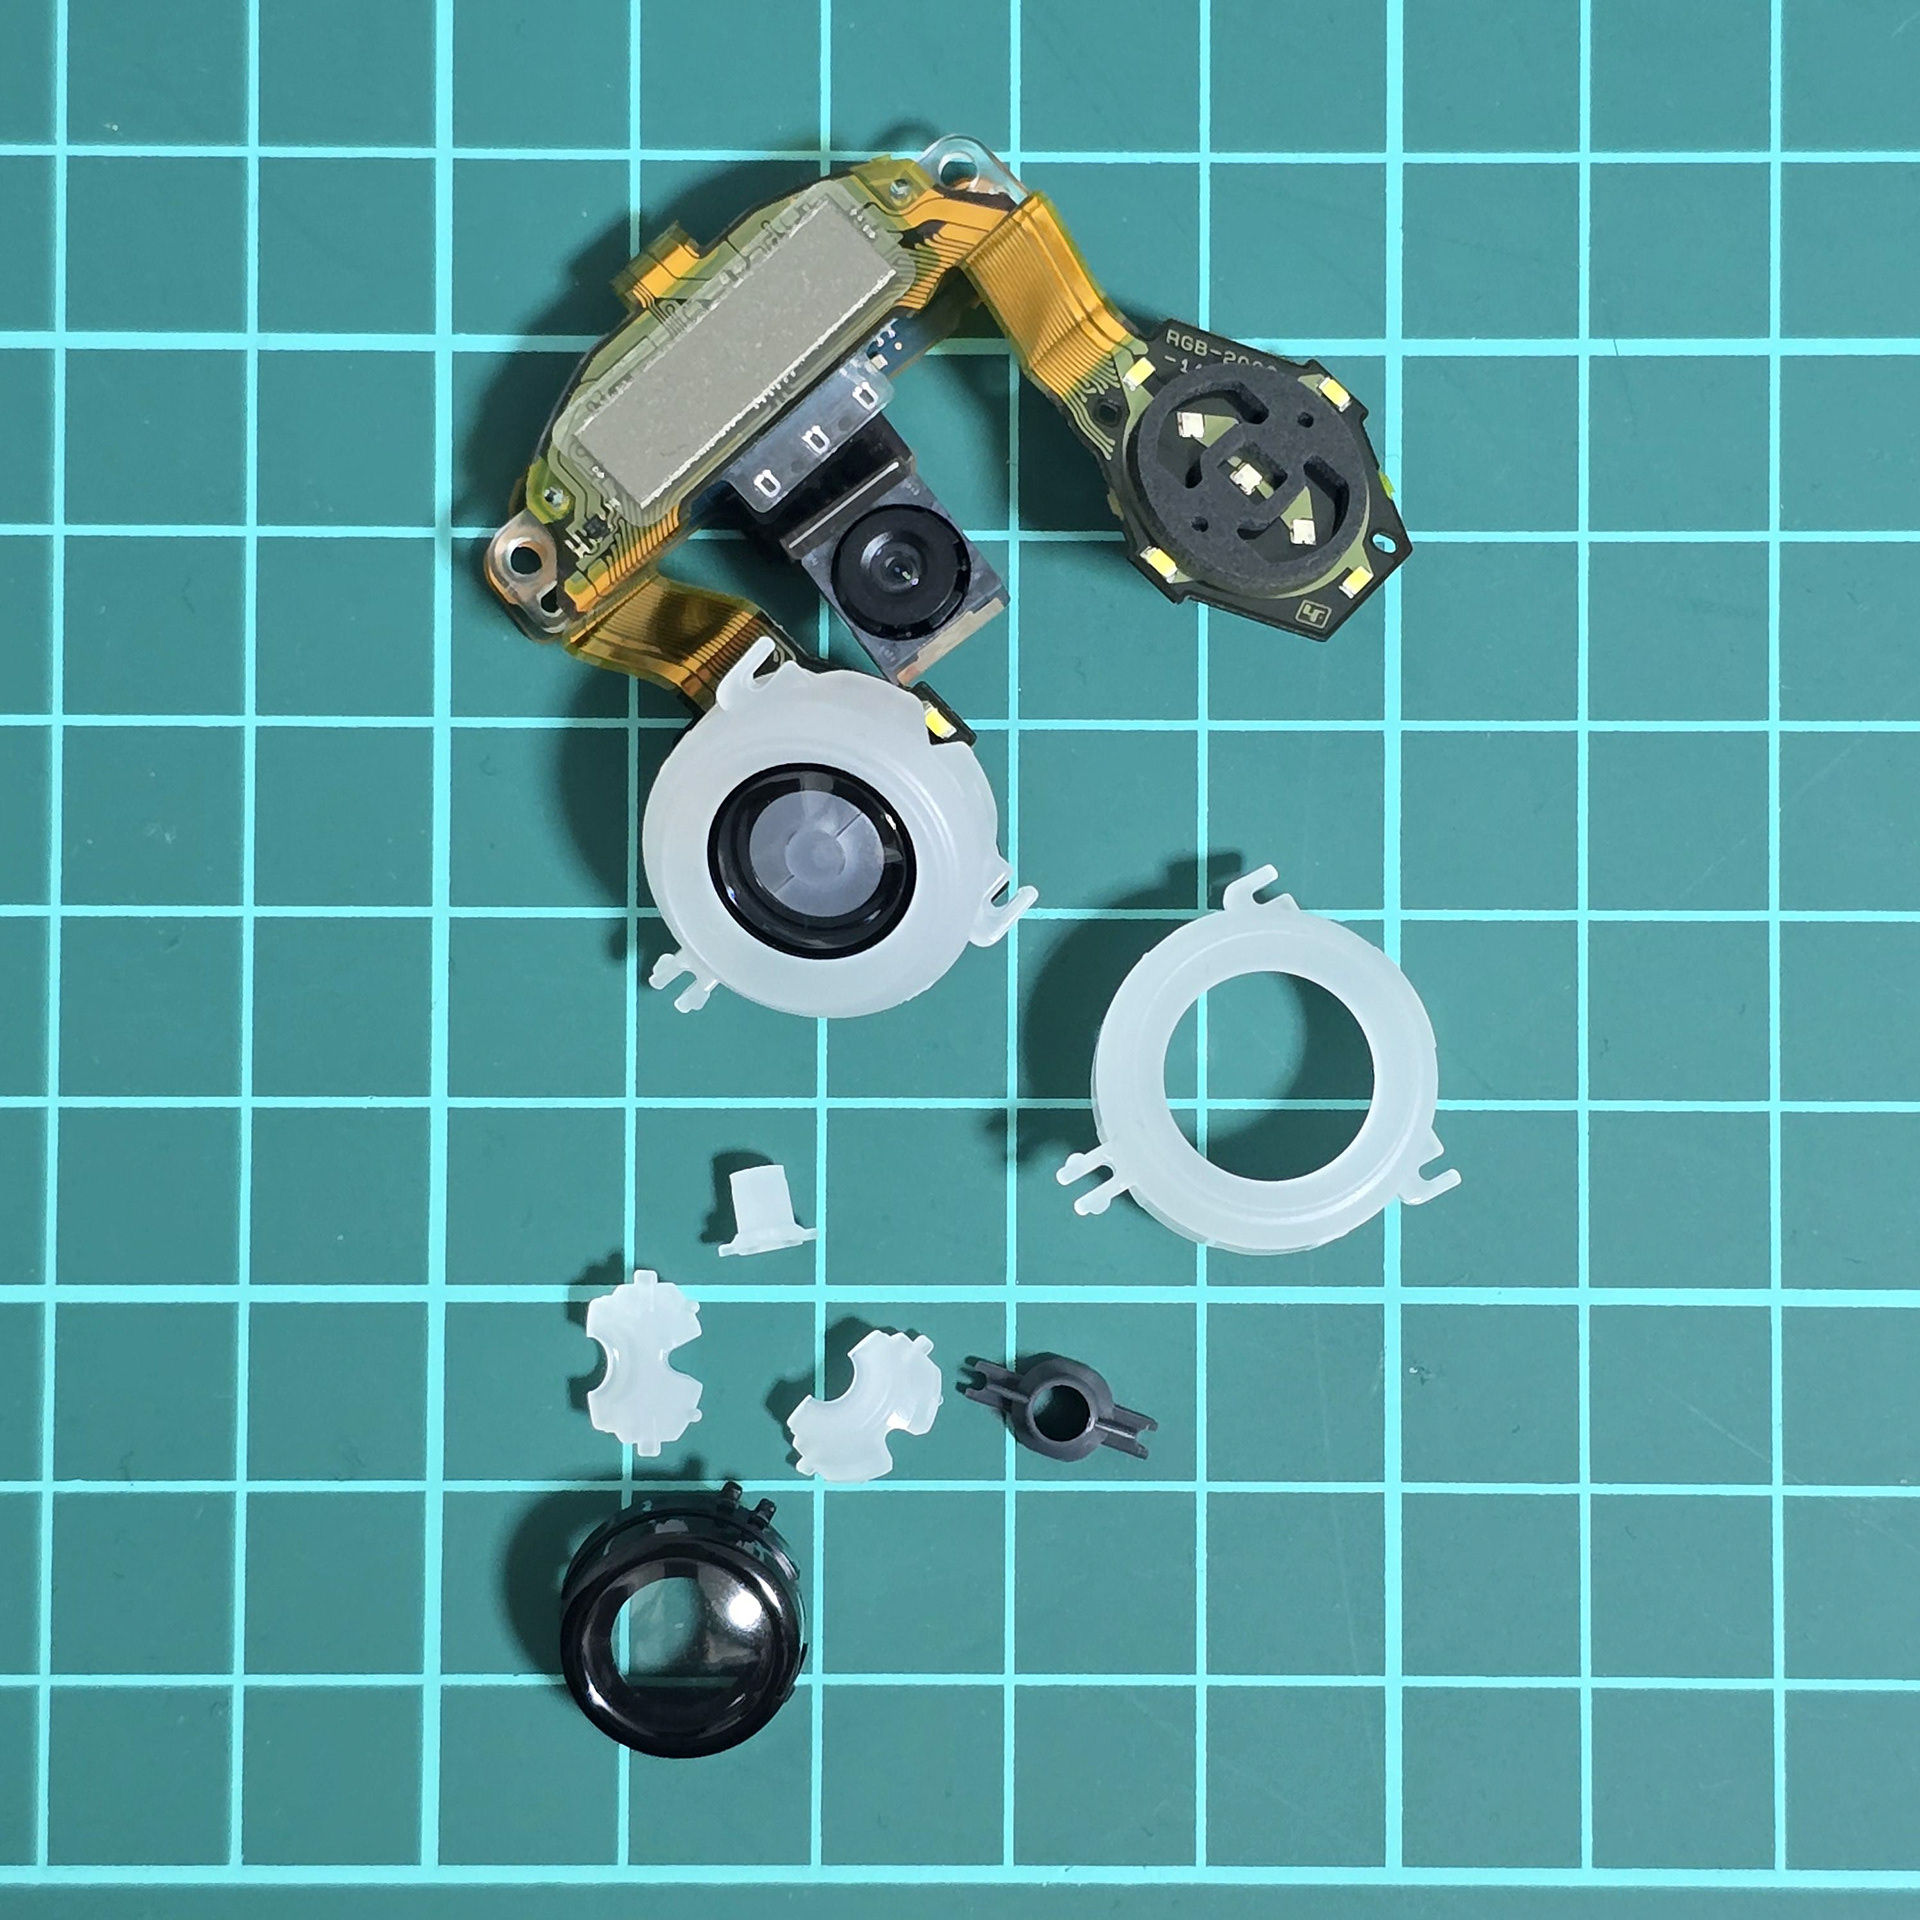
Closer look at the LED array with the diffusion plastics removed. The 3 inner diffusion plastic segments are clipped into the black lens ring and then that is housed inside the larger white diffusion ring which clips onto the backside of the black face plastic.
拡散プラスチックを取り外したLEDアレイの詳細。内側の3つの拡散プラスチックセグメントは黒いレンズリングにクリップで留められており、さらにその黒いフェイスプラスチックの裏側にクリップで留められた大きな白い拡散リングの中に収納されています。