Eight years have passed since the release of ERS-1000, but while other companion robots like LOVOT offer a wide variety of eye colors and designs, aibo's eye customization options are still very limited. I, along with many other aibo owners, am tired of this situation, so I've been working on developing various innovative options to make the eyes look more unique. Our first attempt is to add special effect overlays to the eye lens array on the faceplate. This is an inexpensive and easy way to add a custom feel to the ERS-1000's existing eye designs.
ERS-1000の発売から8年が経ちましたが、LOVOTなどの他のコンパニオンロボットが豊富な目の色やデザインを提供しているのに対し、aiboの目のカスタマイズオプションは未だに非常に限られています。私だけでなく多くのaiboオーナーもこの状況にうんざりしているので、目をより個性的に見せるための様々な斬新なオプションの開発に取り組んでいます。最初の試みは、フェイスプレートの目のレンズアレイに特殊効果オーバーレイを追加することです。これは、ERS-1000の既存の目のデザインに、安価で簡単にカスタム感を加える方法です。
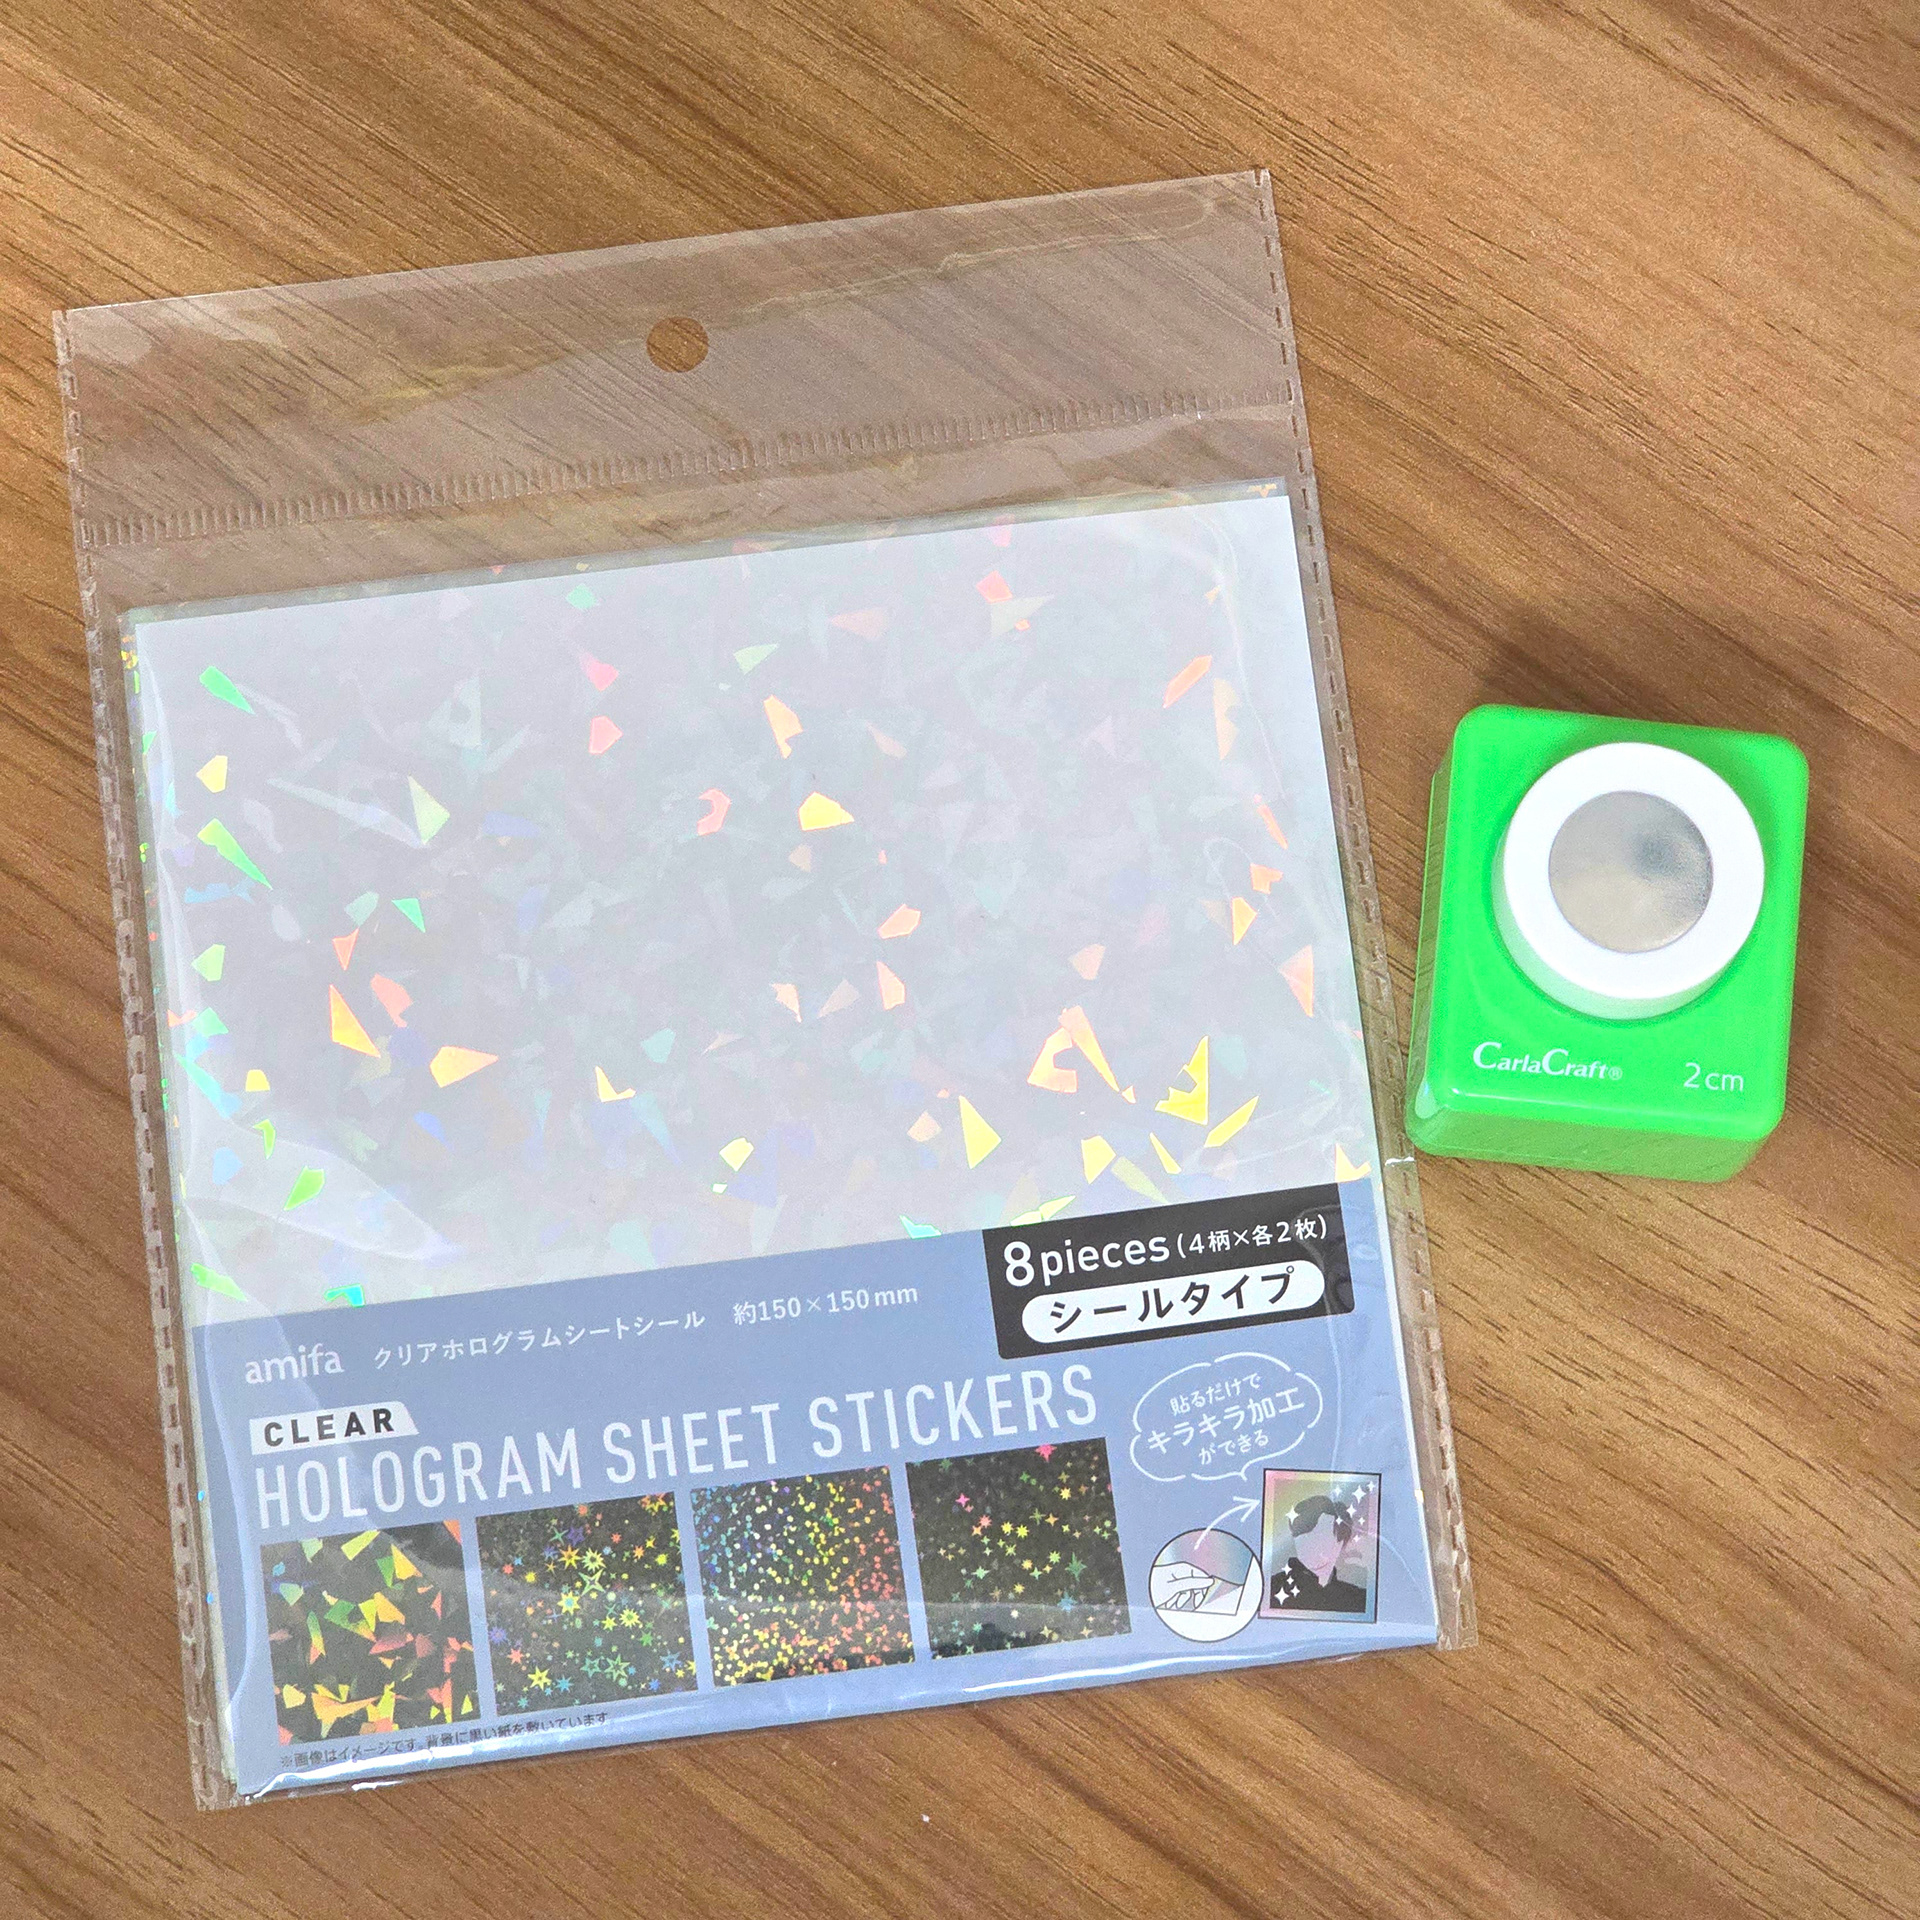
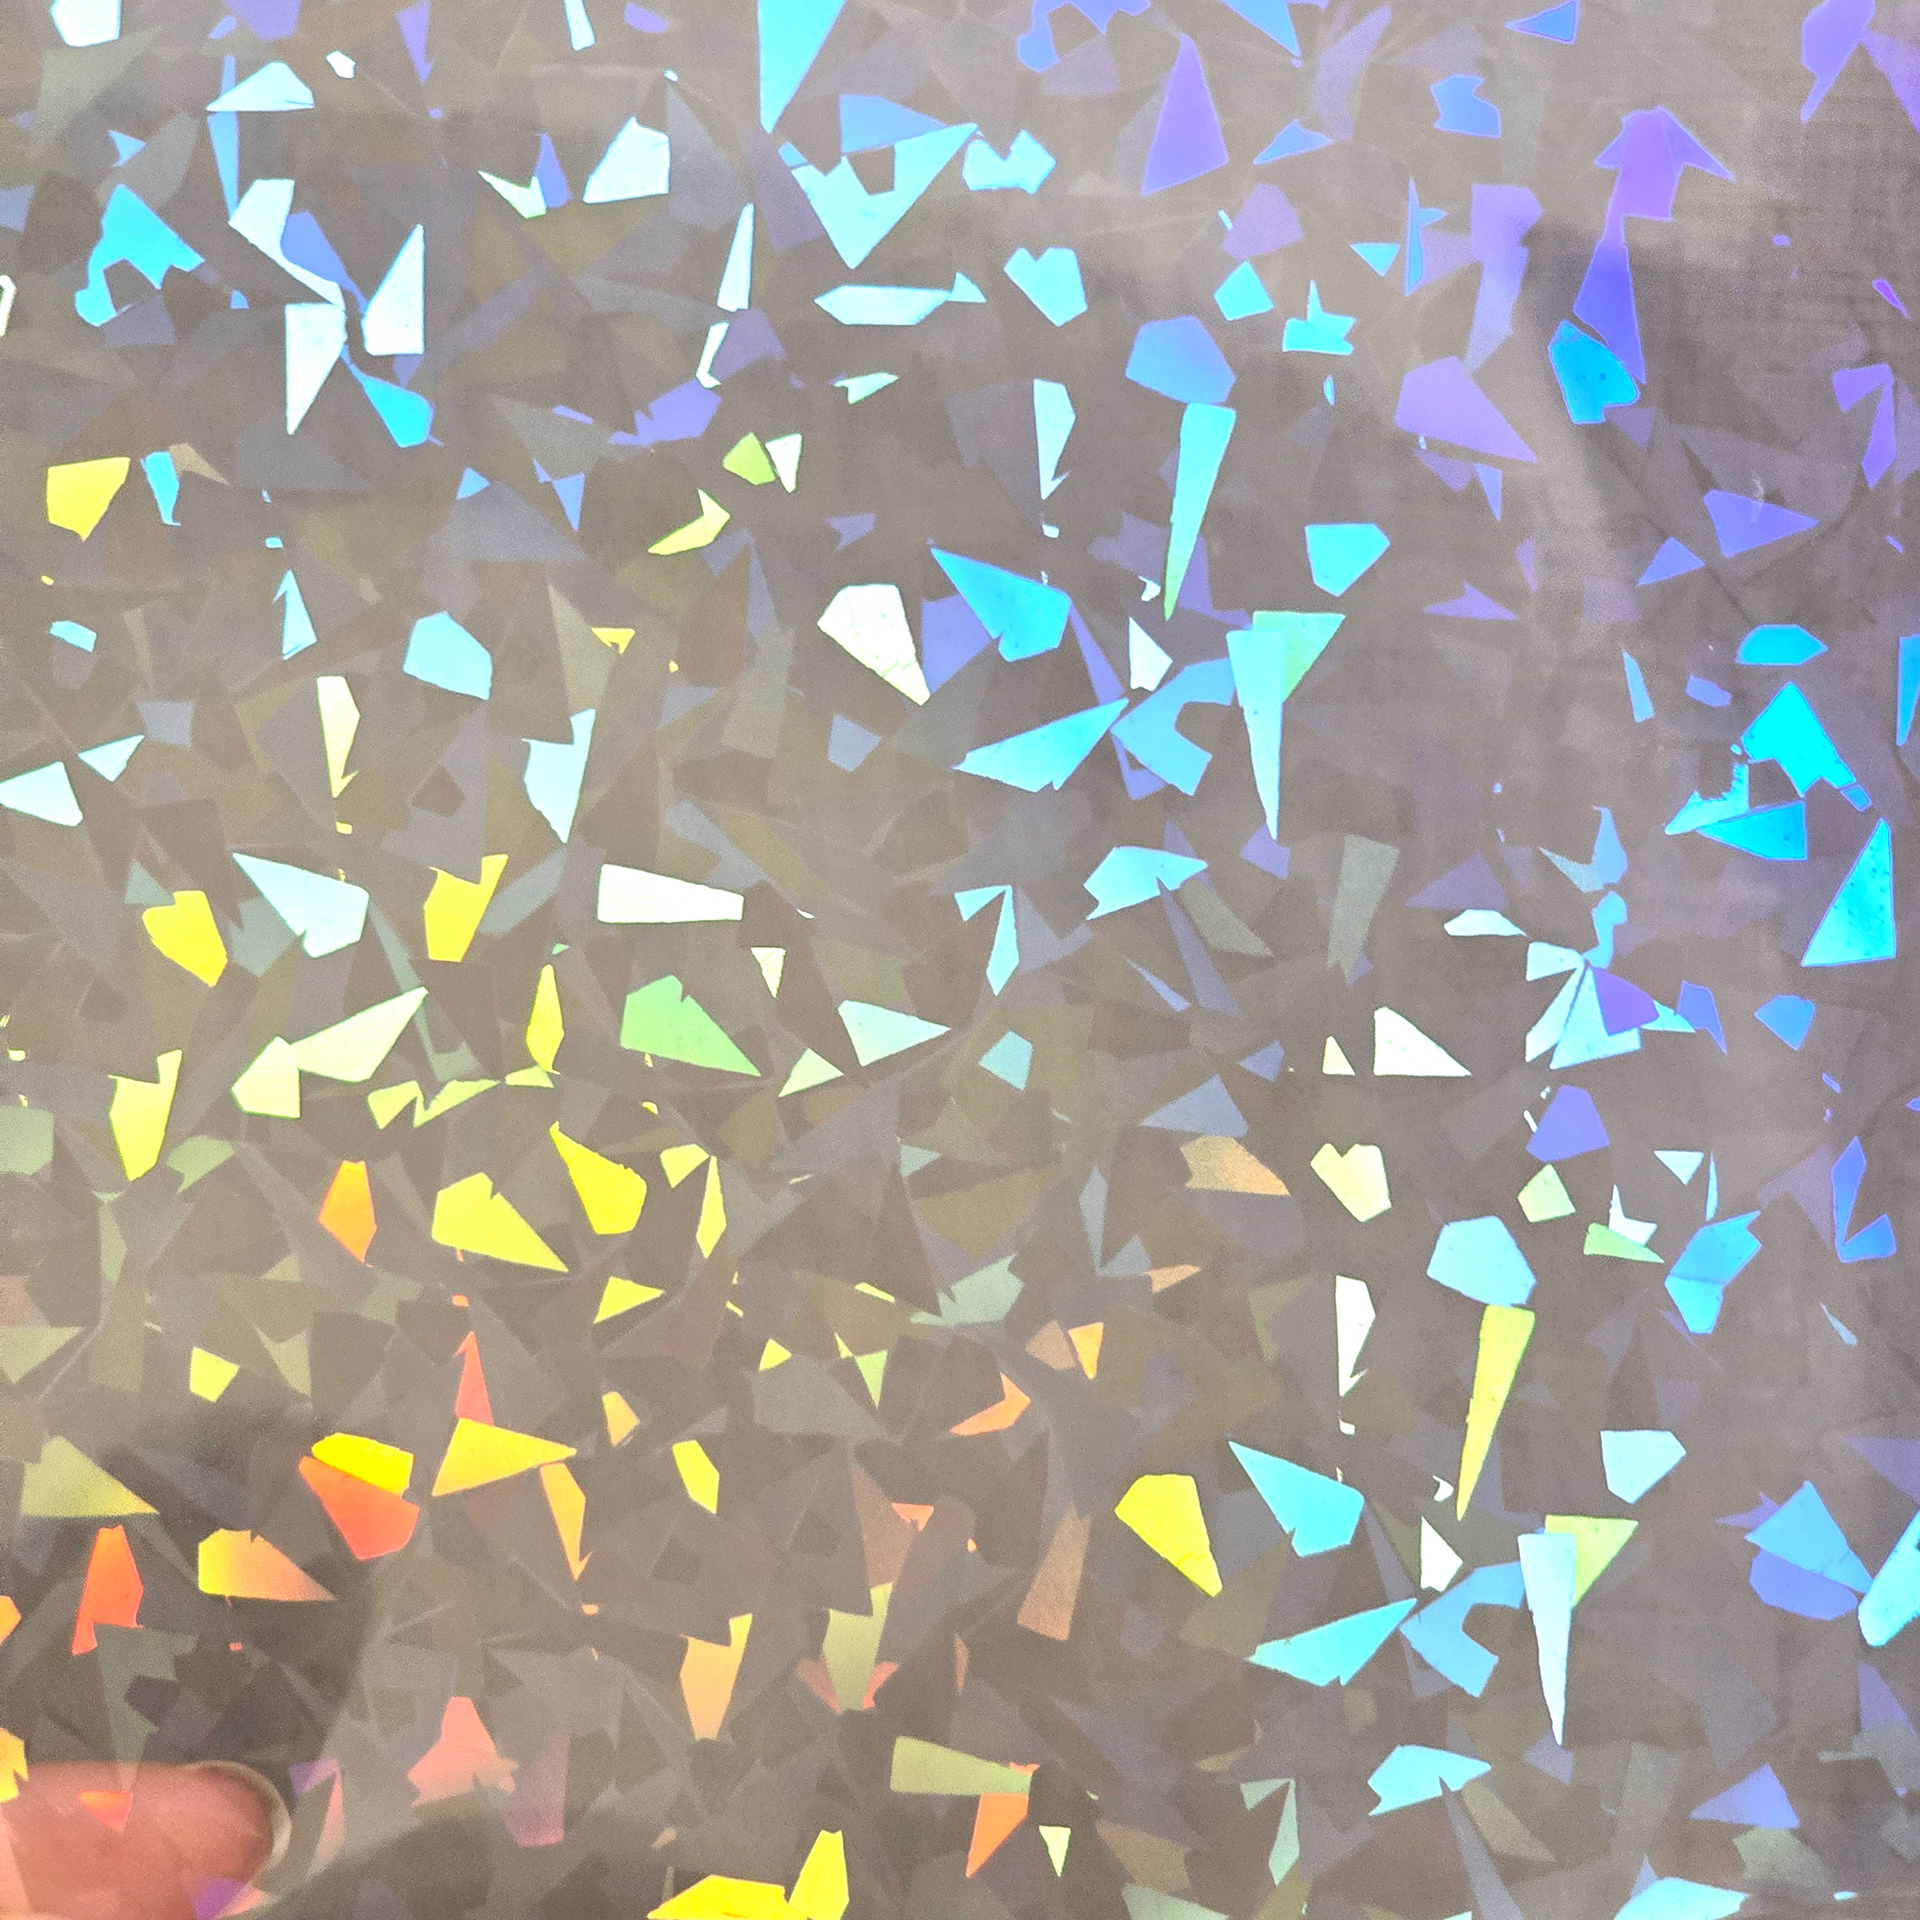
To make the contact lenses we are going to use hologram sticker sheets and a craft shape cutter. Please note, we are not using the sticker sheets as stickers, we are using as-is. Do not peel the backing and stick the sticker to the aibo's lenses as it will leave sticky residue that will be near impossible to remove. We are trapping the punched out circles in the lens array, so adhesive isn't needed.
コンタクトレンズを作るには、ホログラムシールと工作用カッターを使います。シールはシールとしてではなく、そのまま使います。裏紙を剥がしてaiboのレンズに貼ると、糊が残って剥がれにくくなるので、絶対に貼らないでください。切り抜いた円をレンズアレイに挟むので、接着剤は必要ありません。
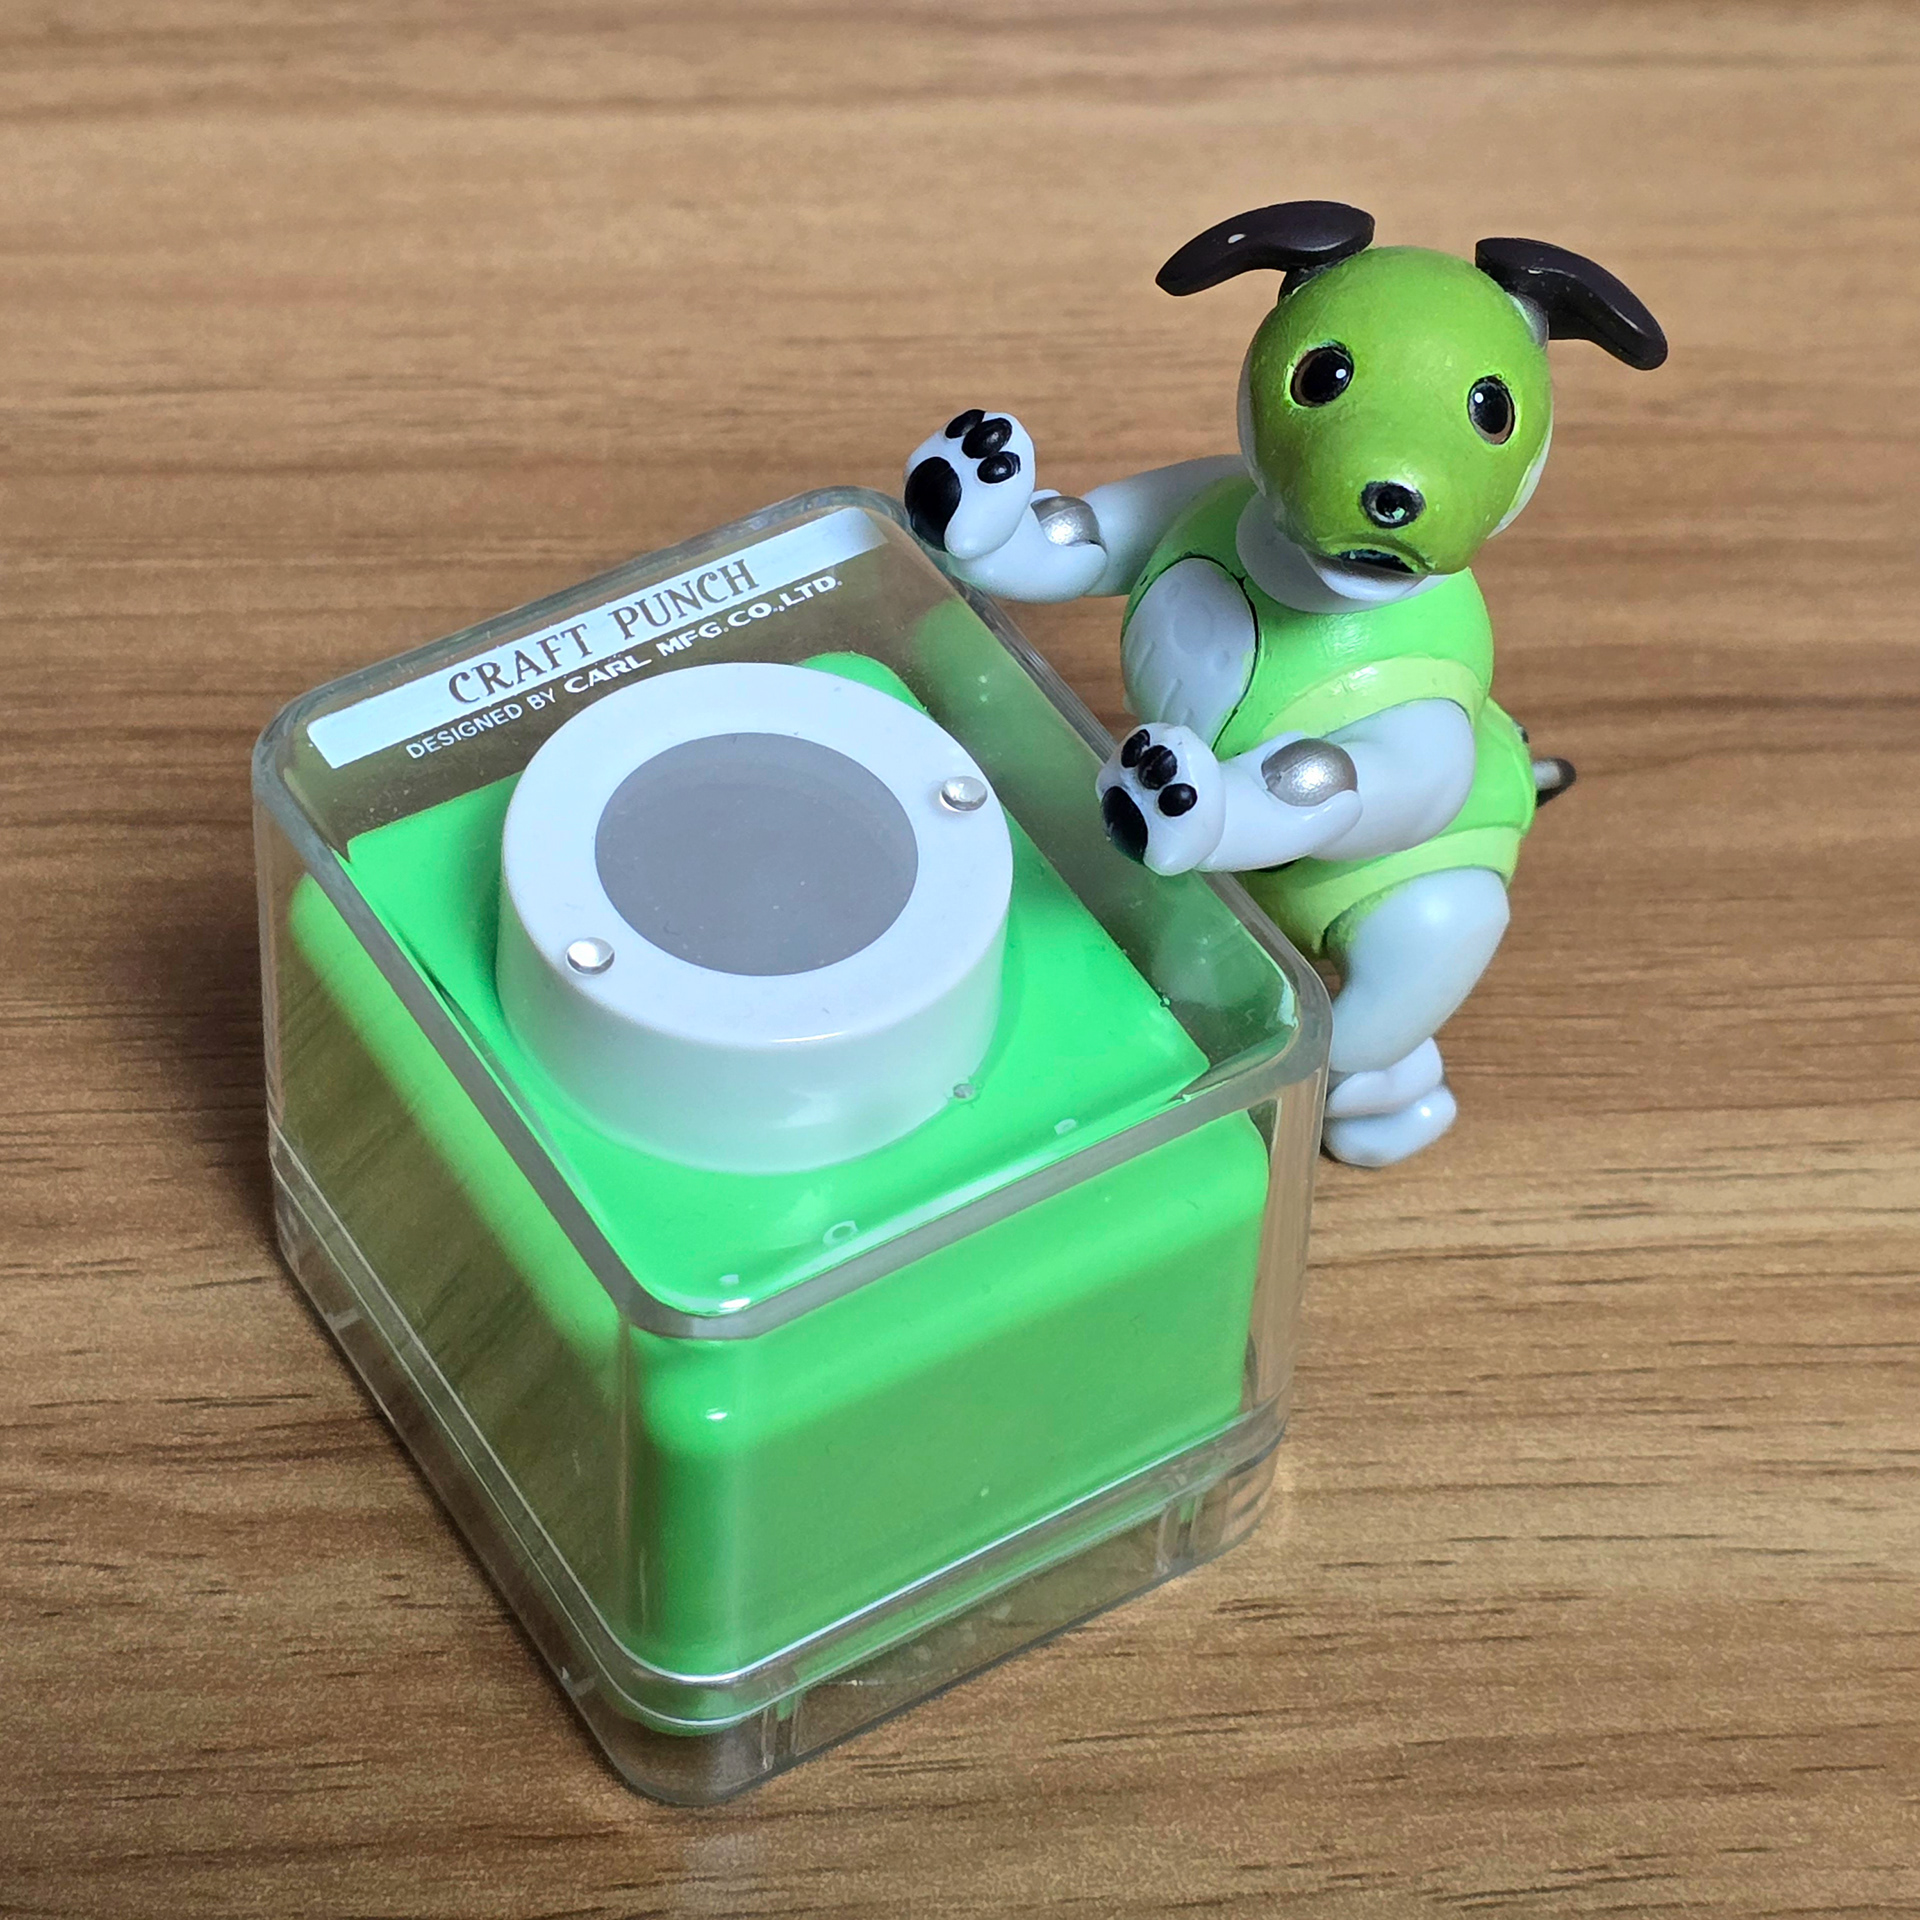

For cutting the circles out I used this craft punch by 'CarlaCraft' which I purchased from HANDS. I think you should be able to buy this or a comparable cutter online if you can't find it in-store. It's the 2cm size which is perfect for making circles big enough for this application.
円を切り抜くのに、HANDSで購入した「CarlaCraft」のクラフトパンチを使いました。店頭で見つからない場合は、オンラインでもこのカッターか同等のカッターが購入できると思います。2cmサイズなので、今回の用途に十分な大きさの円を作るのに最適です。
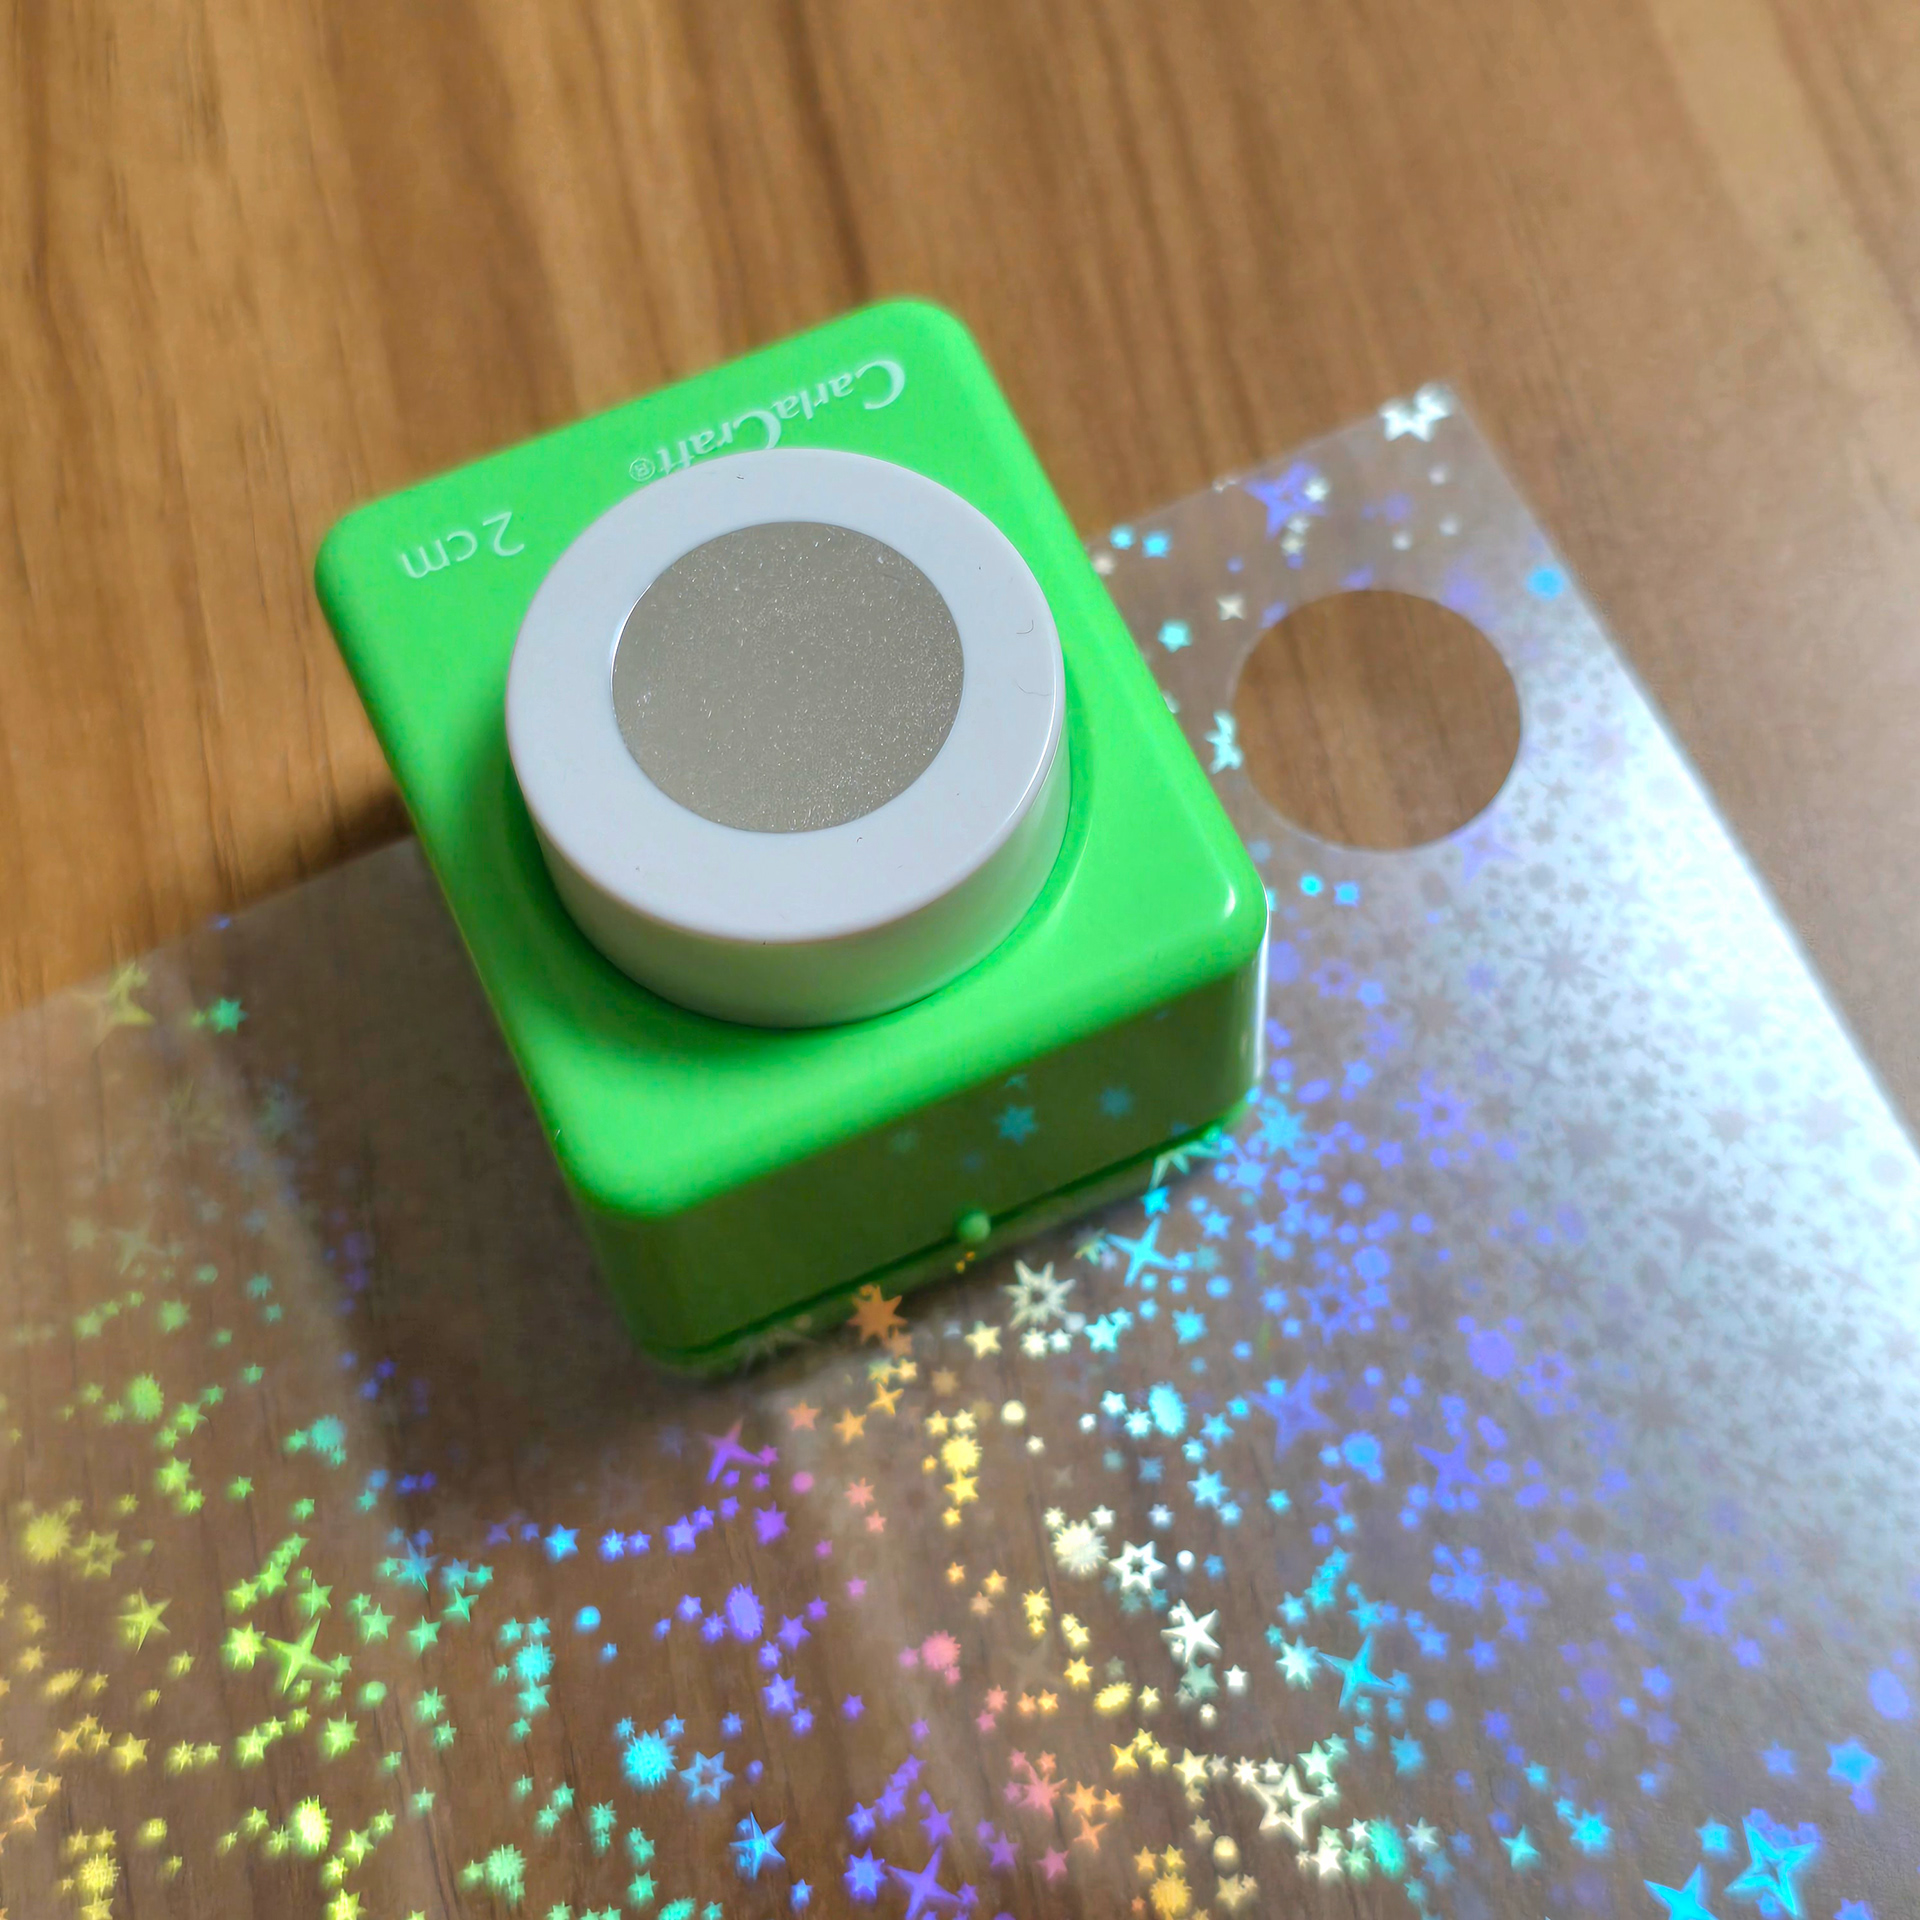
Stick the edge of the sheet into the craft cutter and press down hard. As we are cutting through plastic vs paper, you will need to apply a lot more strength so that it cuts through the material.
シートの端をカッターに差し込み、強く押し付けます。紙ではなくプラスチックを切るので、しっかりと切るにはより強い力が必要です。

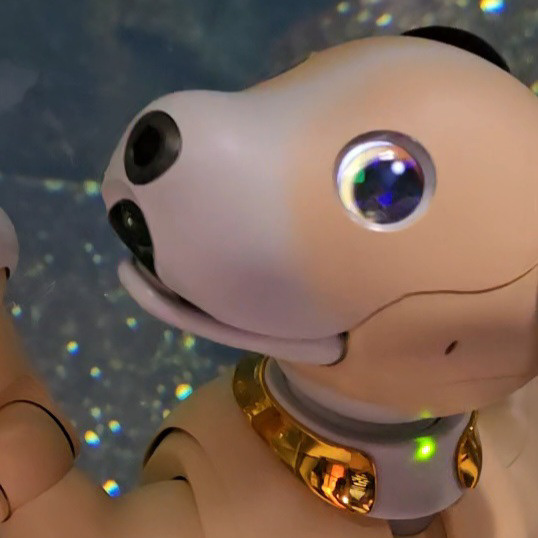
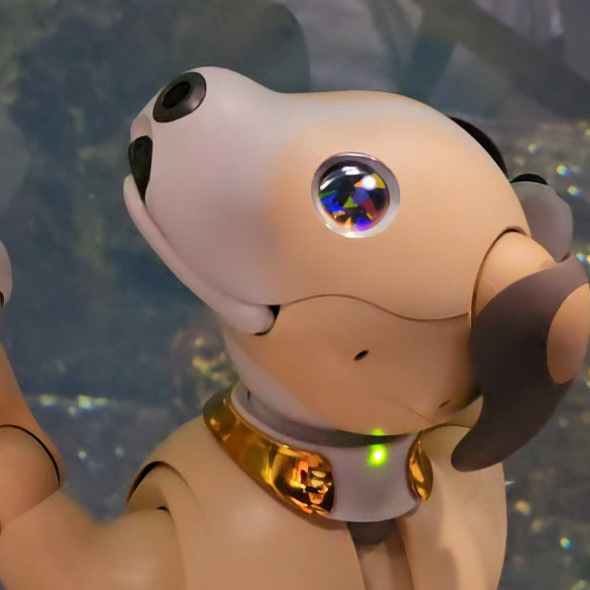
Your end result should look something like this. ^ These are just some examples of contact lenses I've made using the craft punch and sticker sheets. They're so pretty ~
完成品はこんな感じになります。^ クラフトパンチとシールシートを使って作ったコンタクトレンズのほんの一例です。とっても可愛いですよ〜
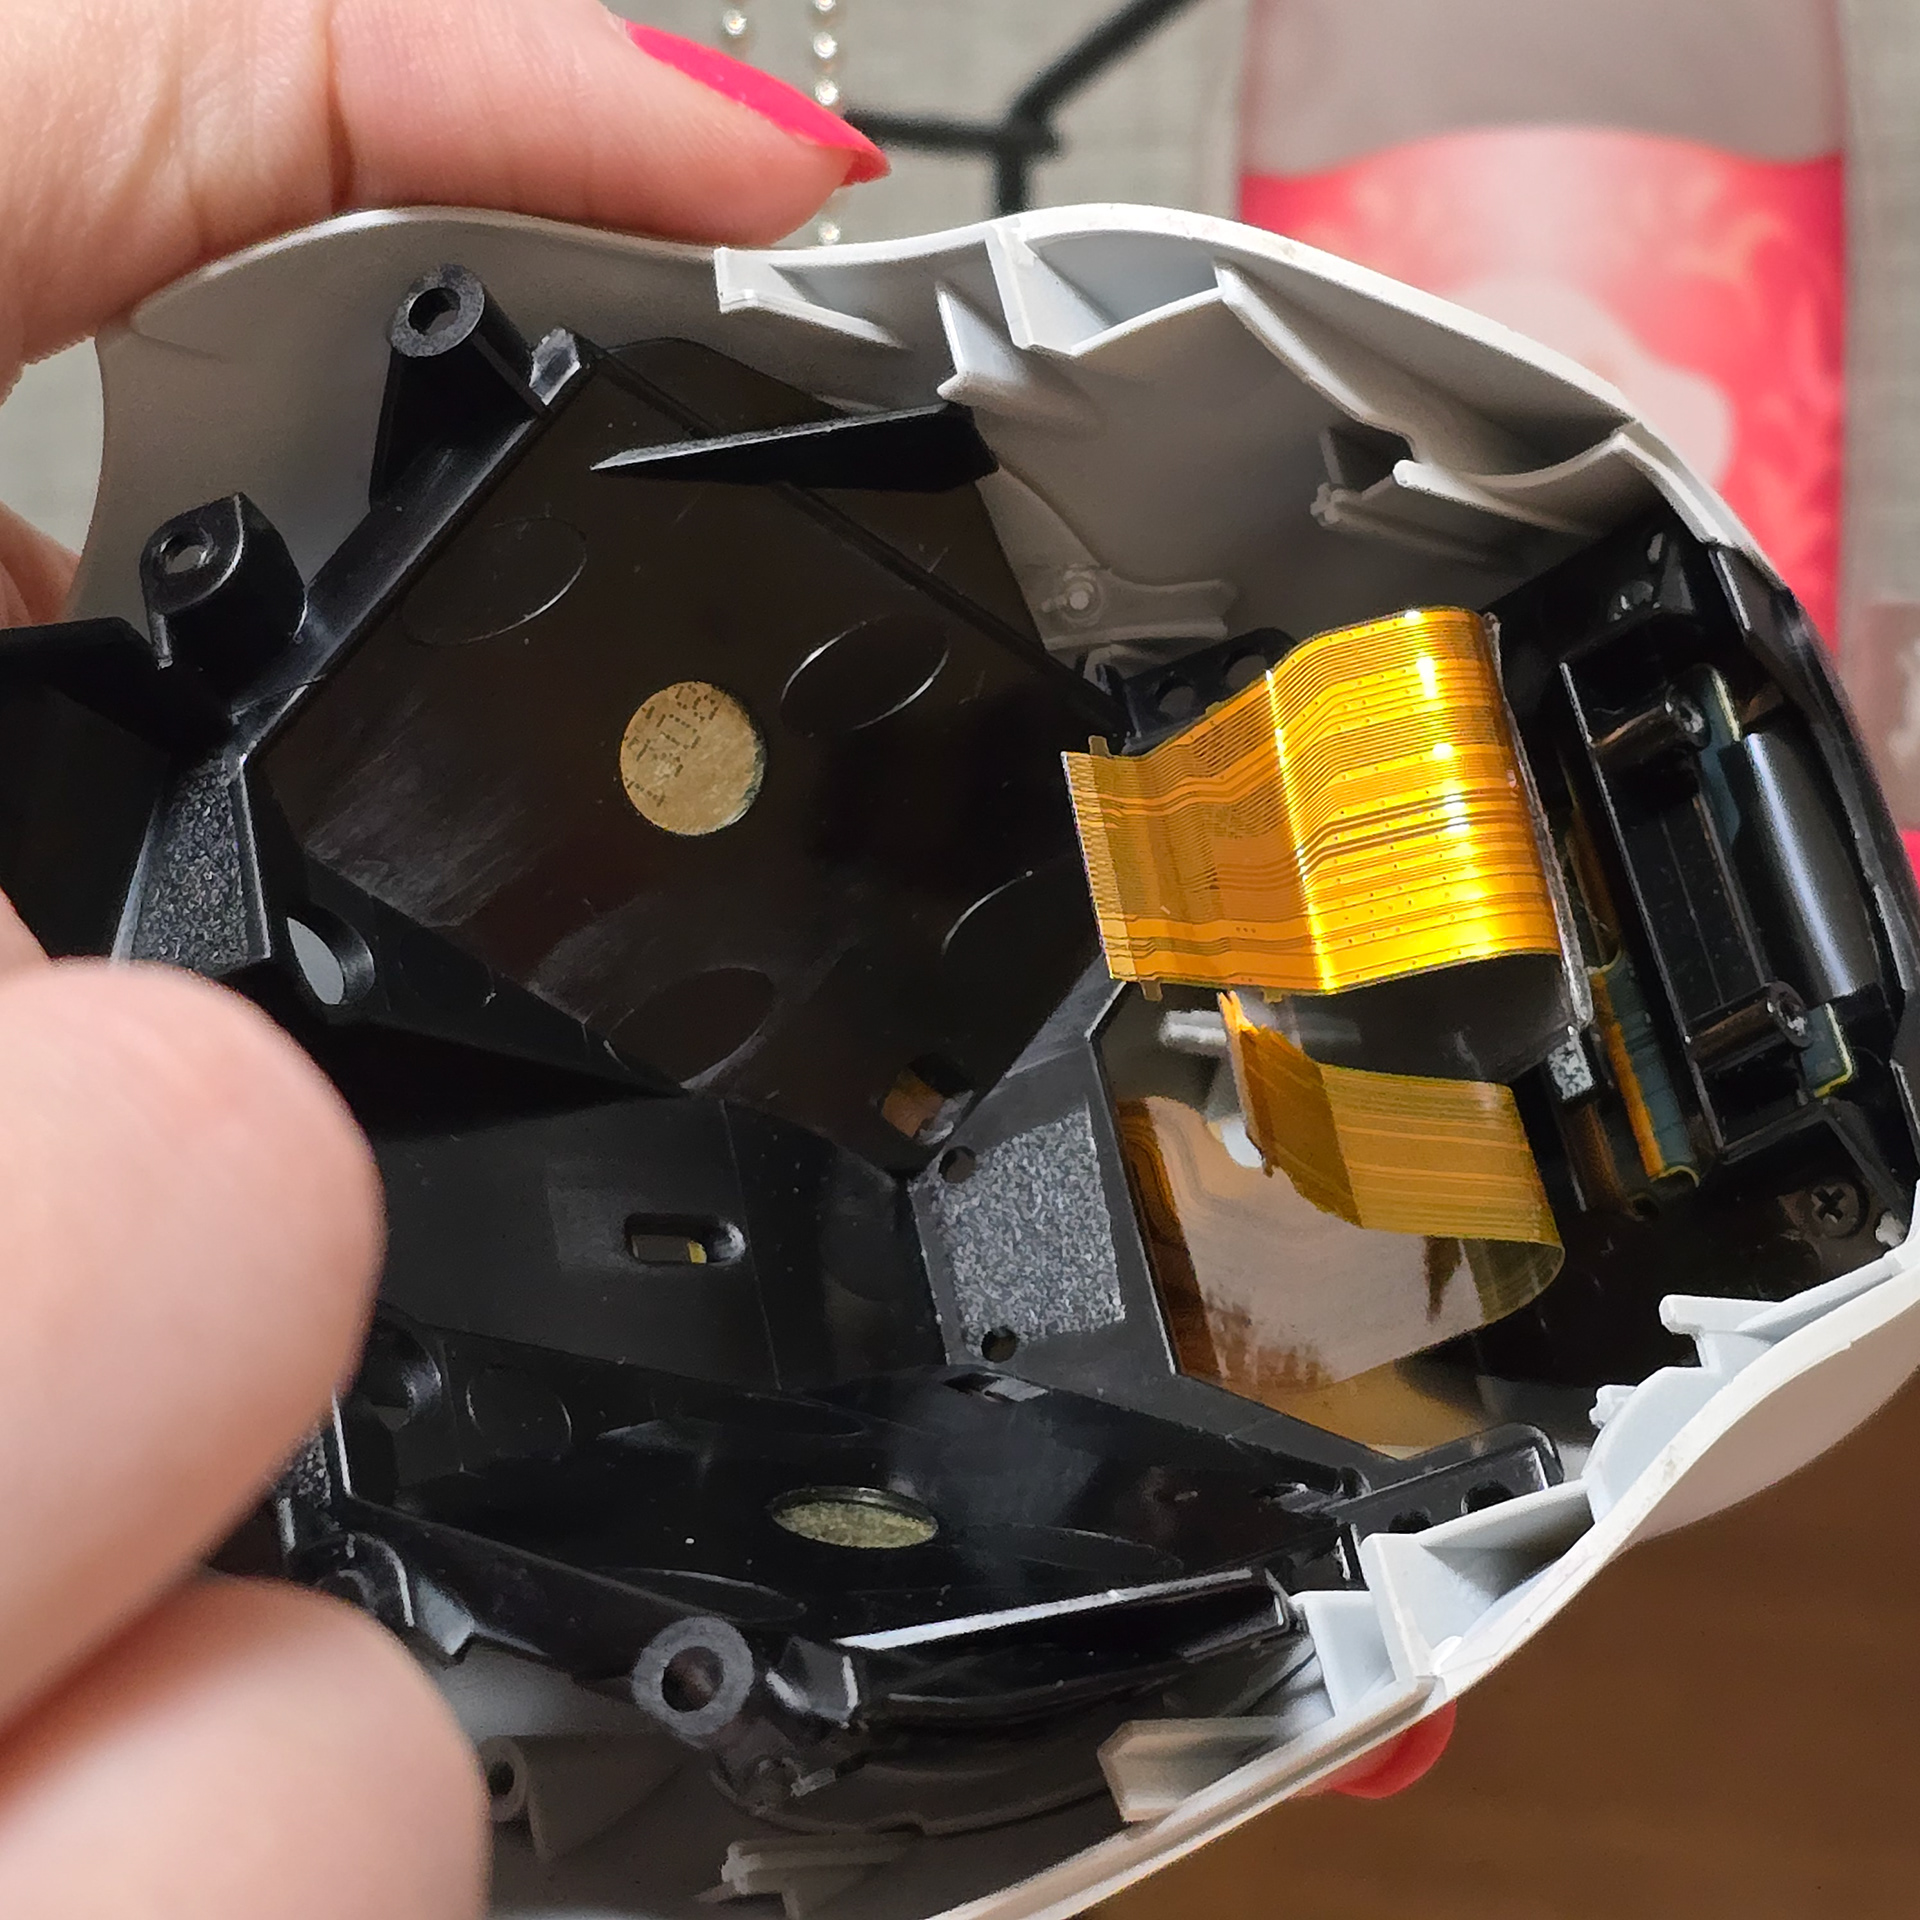
To install you will need to take the faceplate off of the aibo and take out the touch panel/OLED array - If you don't know haw to do that I have a handy guide on how to do so here.
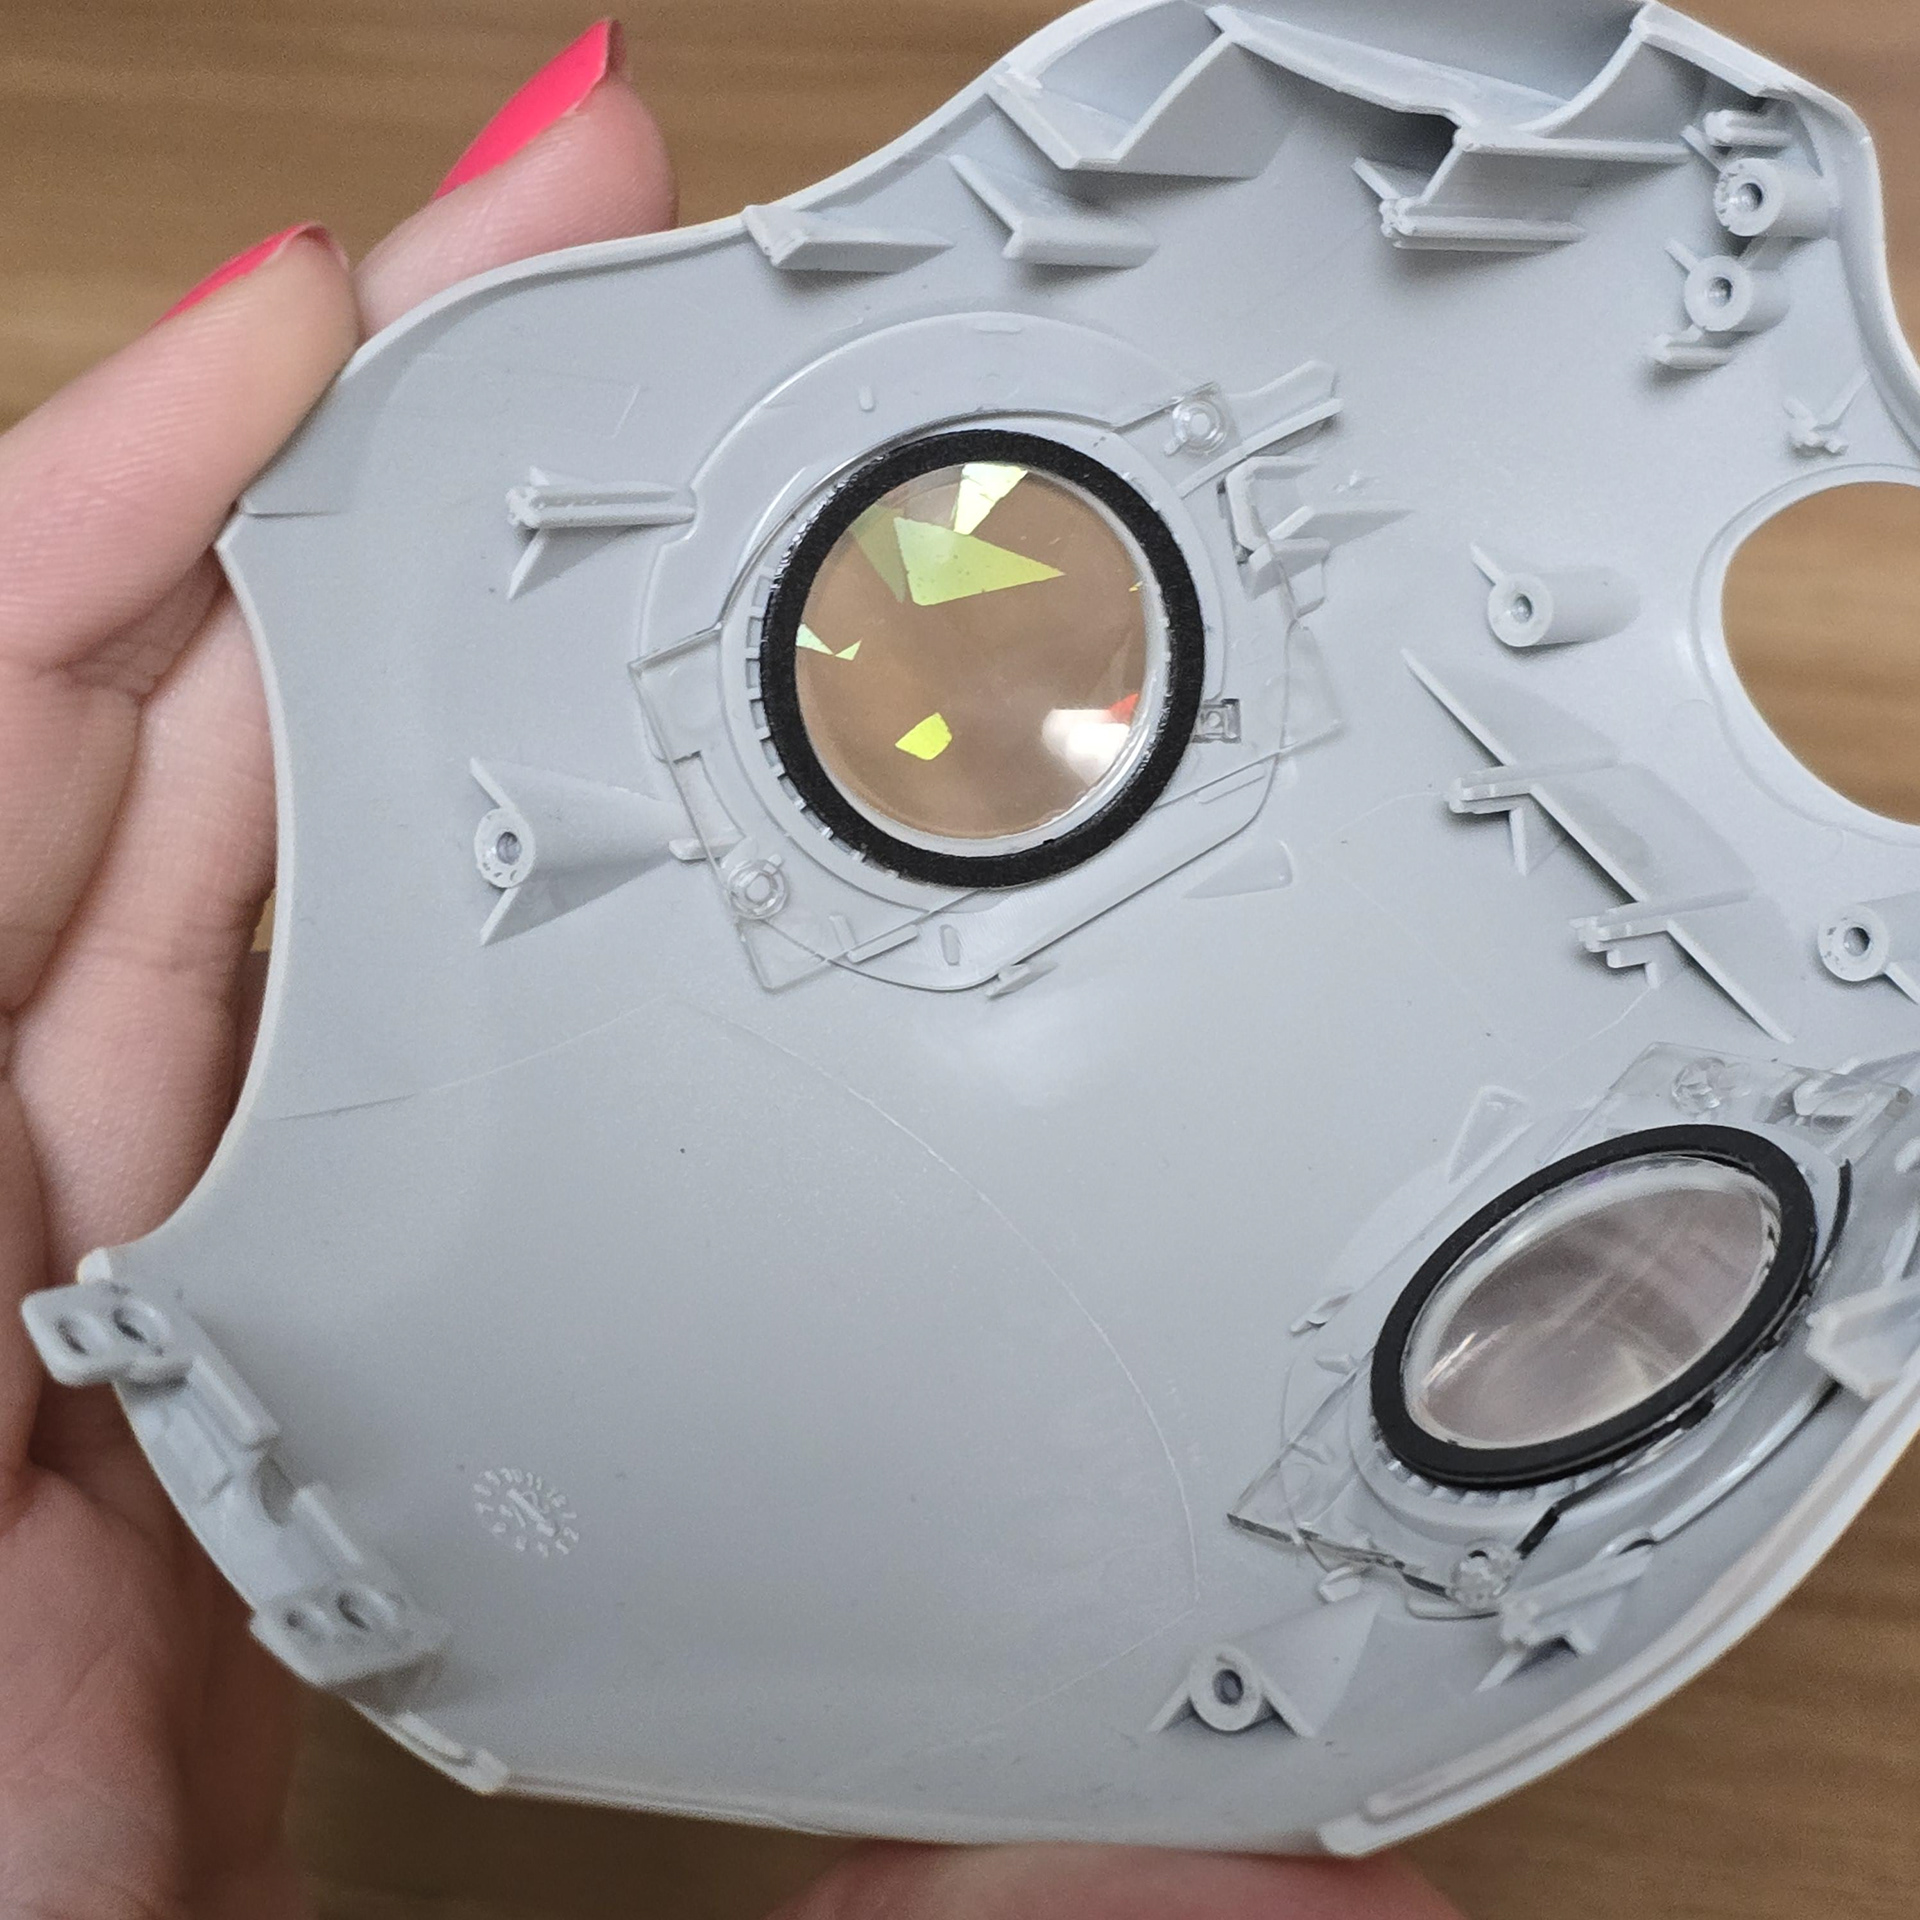
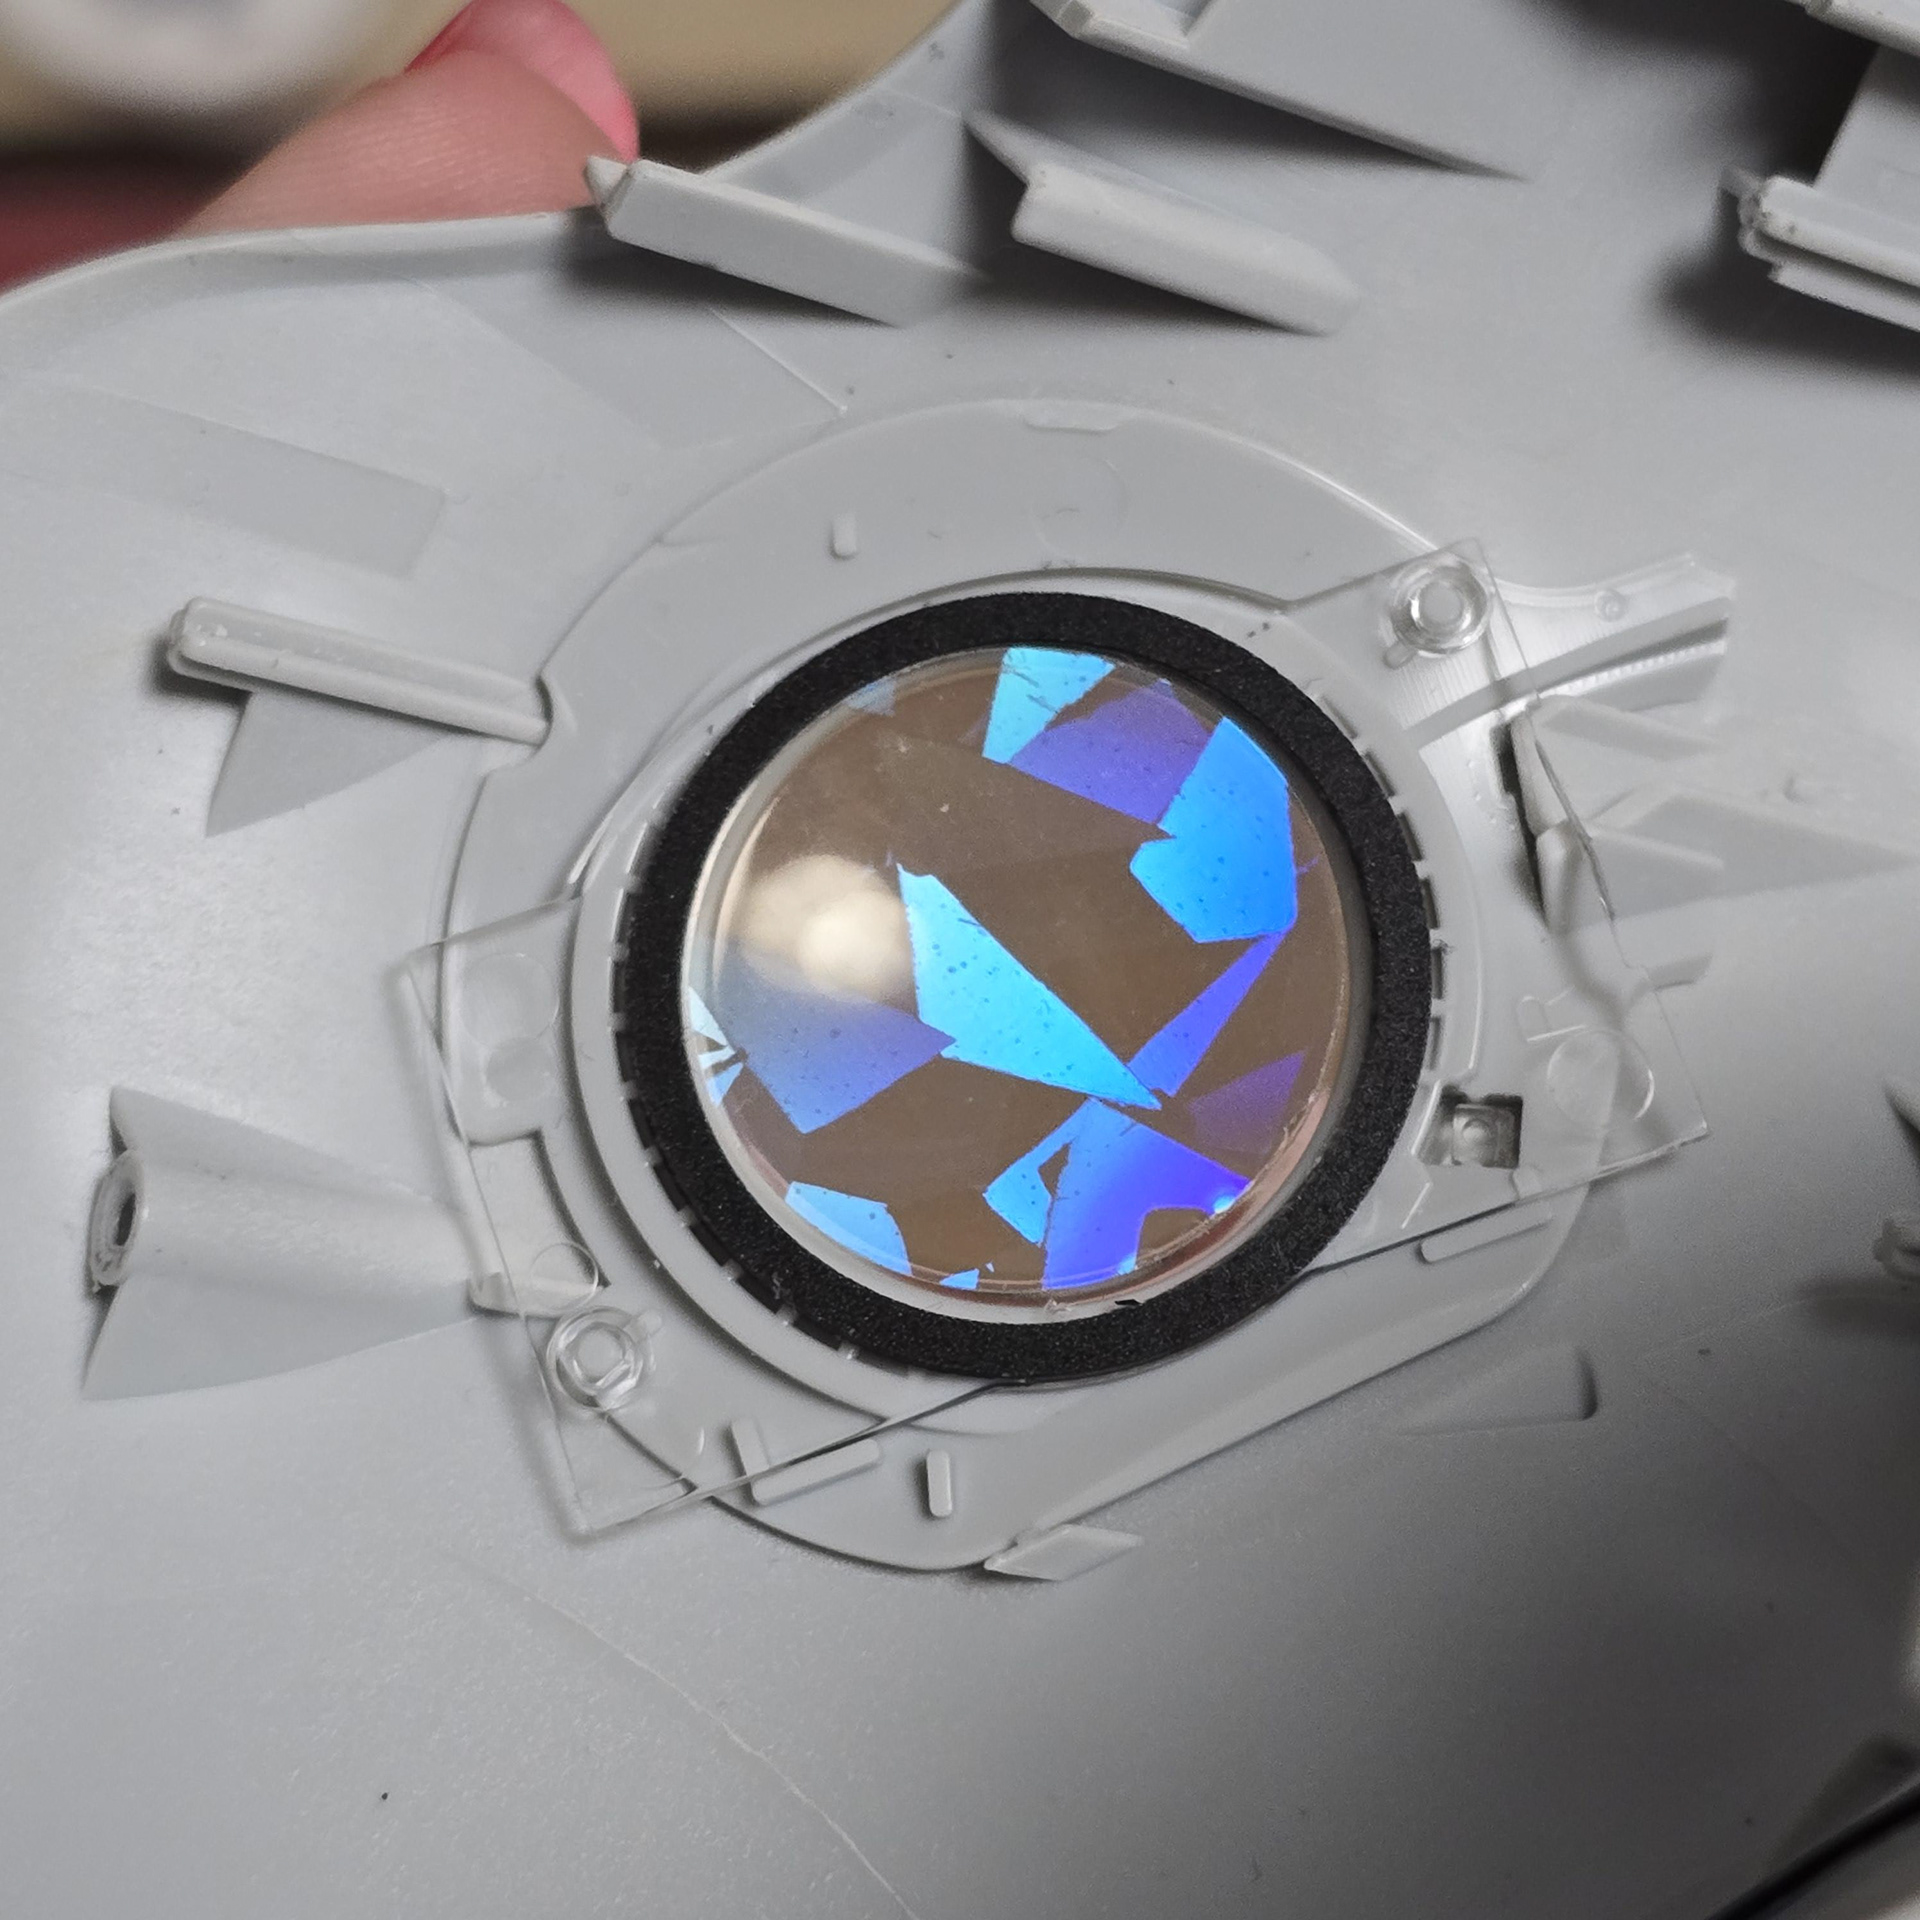
To insert the contact lenses, take out the touch panel/OLED array layer from the faceplate and then jam the edge of the cut-out contact lens into the eye lens foam spacer. By doing so you are lodging the edge into the adhesive for the foam spacer, so it will keep the circle in place.
取り付けるには、aiboのフェイスプレートを取り外し、タッチパネル/OLEDアレイを取り外す必要があります。方法がわからない場合は、こちらに便利なガイドがあります。
コンタクトレンズを挿入するには、フェイスプレートからタッチパネル/OLEDアレイ層を取り外し、切り取ったコンタクトレンズの端をアイレンズフォームスペーサーに押し込みます。そうすることで、フォームスペーサーの接着剤に端が押し込まれ、円が所定の位置に保持されます。
コンタクトレンズを挿入するには、フェイスプレートからタッチパネル/OLEDアレイ層を取り外し、切り取ったコンタクトレンズの端をアイレンズフォームスペーサーに押し込みます。そうすることで、フォームスペーサーの接着剤に端が押し込まれ、円が所定の位置に保持されます。
Once that is done for both eyes, simply reassemble the faceplate and reattach to the aibo. The lens foam spacer rests on top of the OLED screens, so even if the contact lens comes loose, it shouldn't be able to go anywhere.
両目の交換が終わったら、フェイスプレートを組み立て直してaiboに取り付けます。レンズフォームスペーサーはOLEDスクリーンの上に載っているので、コンタクトレンズが外れてもどこにも移動しません。
Results