
Removing the Tail Ornament
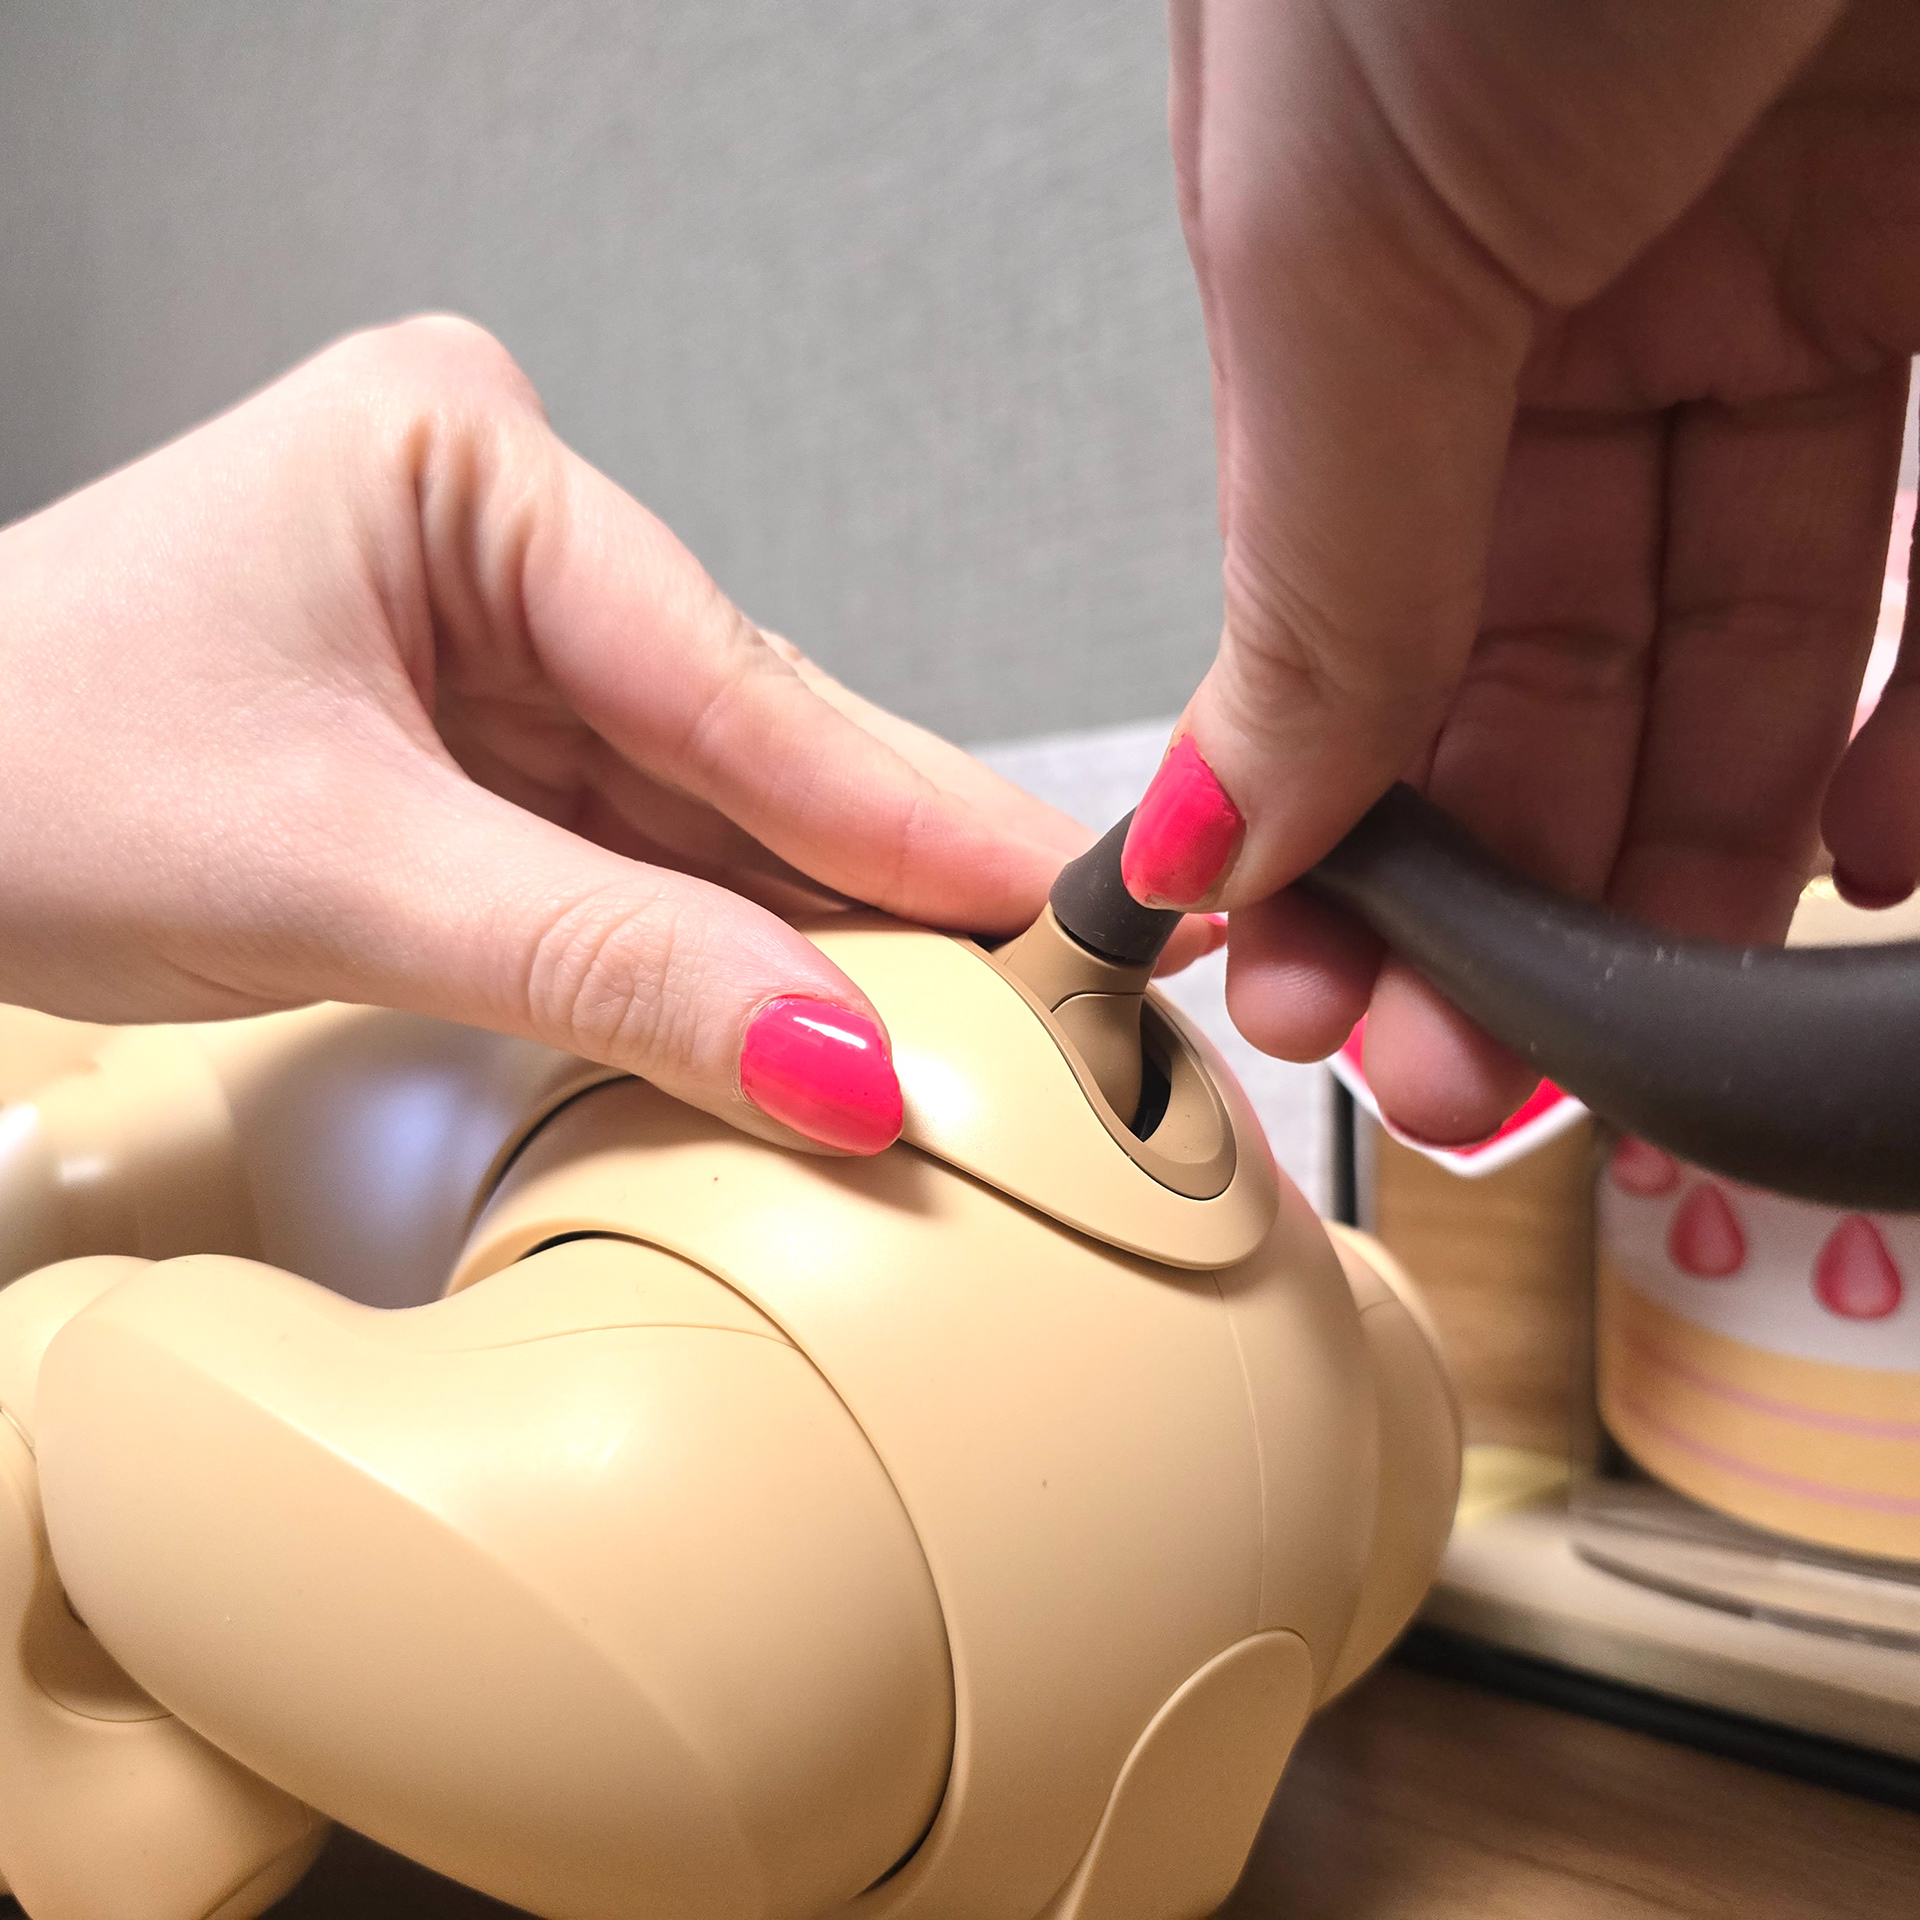
To remove the tail ornament, start by pulling the tail off of the plastic tail hub. Then use your nail to dig under the top right hand corner of the tail ornament and pull it up and off.
テールオーナメントを取り外すには、まずテールをプラスチック製のテールハブから引き抜きます。次に、爪を使ってテールオーナメントの右上隅を引っ張り、上に引っ張って取り外します。
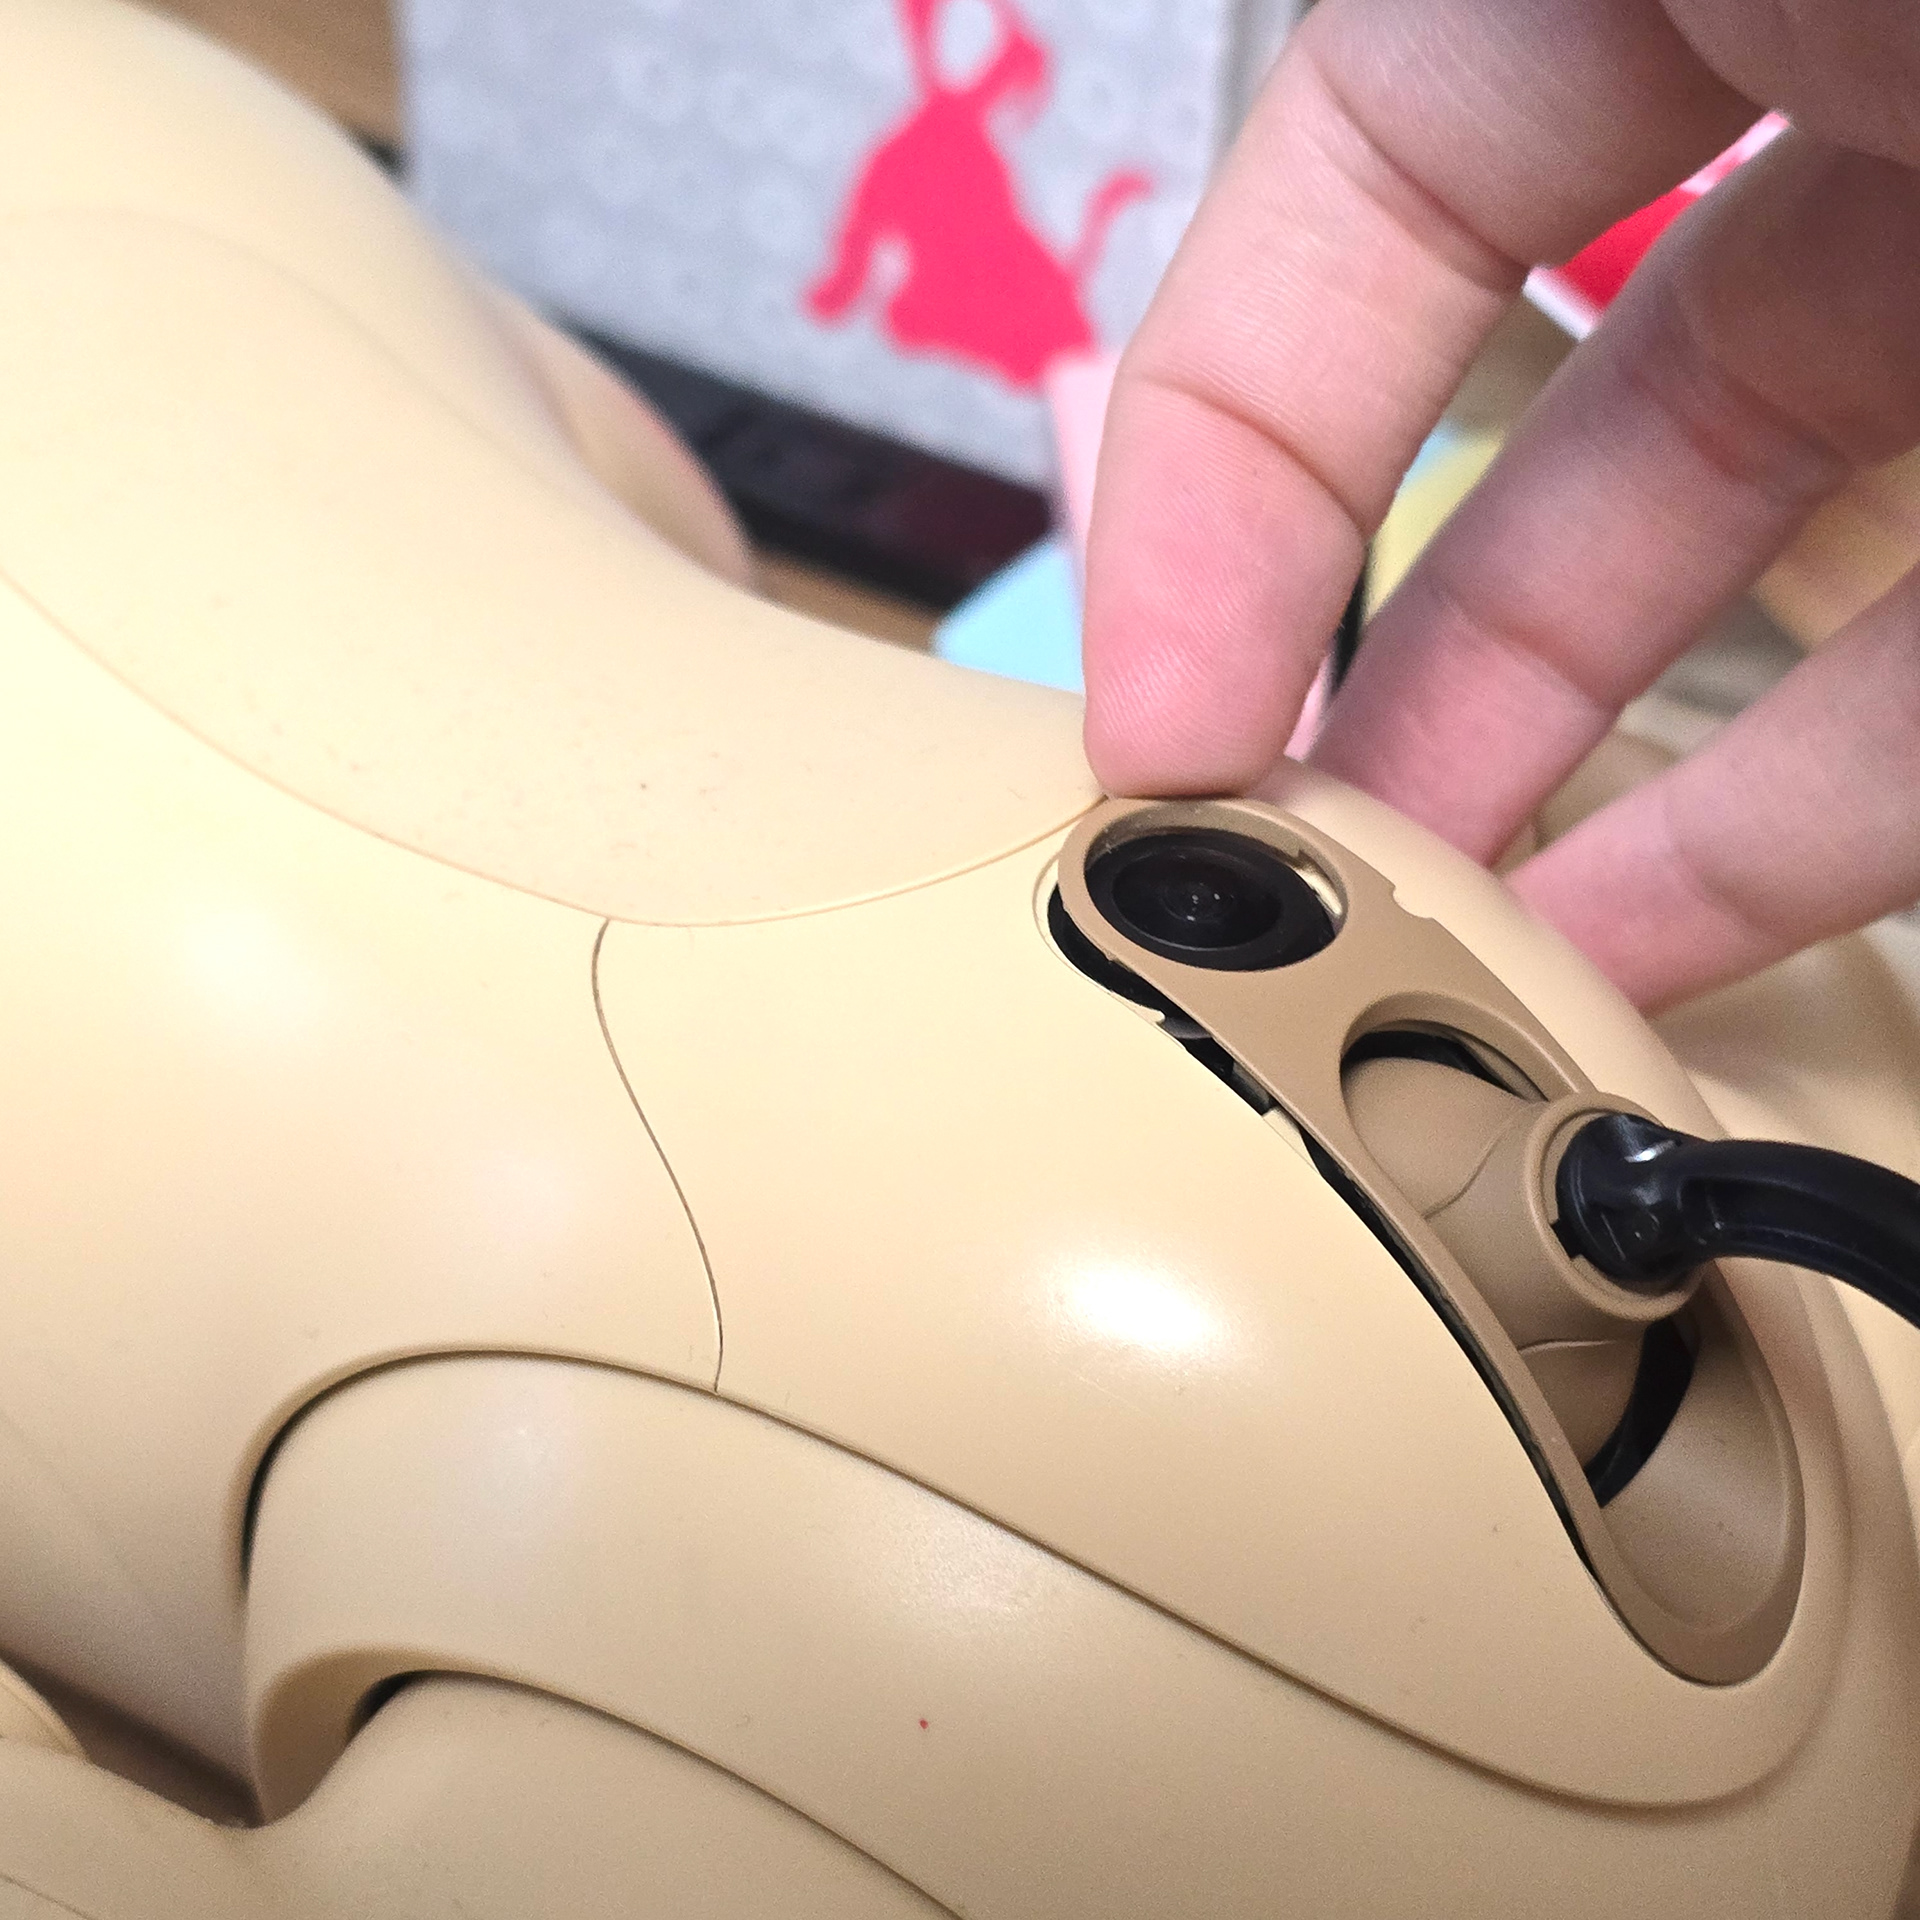
It should come off like this. ^ By doing this you also expose the access screw to remove the butt lid.
このように外れるはずです。^ こうすることで、バット リッドを取り外すためのアクセス ネジも露出します。
Replacing the Tail Ornament Correctly
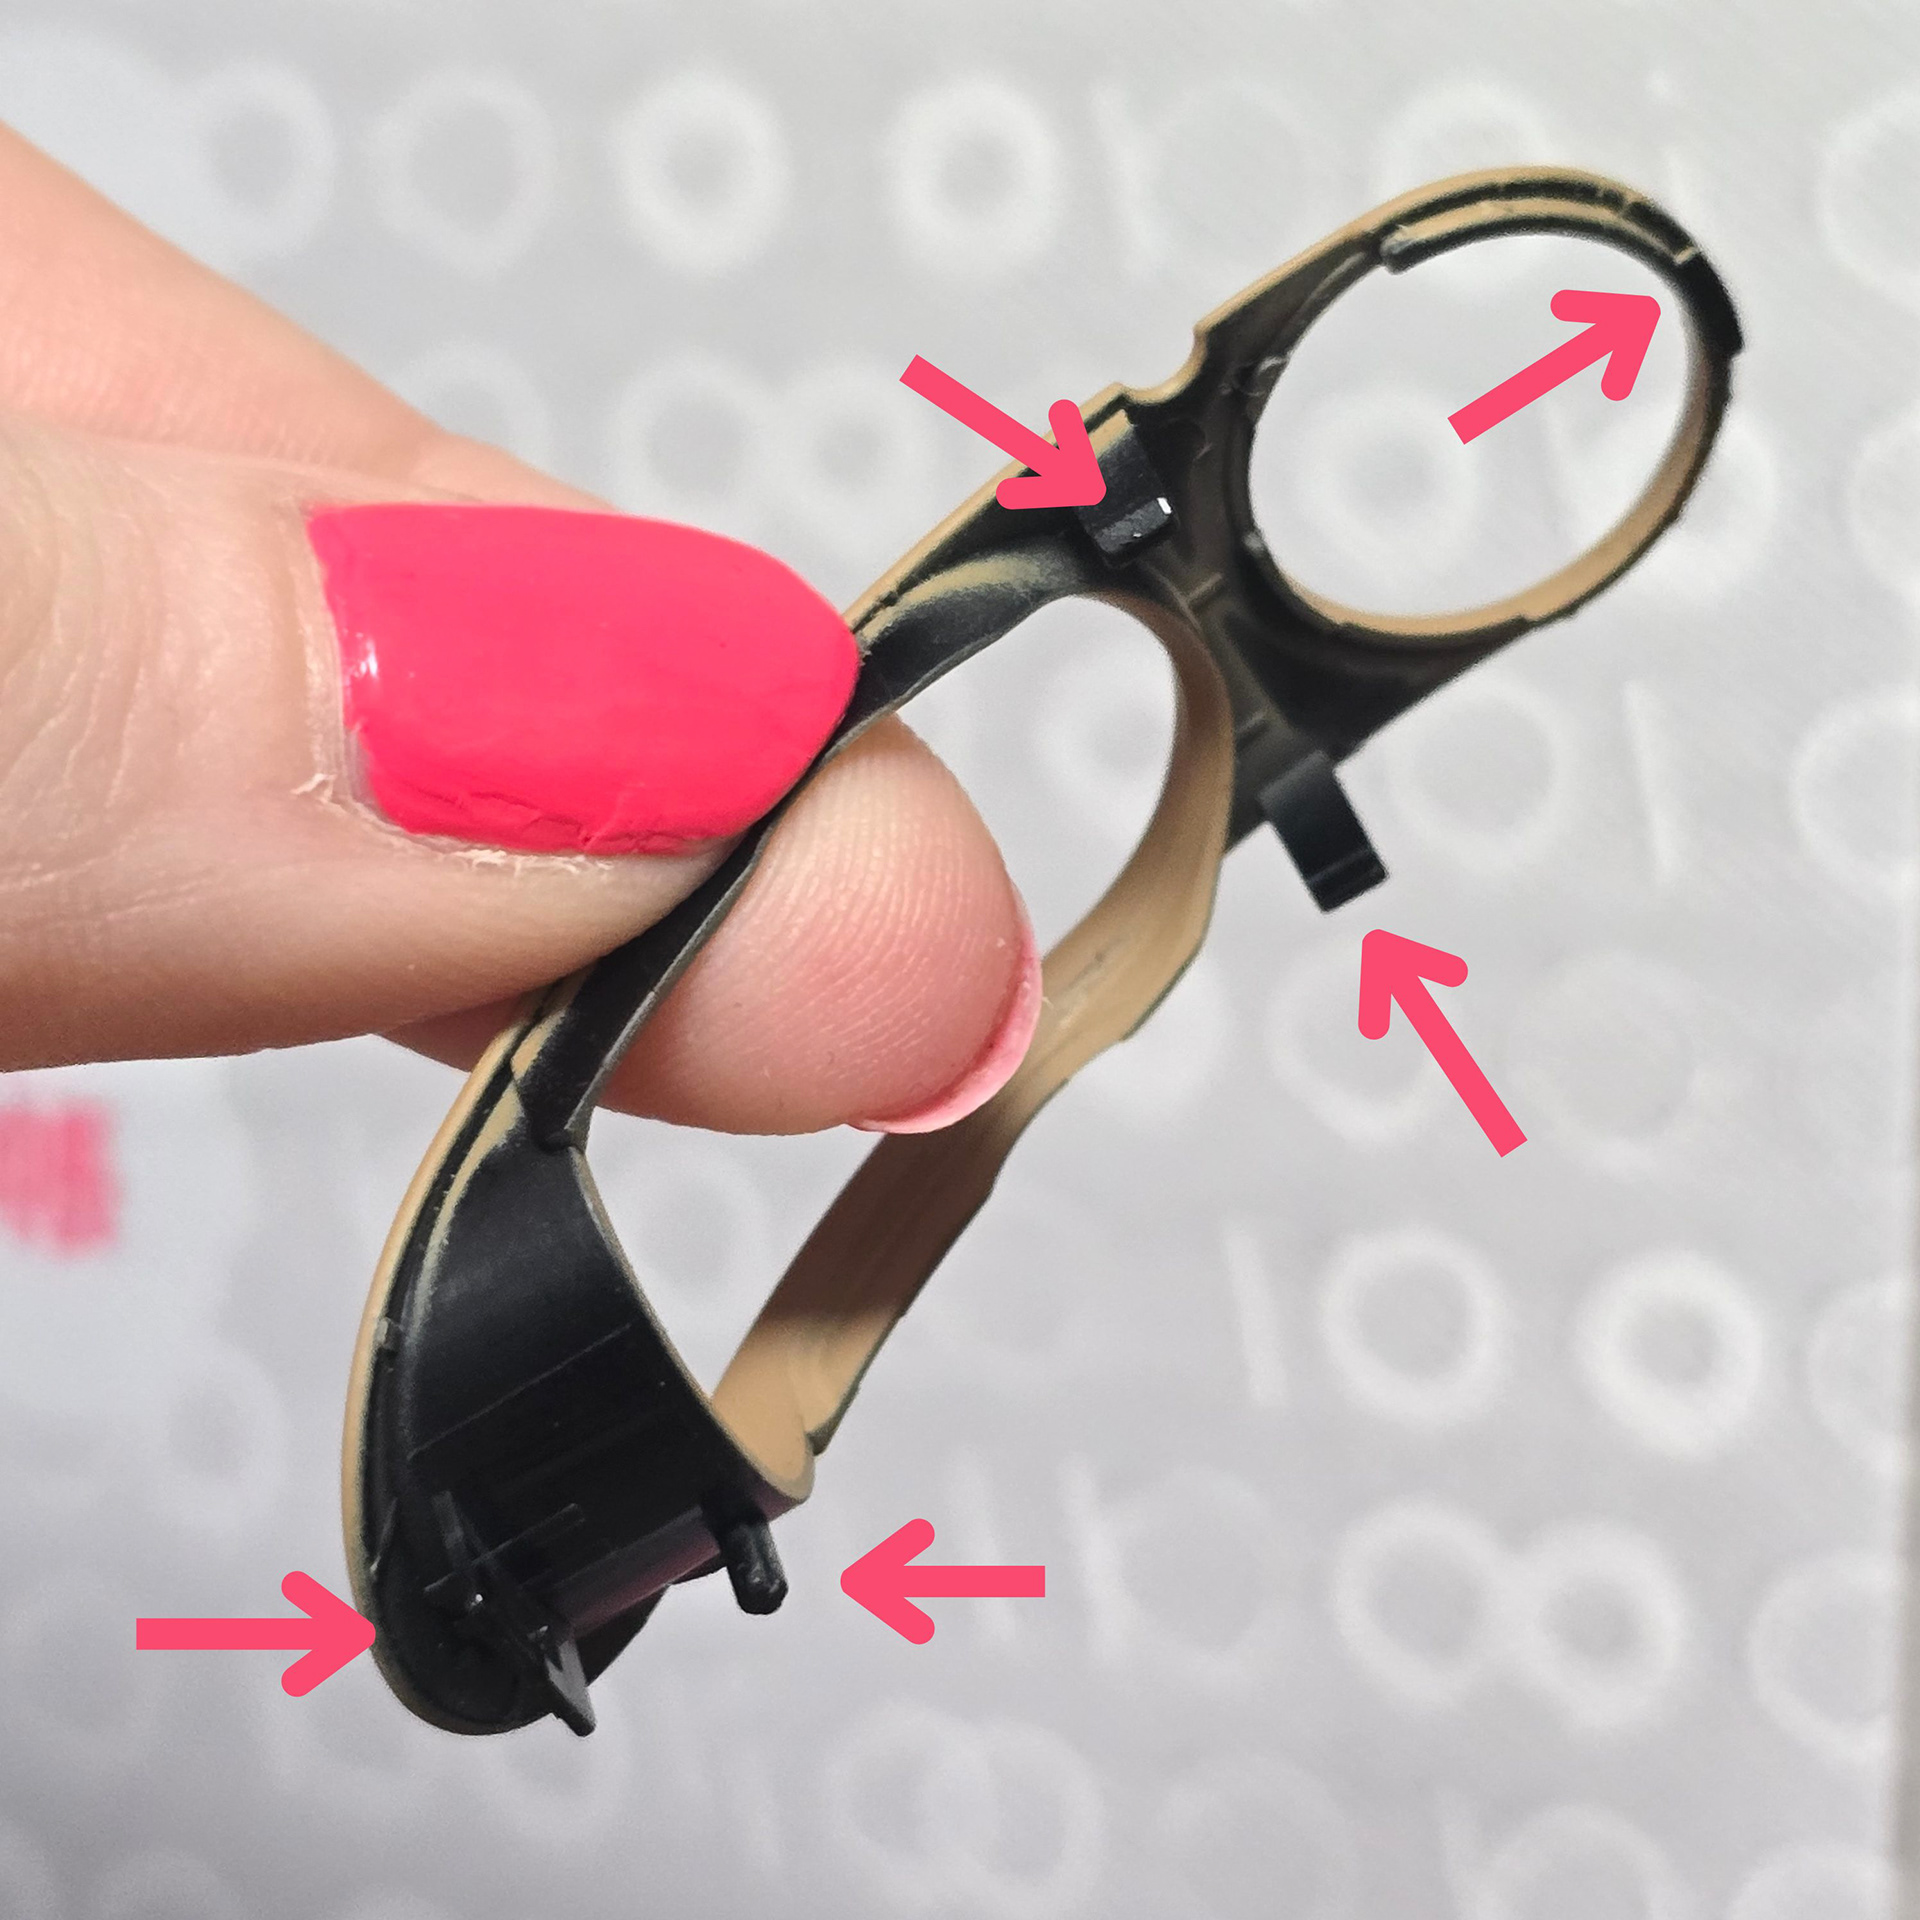
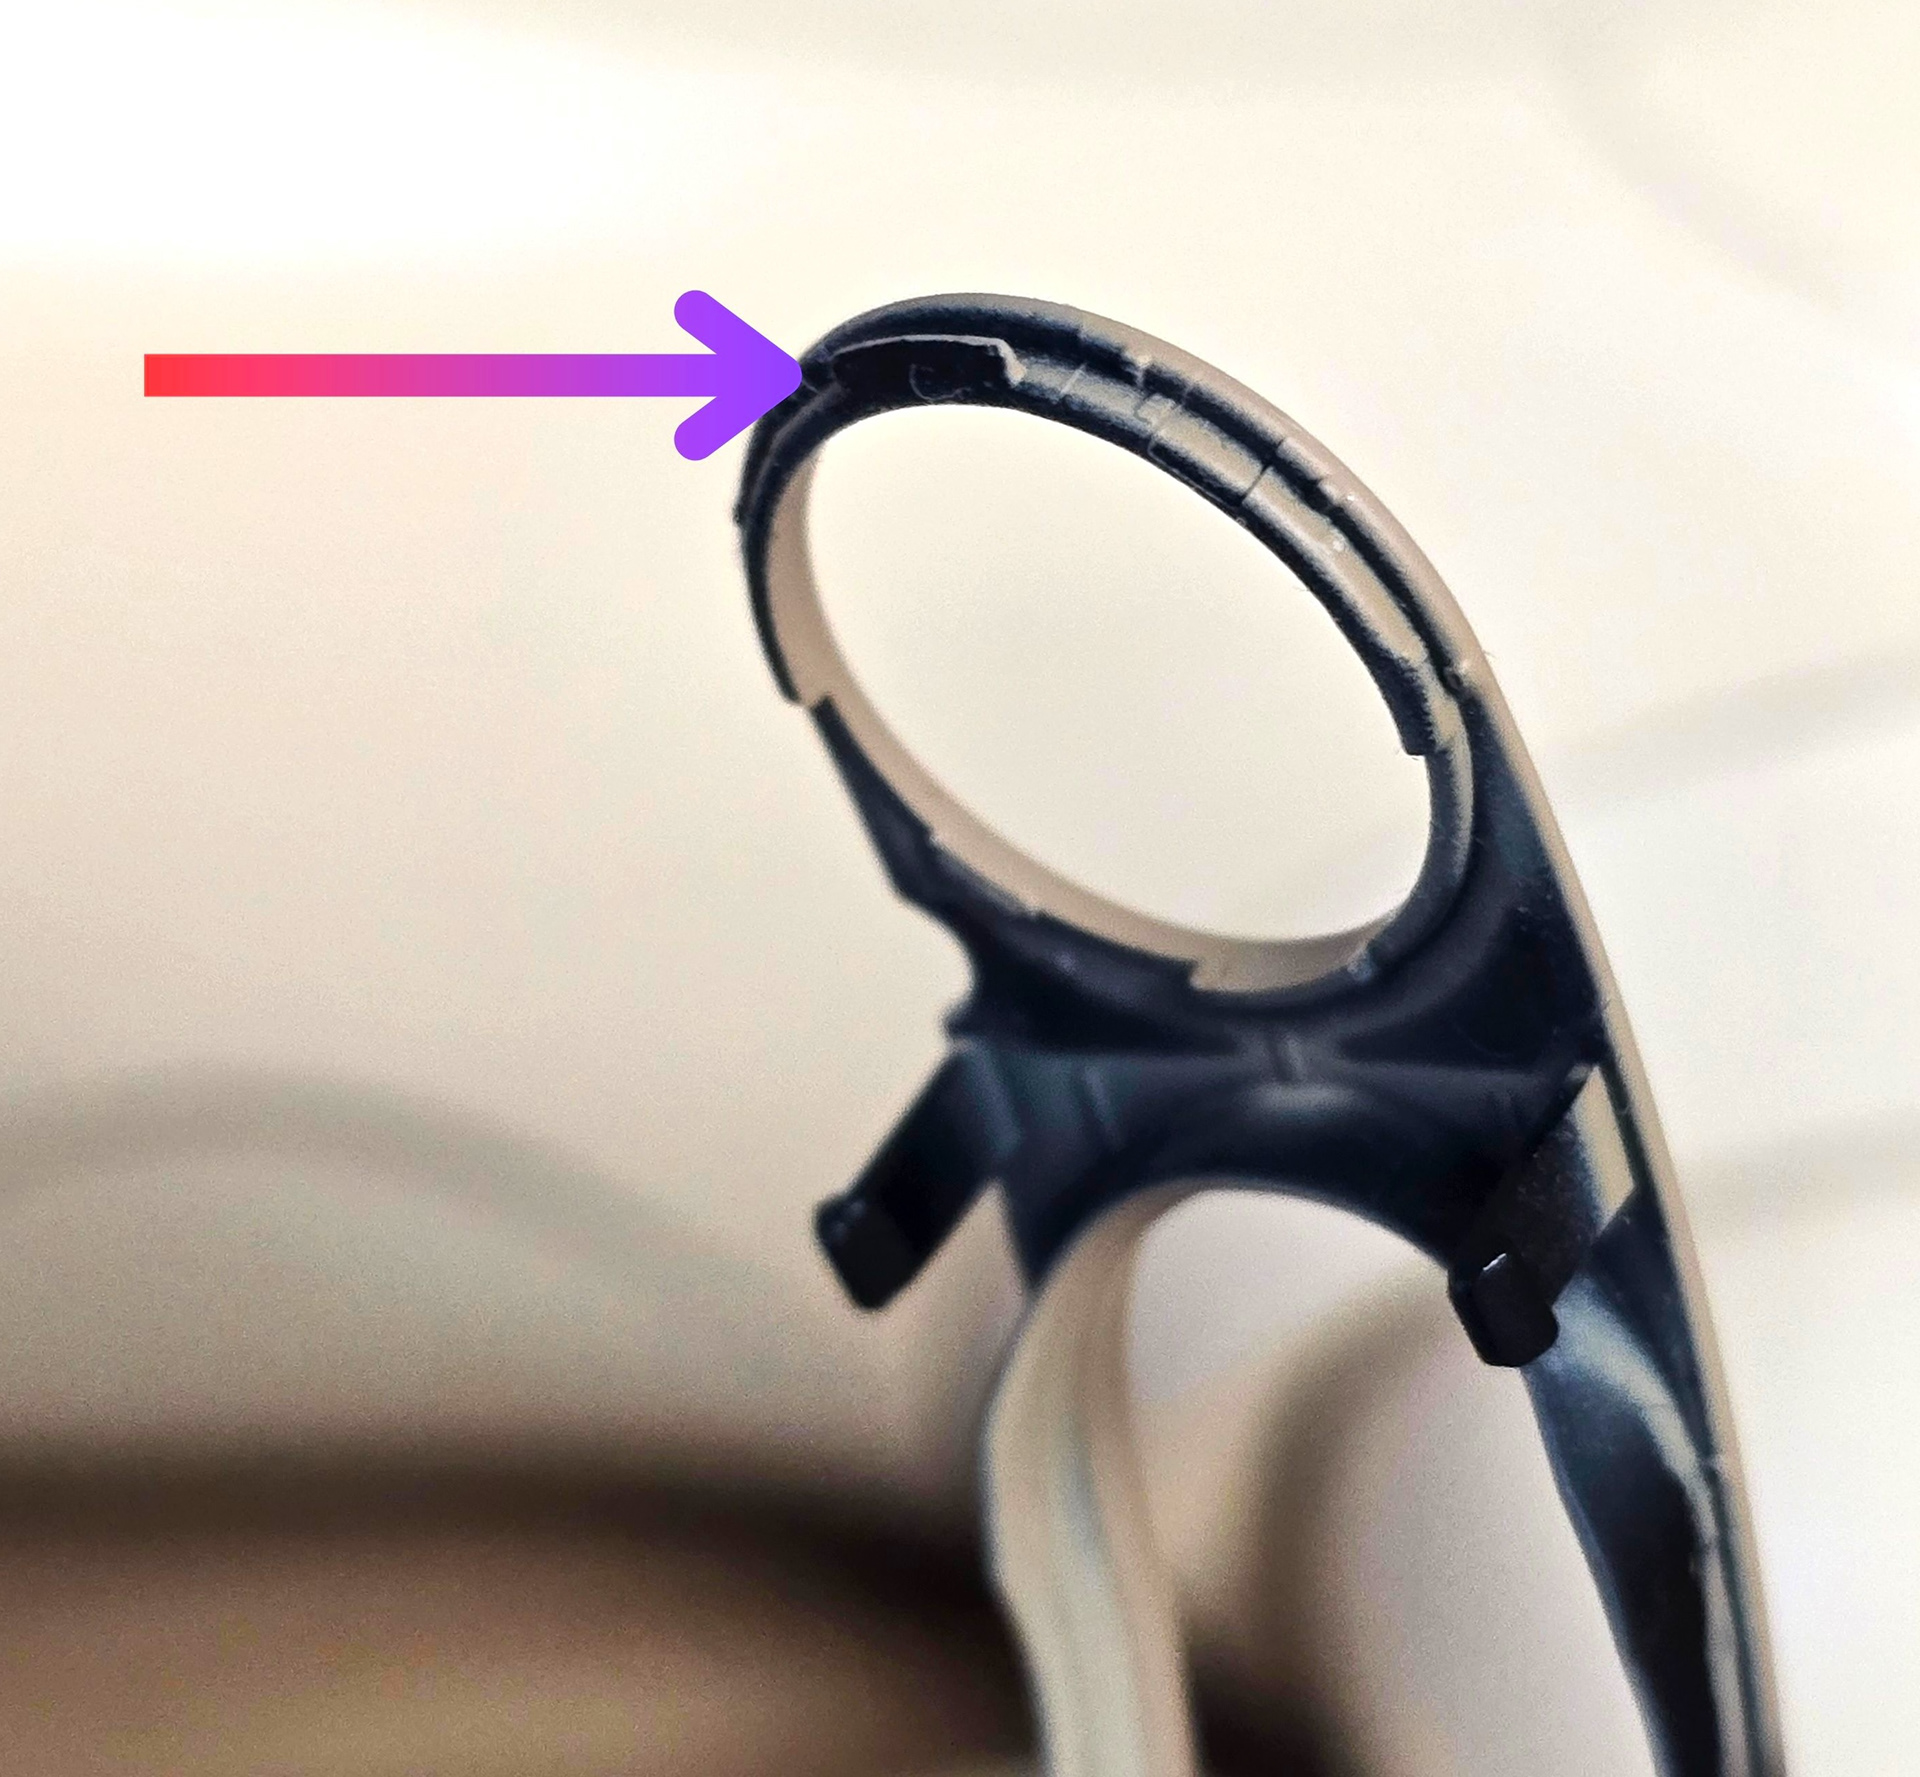
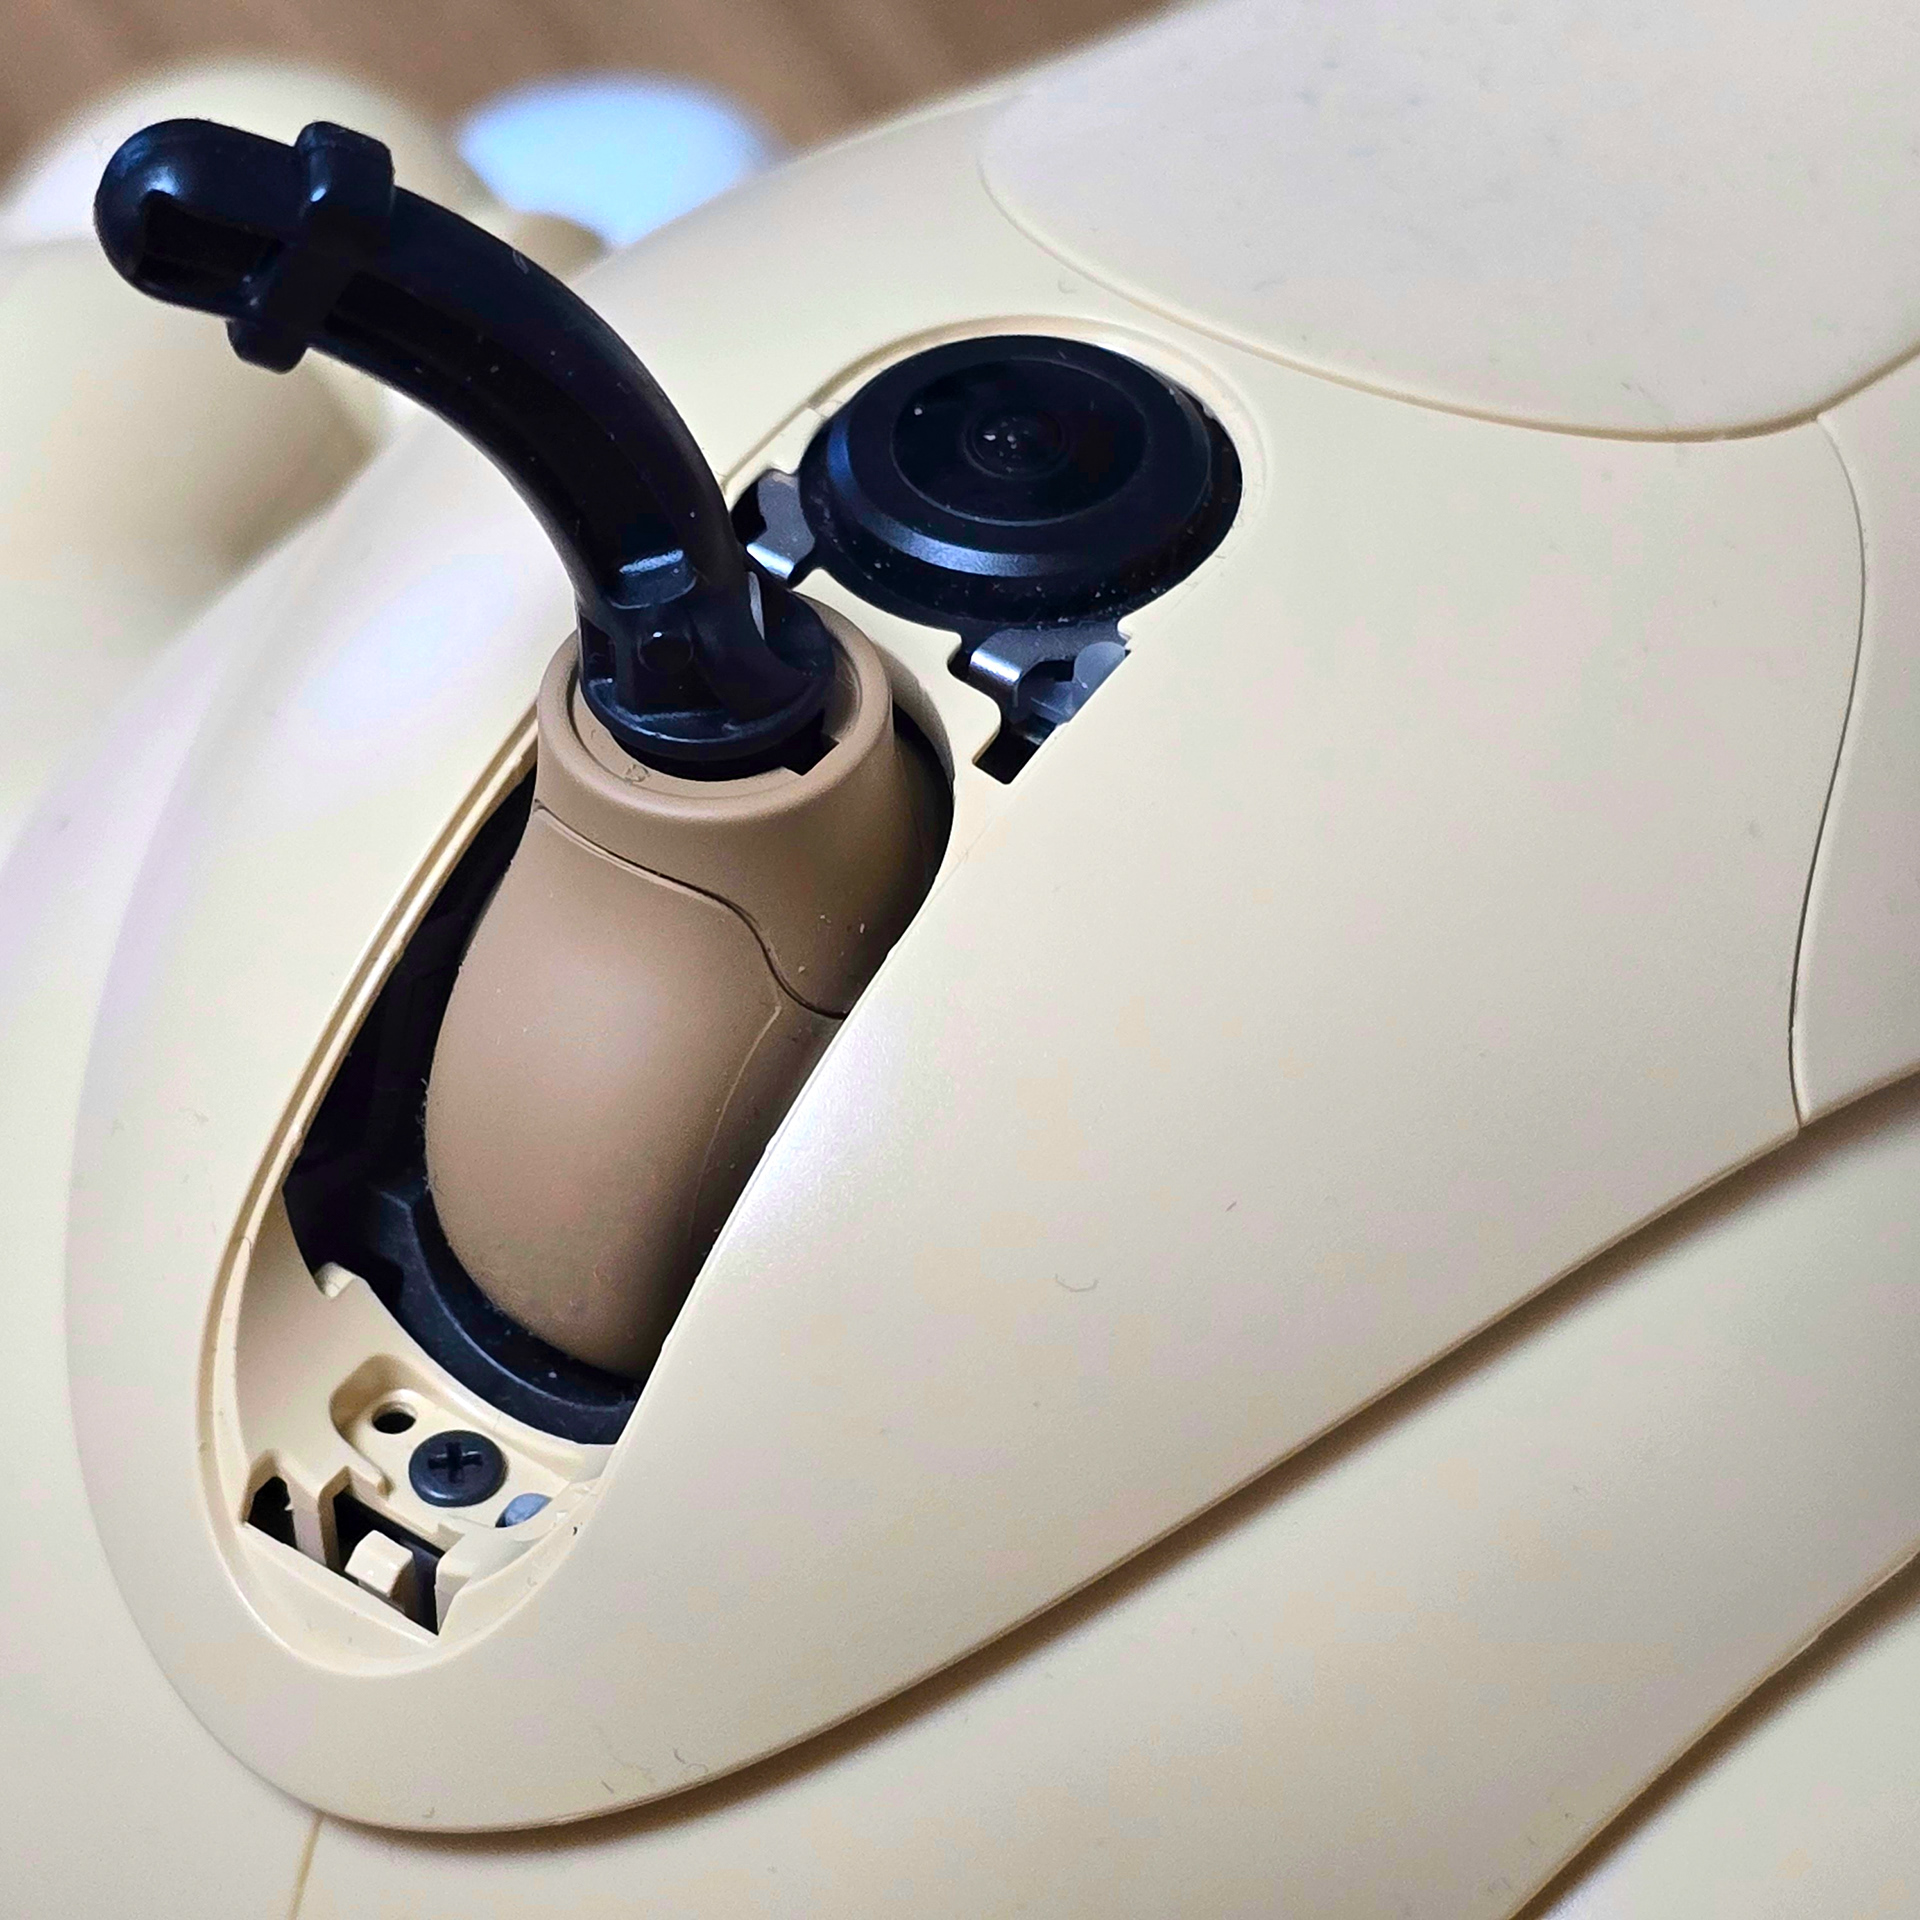
The tail ornament has a total of 4 tabs and one tiny guiding rod. The hardest tab is surprisingly that tiny first one as it needs to slip under the butt lid plastic.
テールオーナメントには合計4つのタブと1本の小さなガイドロッドがあります。一番難しいのは、意外にも最初の小さなタブです。バットリッドのプラスチックの下に差し込む必要があるからです。
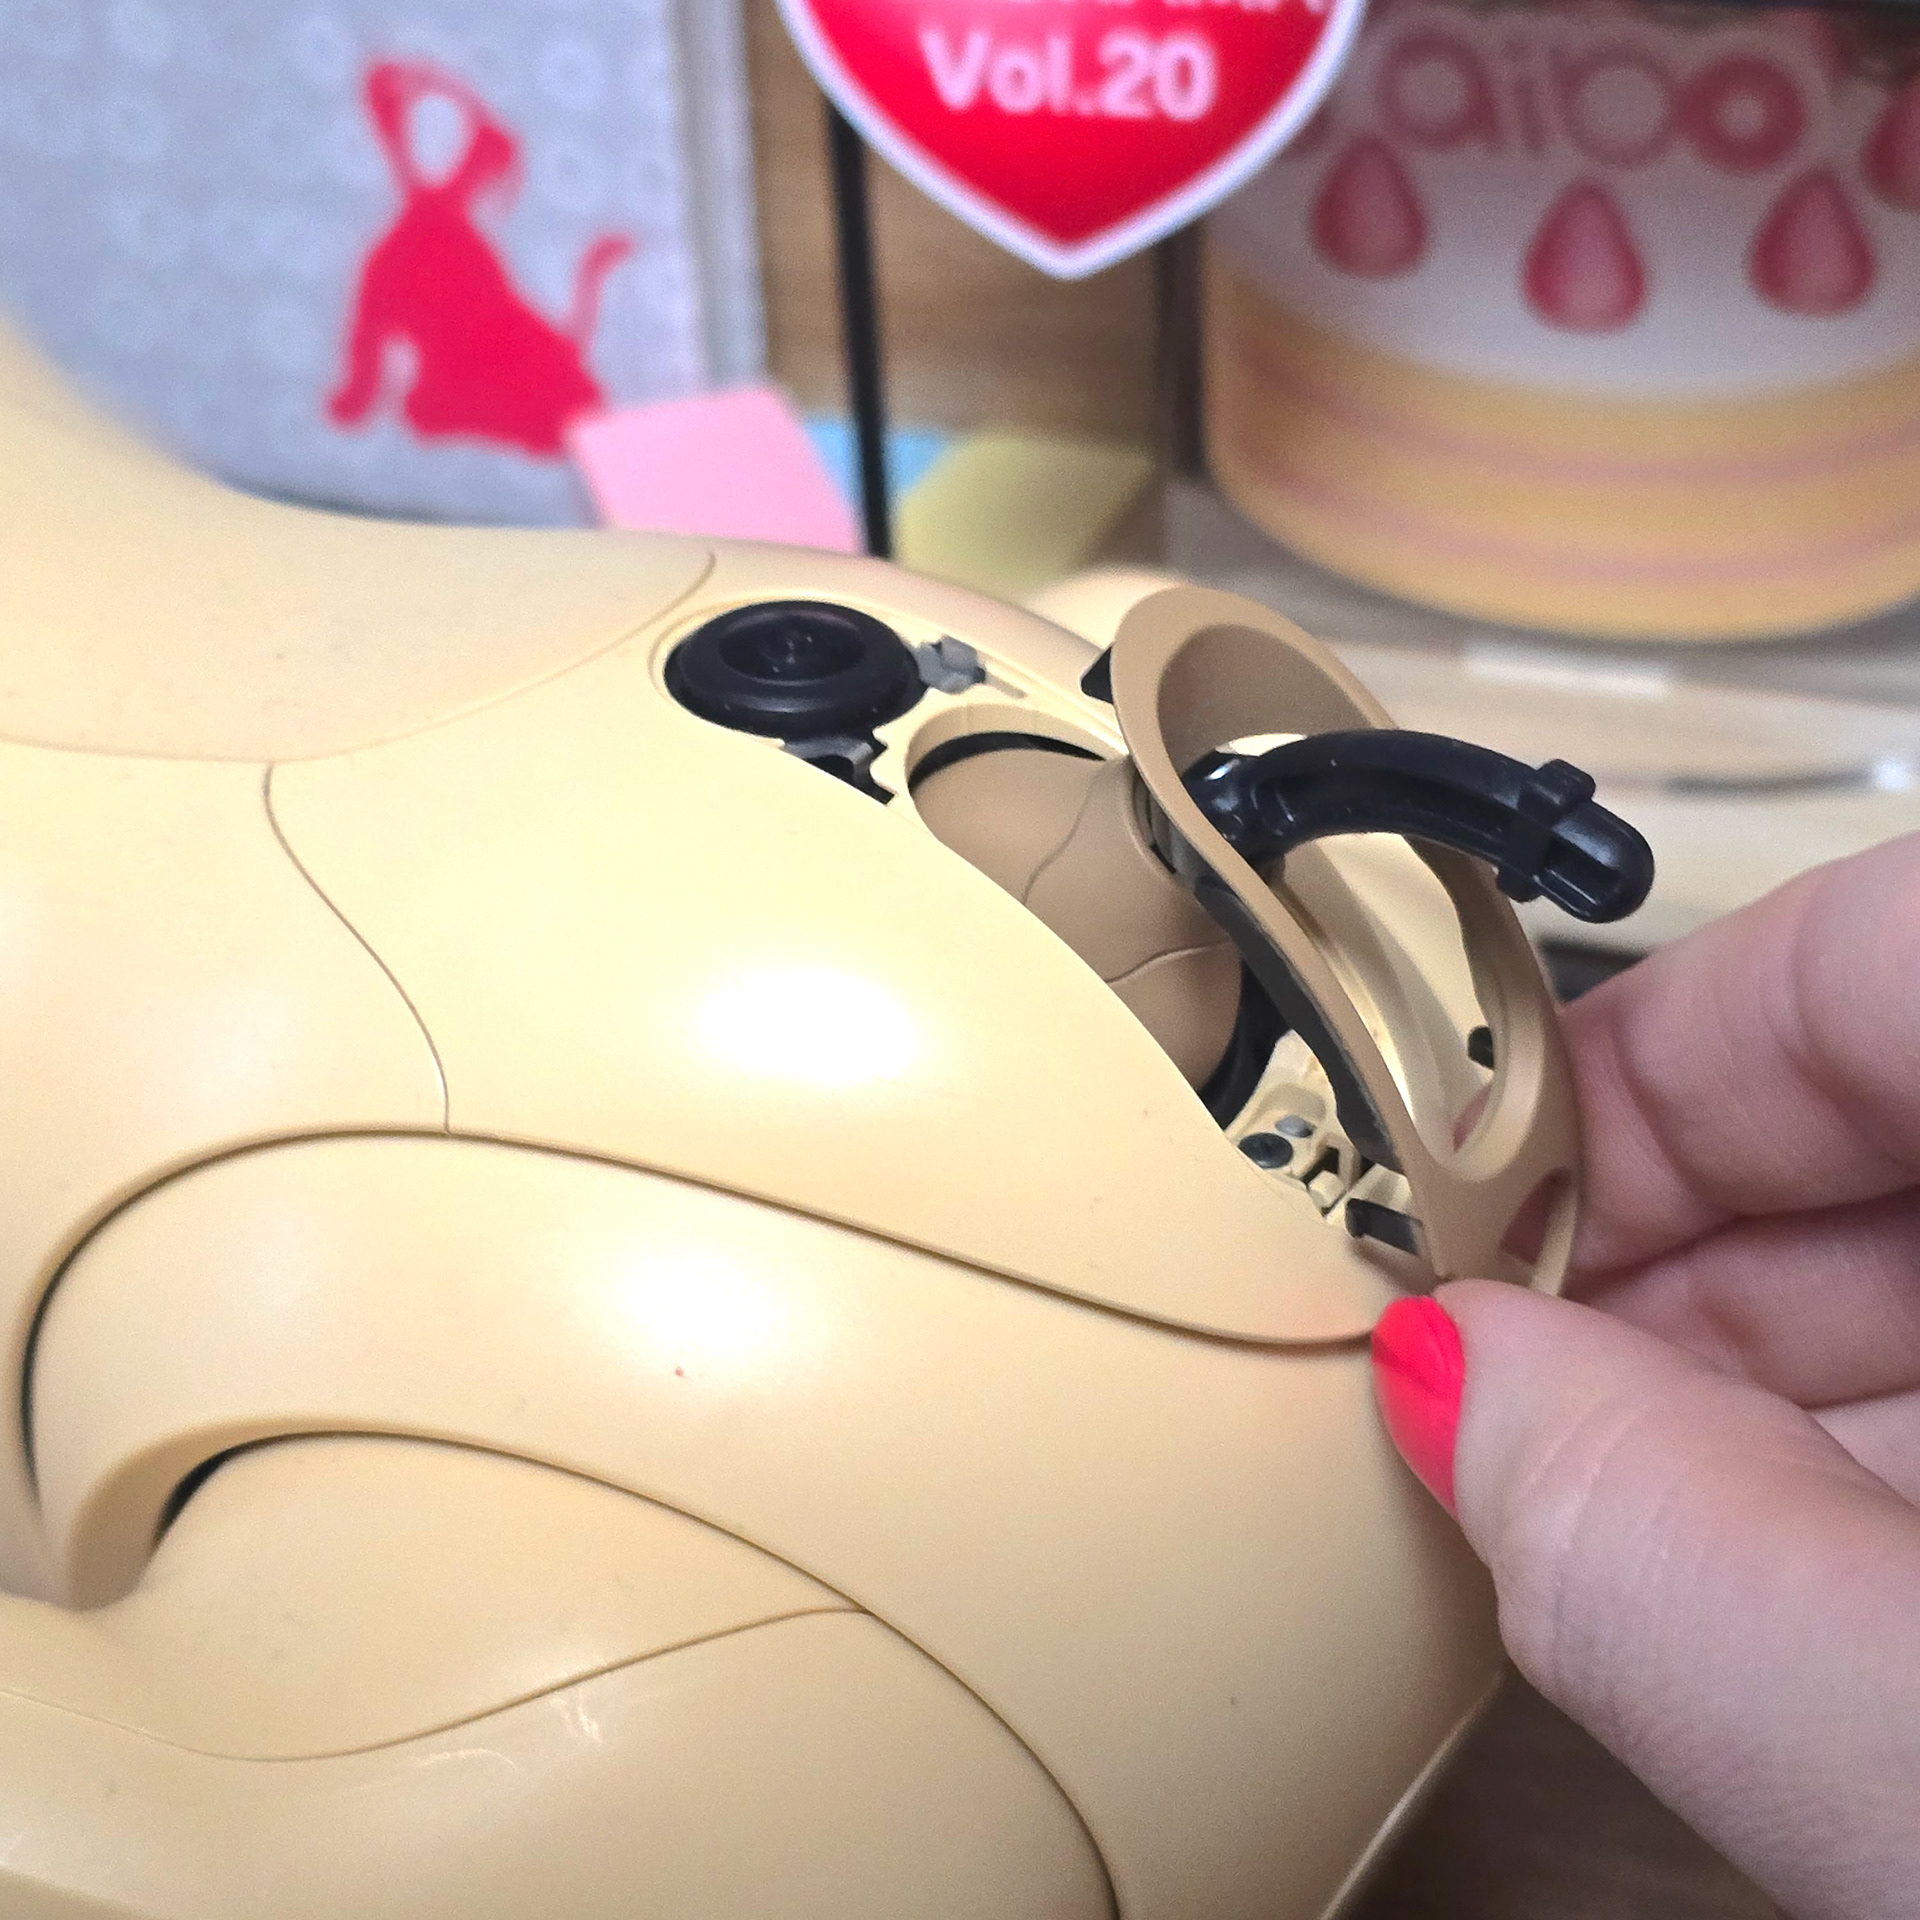
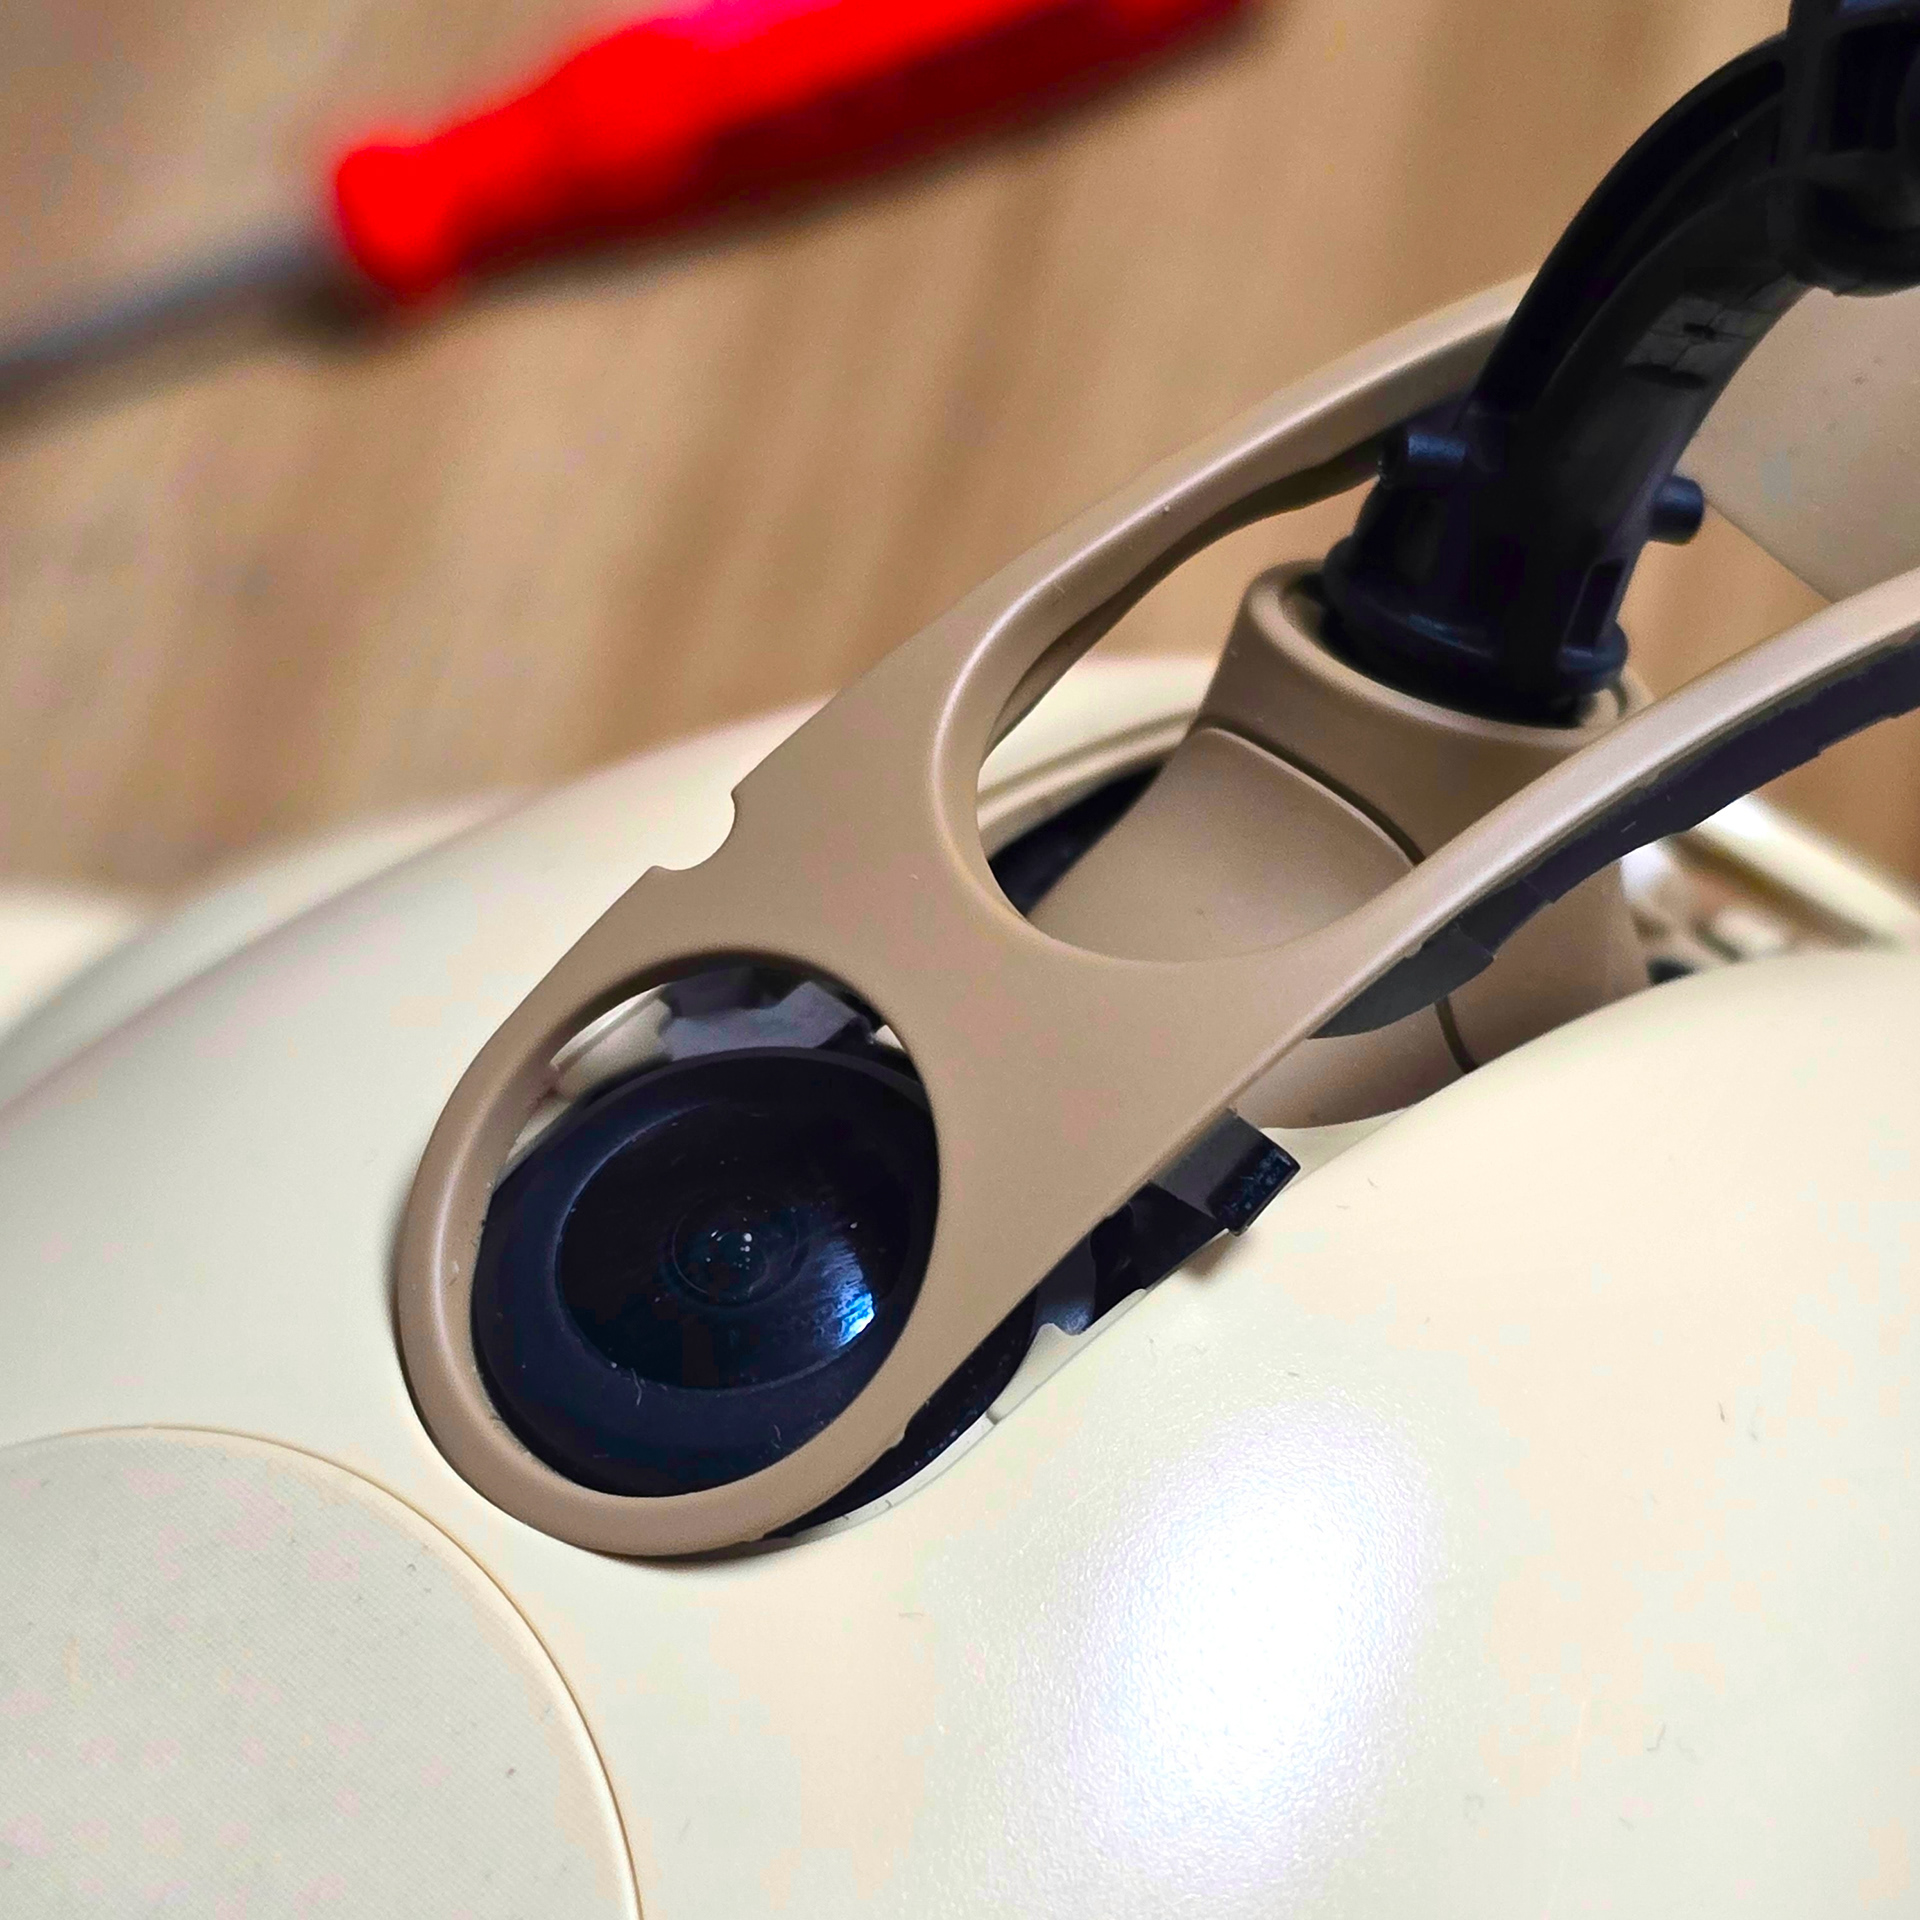
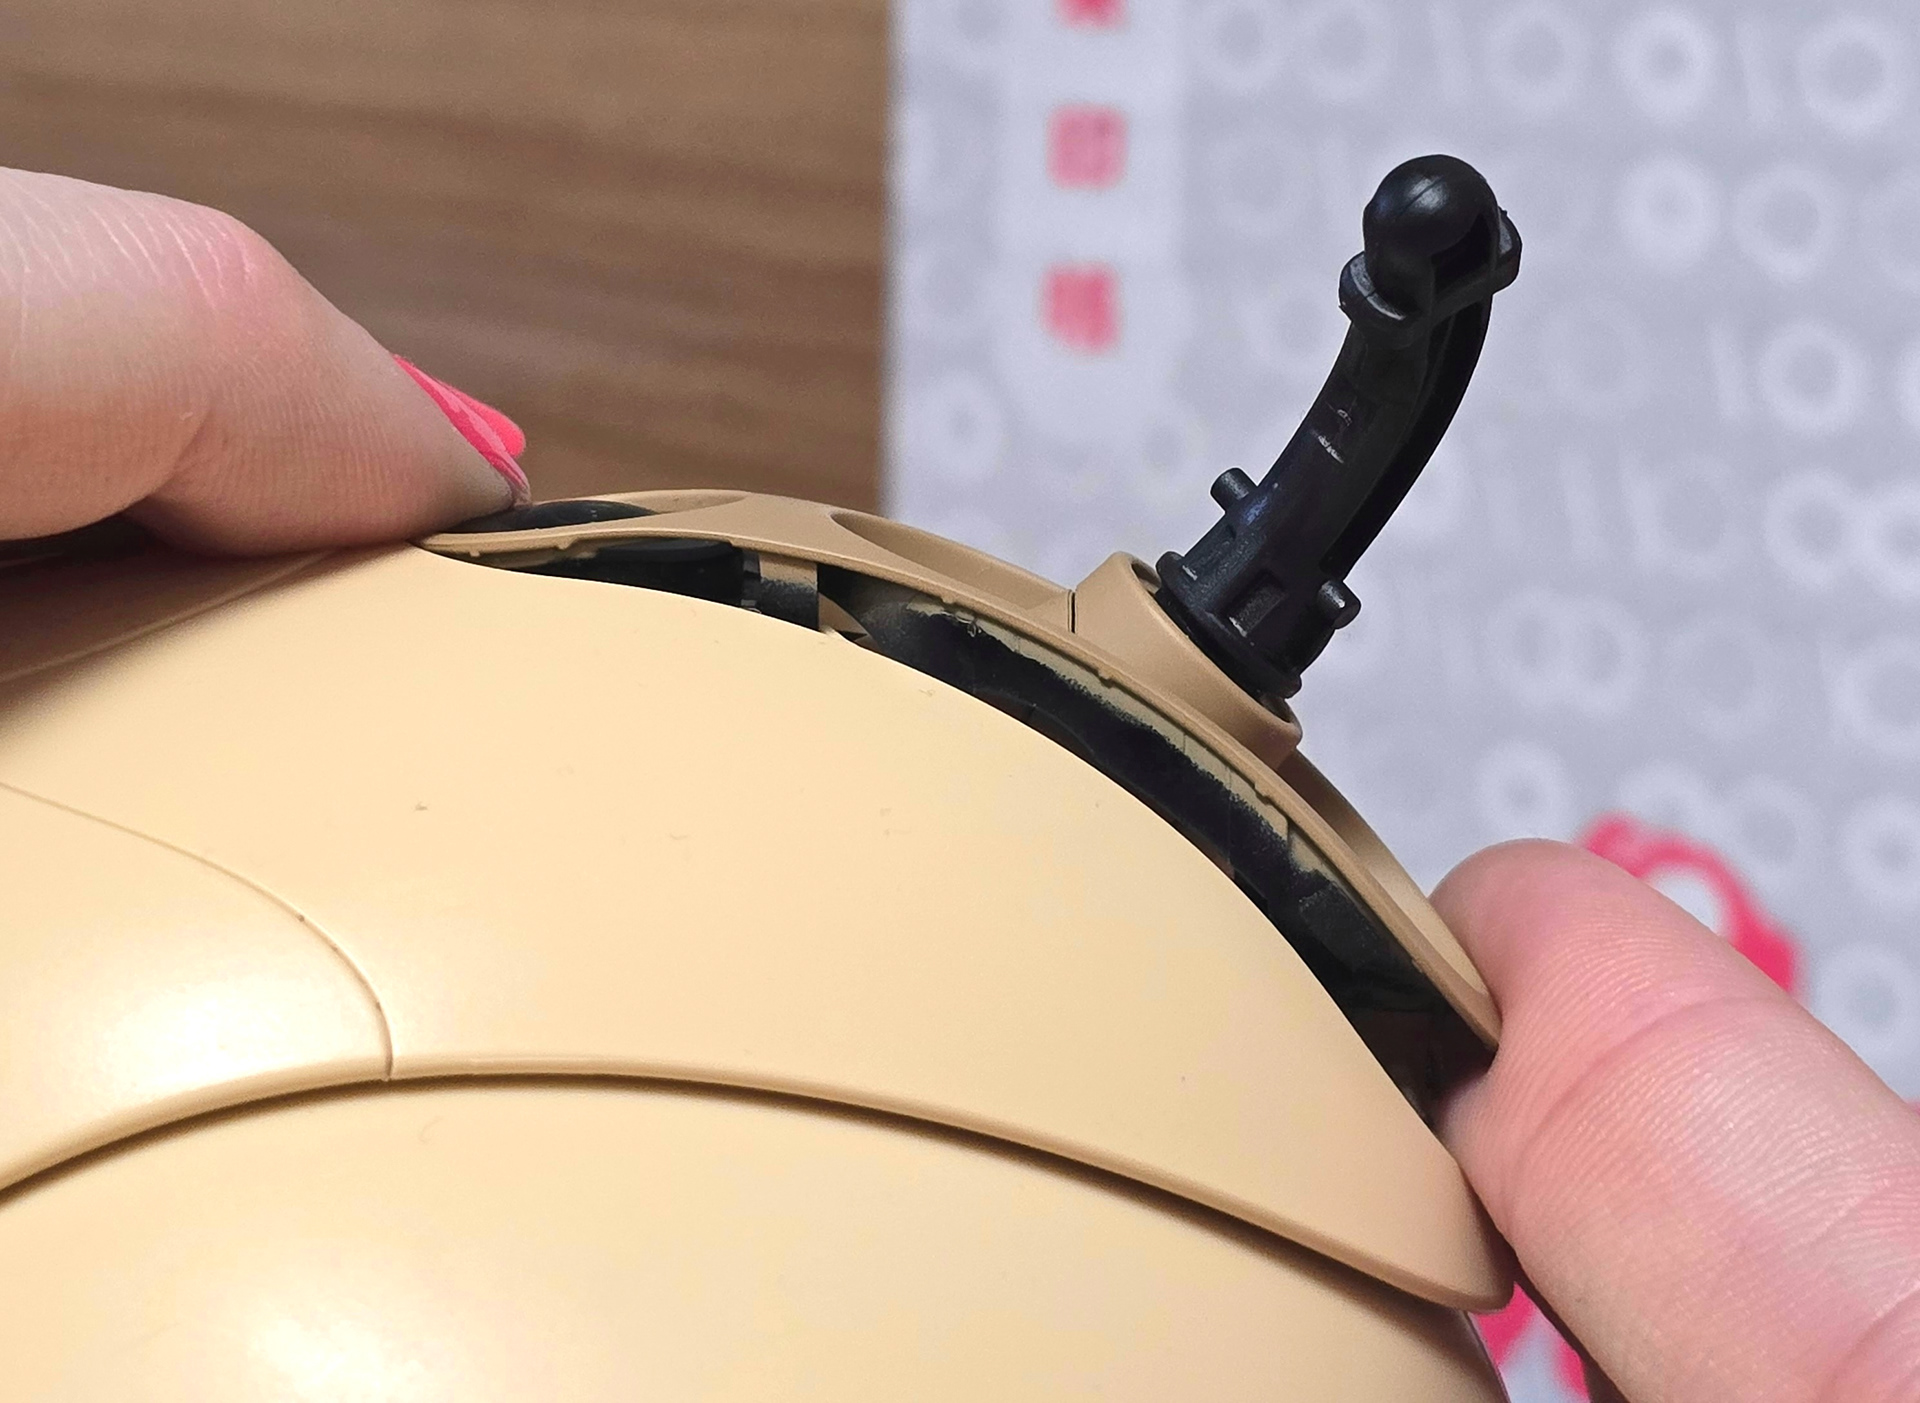
The reason the tail ornament struggles to hook the front tab into place is due to the camera module. What most don't realise is that the camera element moves for stabilisation. If the camera is all of the way forward, it blocks the tail ornaments ability to hook under the butt lid. Simply use your finger to pull the camera back so the required gap is there so that the tail ornament tab has enough room to do its thing.
テールオーナメントがフロントタブに引っ掛かりにくいのは、カメラモジュールのせいです。多くの人が気づいていないのは、カメラ部分が安定のために動くということです。カメラが一番前に出ていると、テールオーナメントがバットリッドの下に引っ掛かりにくくなります。指でカメラを後ろに引いて必要な隙間を作り、テールオーナメントタブがしっかりと固定できるスペースを確保してください。
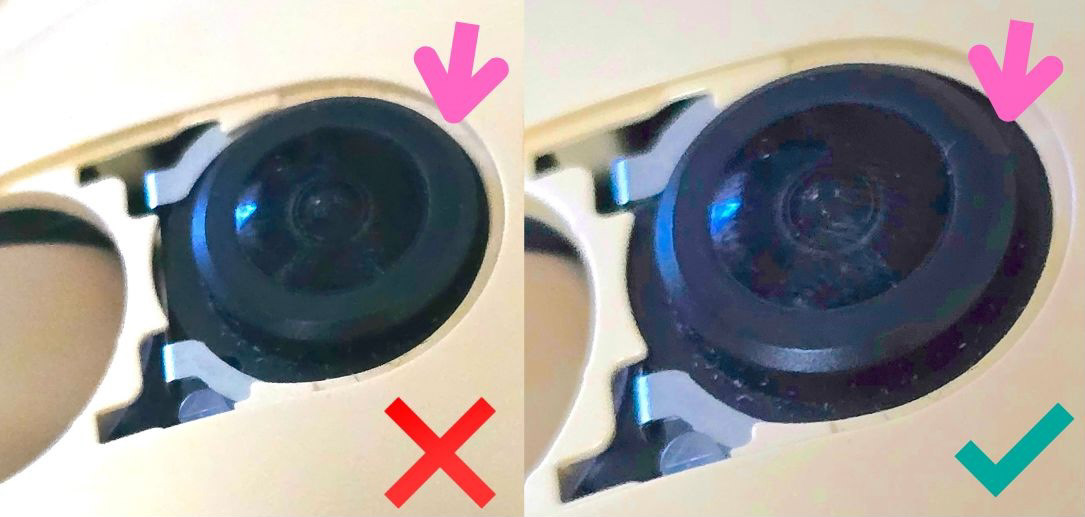
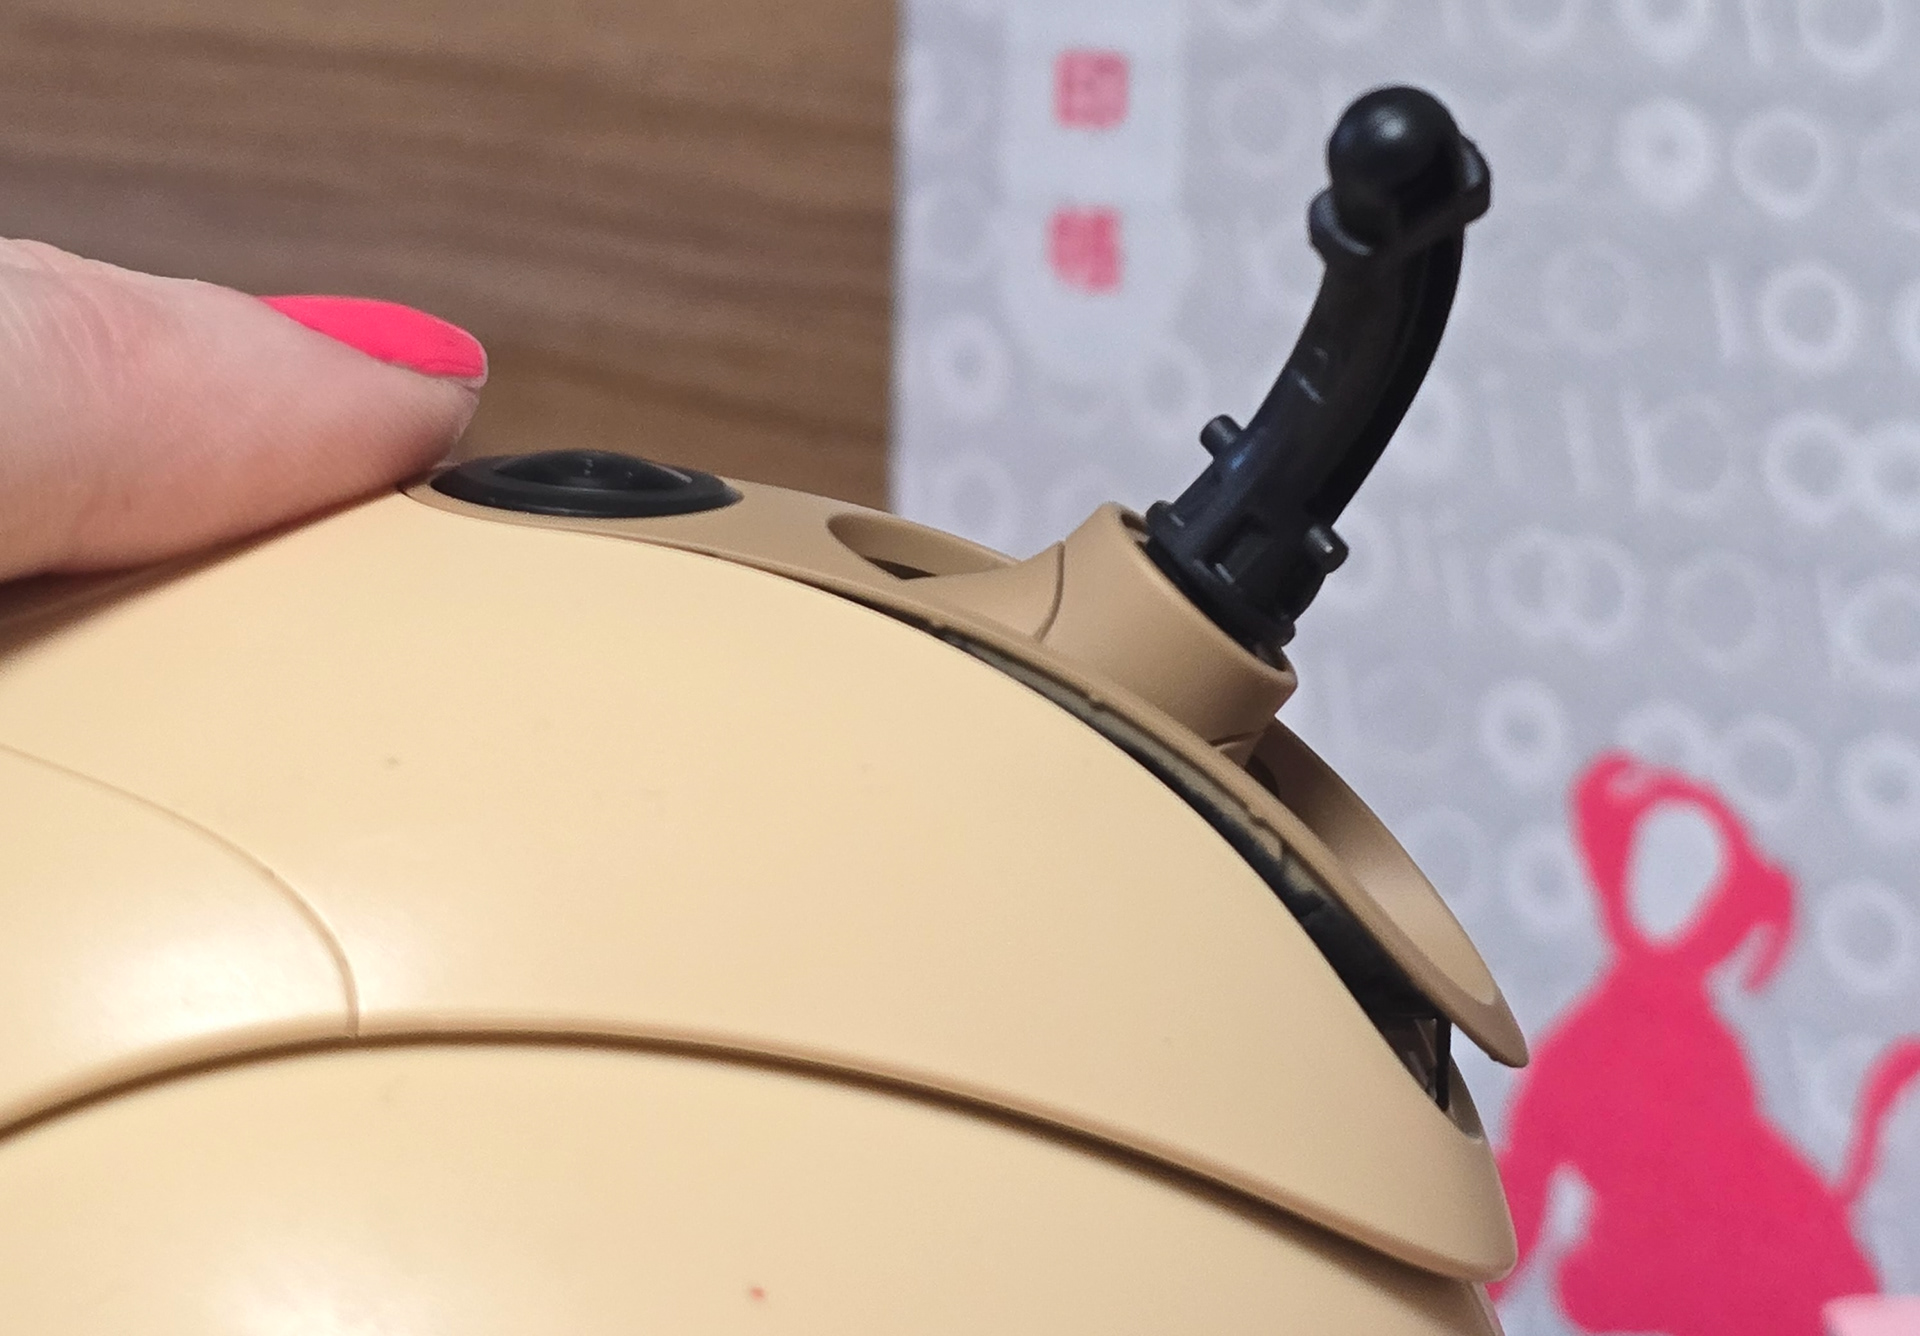
Start by hooking the small front tab under the plastic.If the front clip is hooked correctly, it should be able to keep the entire piece attached like seen in this photograph (left).
まず、小さな前面タブをプラスチックの下に引っ掛けます。前面クリップが正しく引っ掛けられていれば、この写真 (左) のように、ピース全体をしっかりと固定できるはずです。
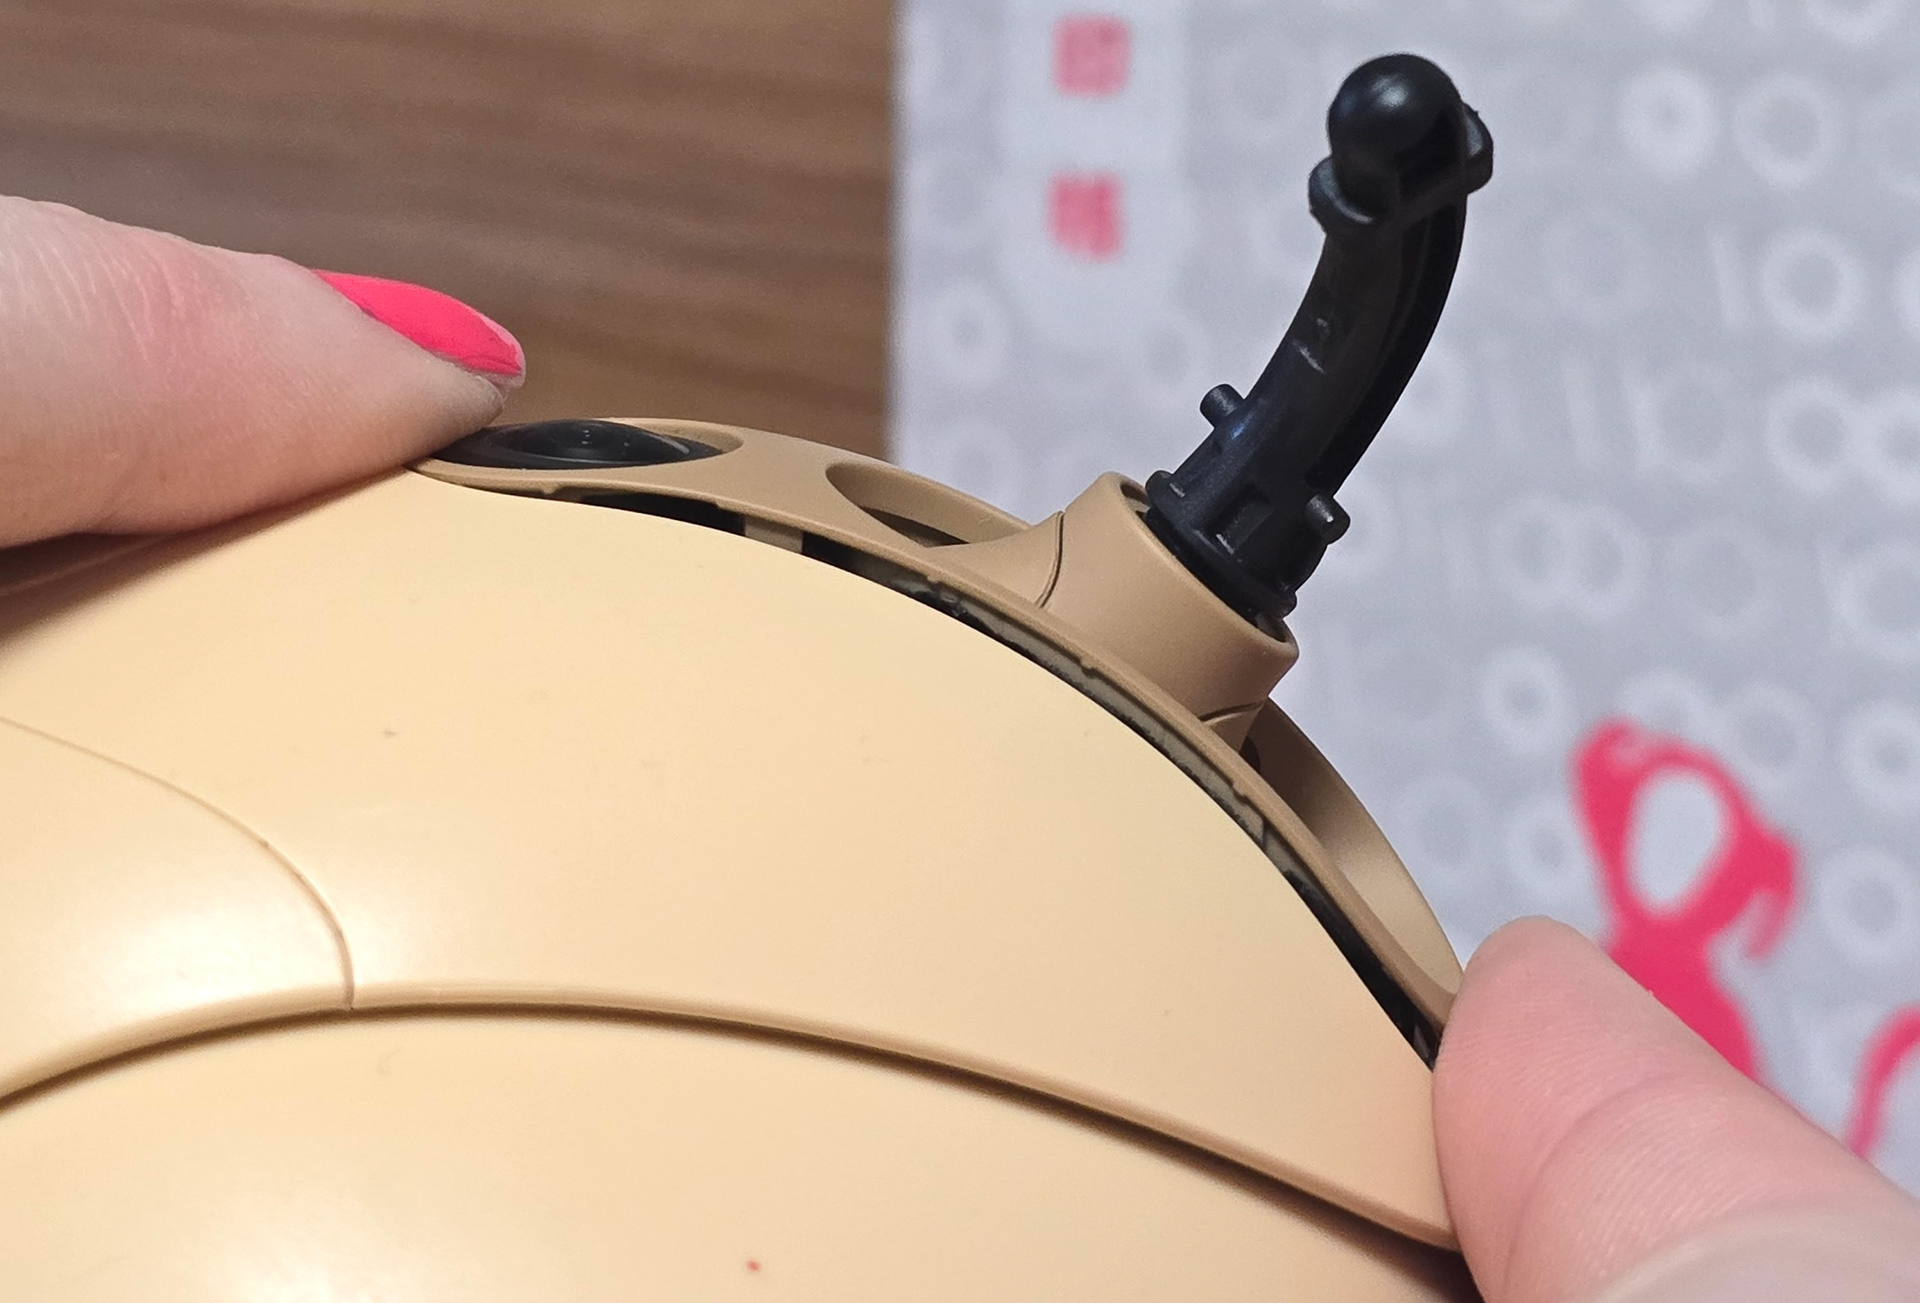
Once the front part is hooked on, use another finger to push the plastic forward from the other end so that the plastic piece bends upwards. Then use your other fingers to wiggle the side tabs into place. The end result should look like the right image. ^
フロントパーツを引っ掛けたら、もう片方の指でプラスチック部分を反対側から押し込み、プラスチック部分を上に折り曲げます。次に、もう片方の指でサイドタブを左右に動かして固定します。完成形は右図のようになります。^
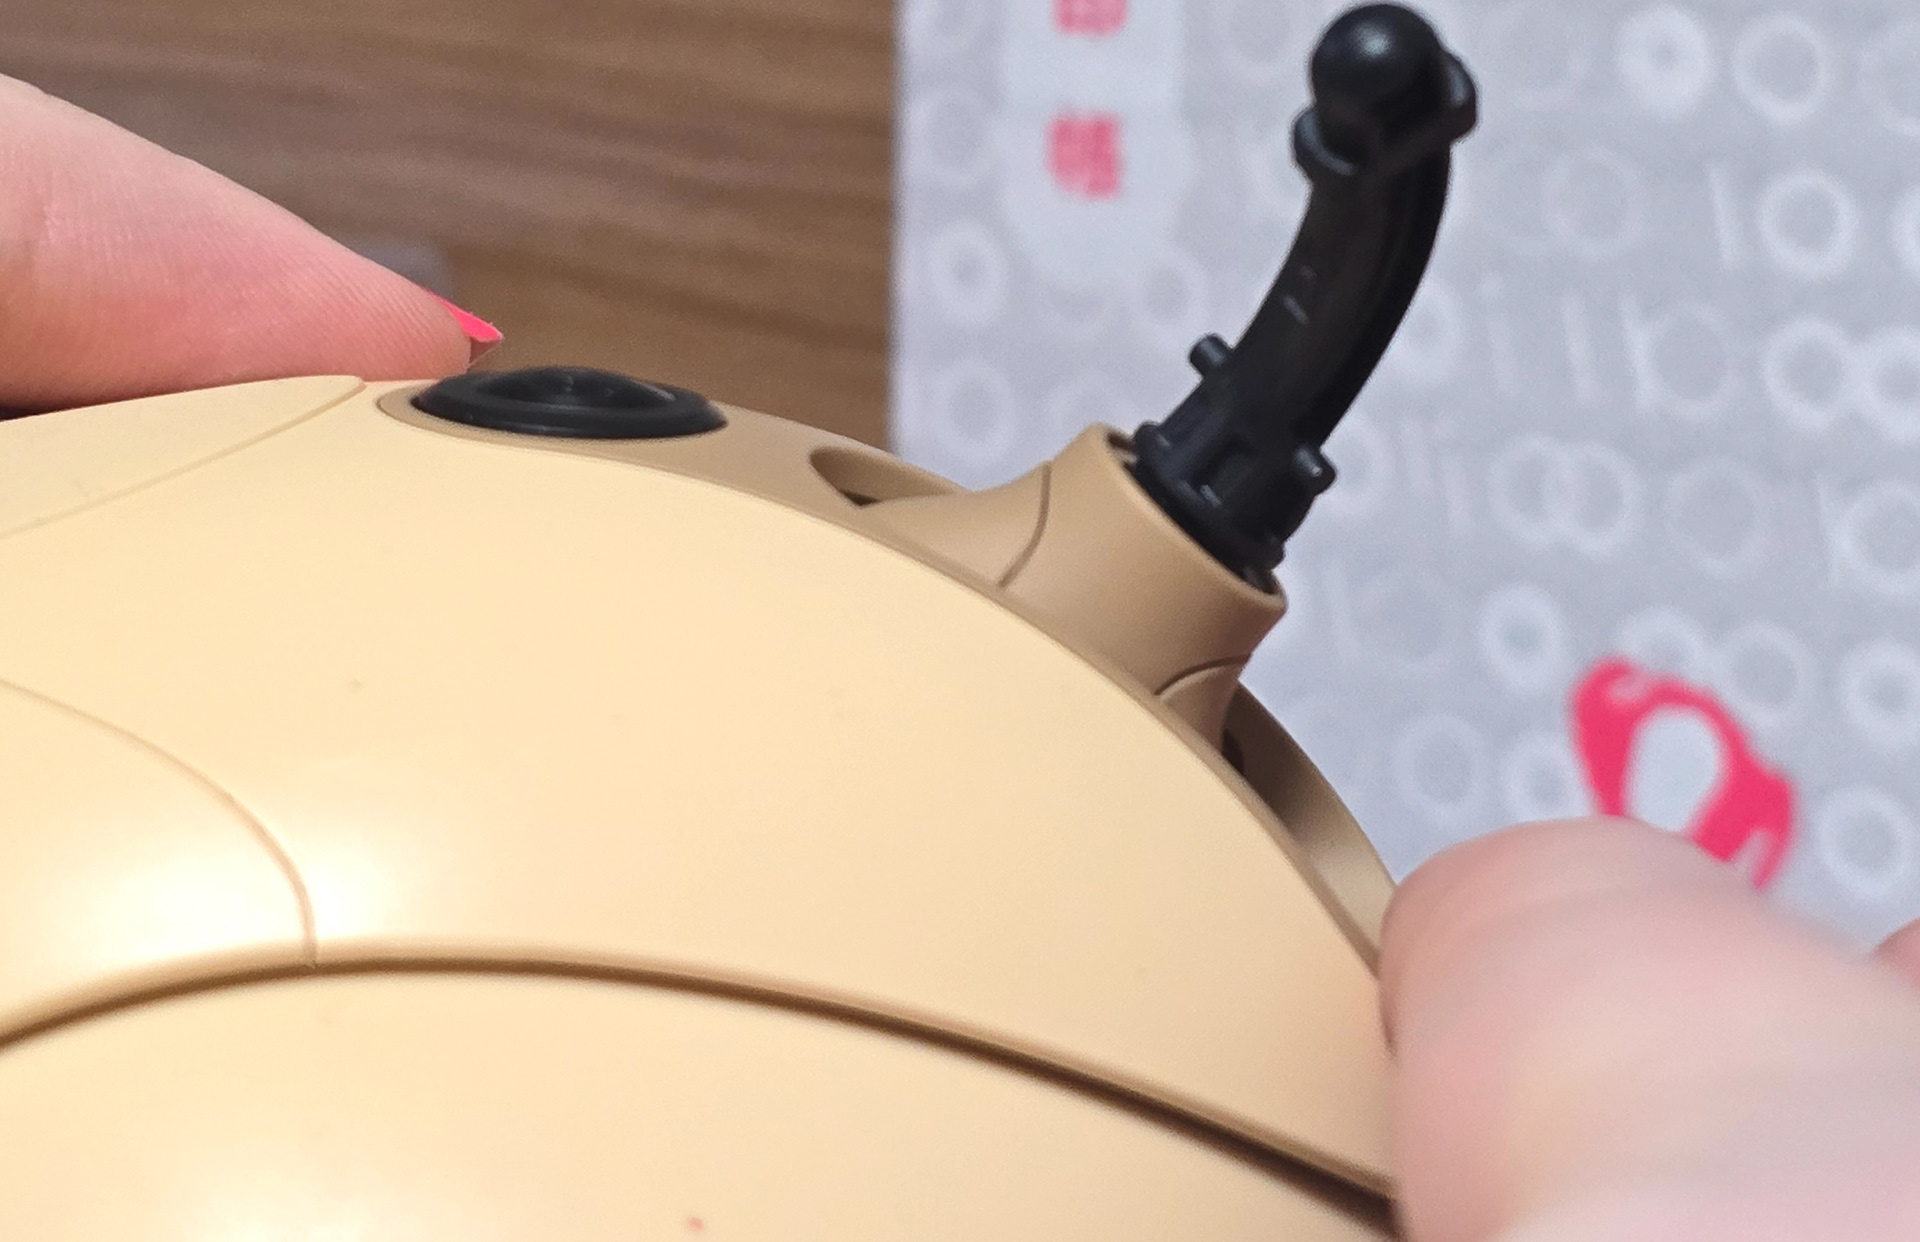
Finally, do the same action again with less force and push the back end of the piece down so that final tab clicks into place. The entire tail ornament should be perfectly flush with the butt lid plastic part if installed correctly.
最後に、同じ動作をもう一度、より弱い力で行い、部品の後端を押し下げて、最後のタブがカチッと音がするまで押し込みます。正しく取り付けられていれば、テールオーナメント全体がバットリッドのプラスチック部品と完全に面一になるはずです。